How to create a Whatsapp/SMS channel with Twilio?
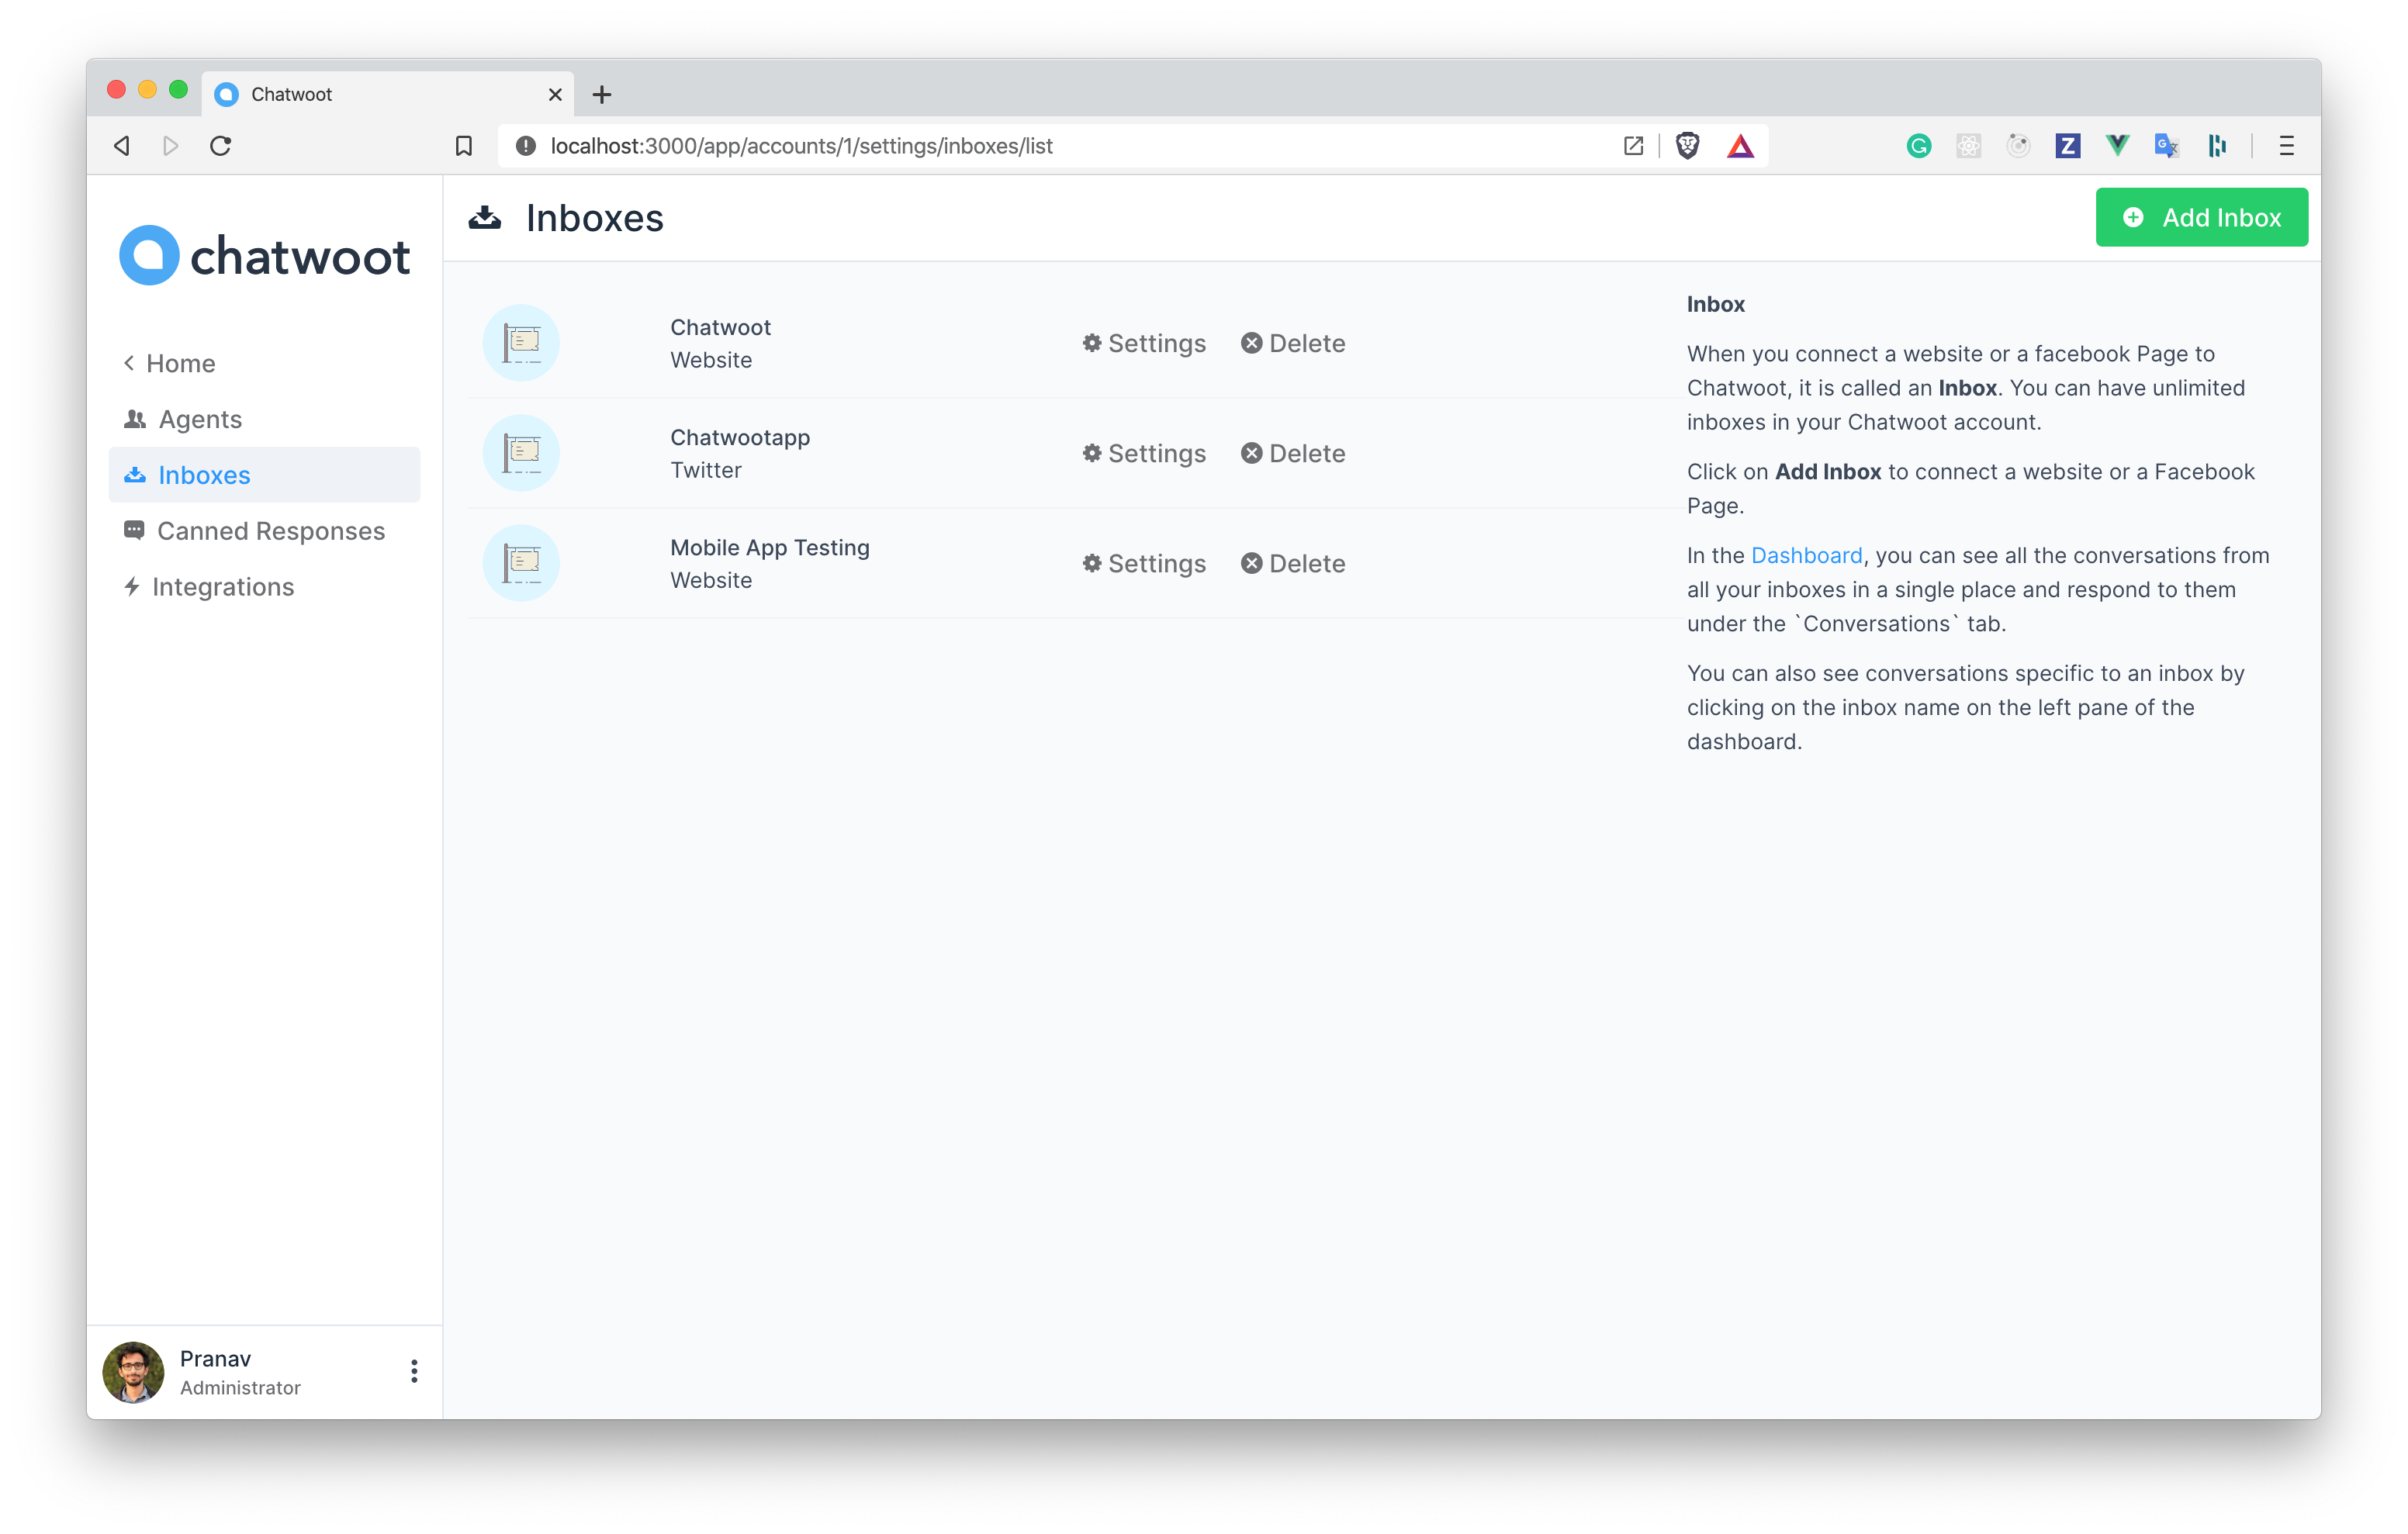
Step 1. Click the "Add Channel" button from Settings > Channels page.
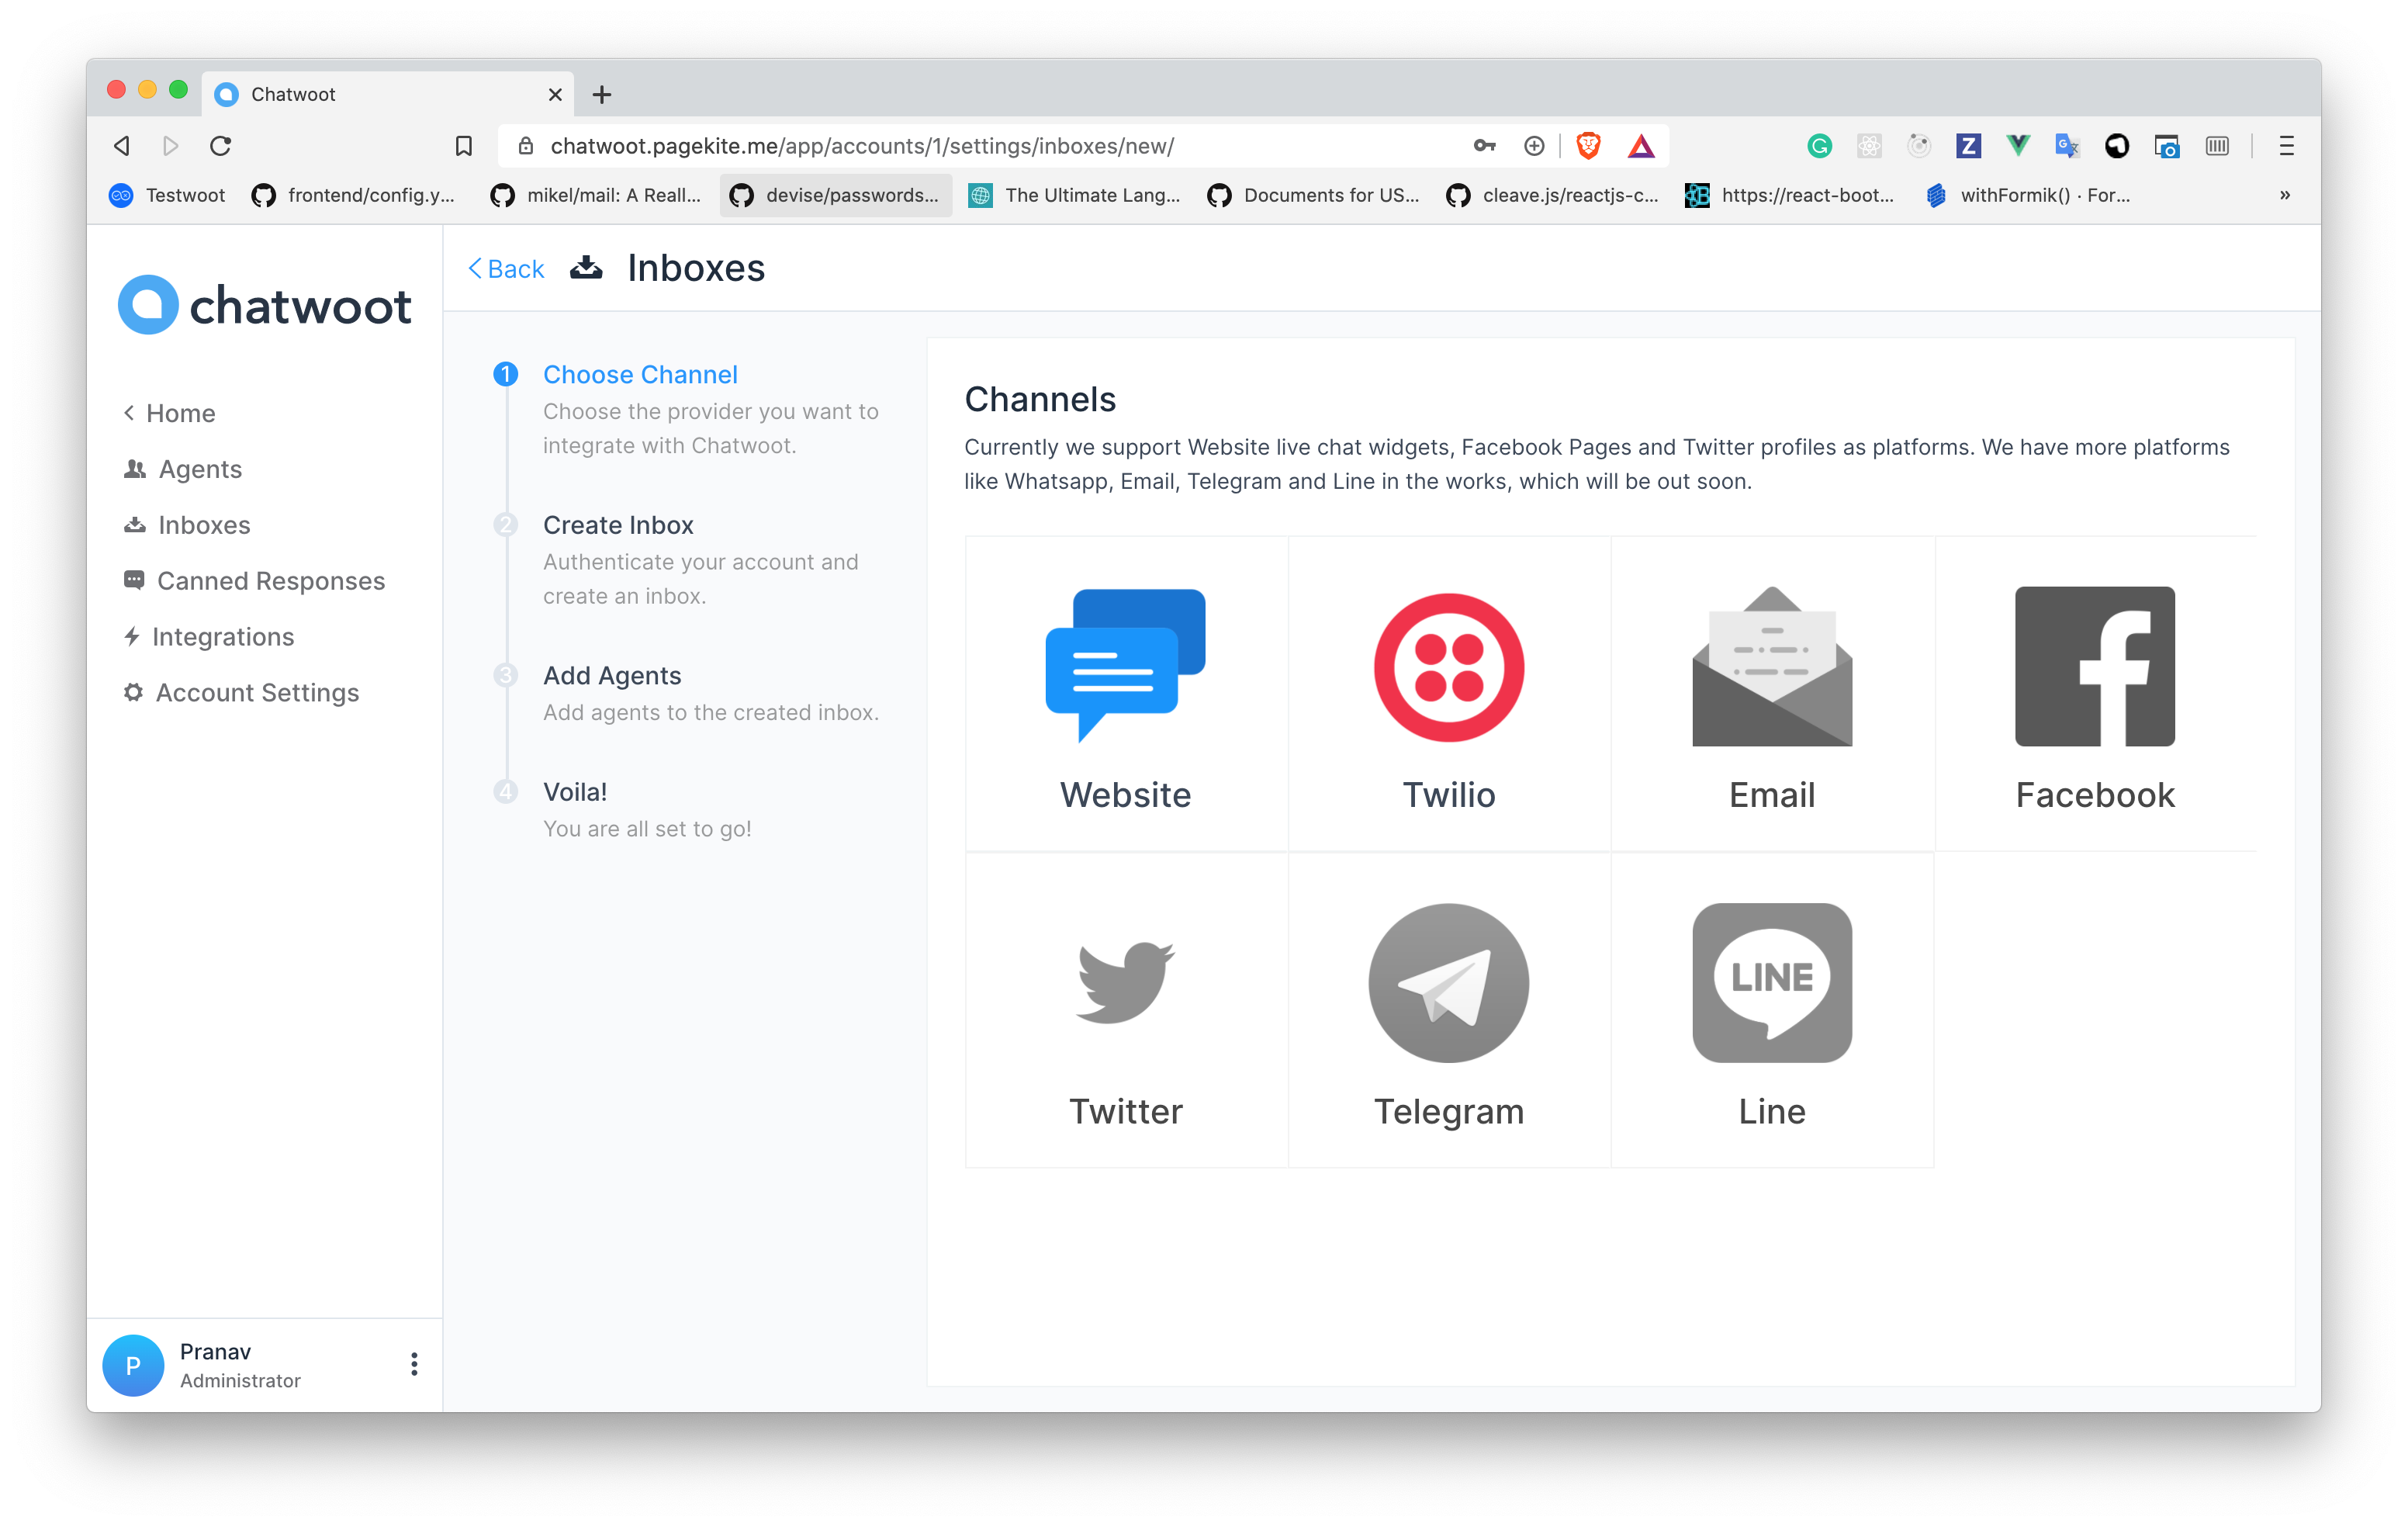
Step 2. Click the "Twilio" icon.
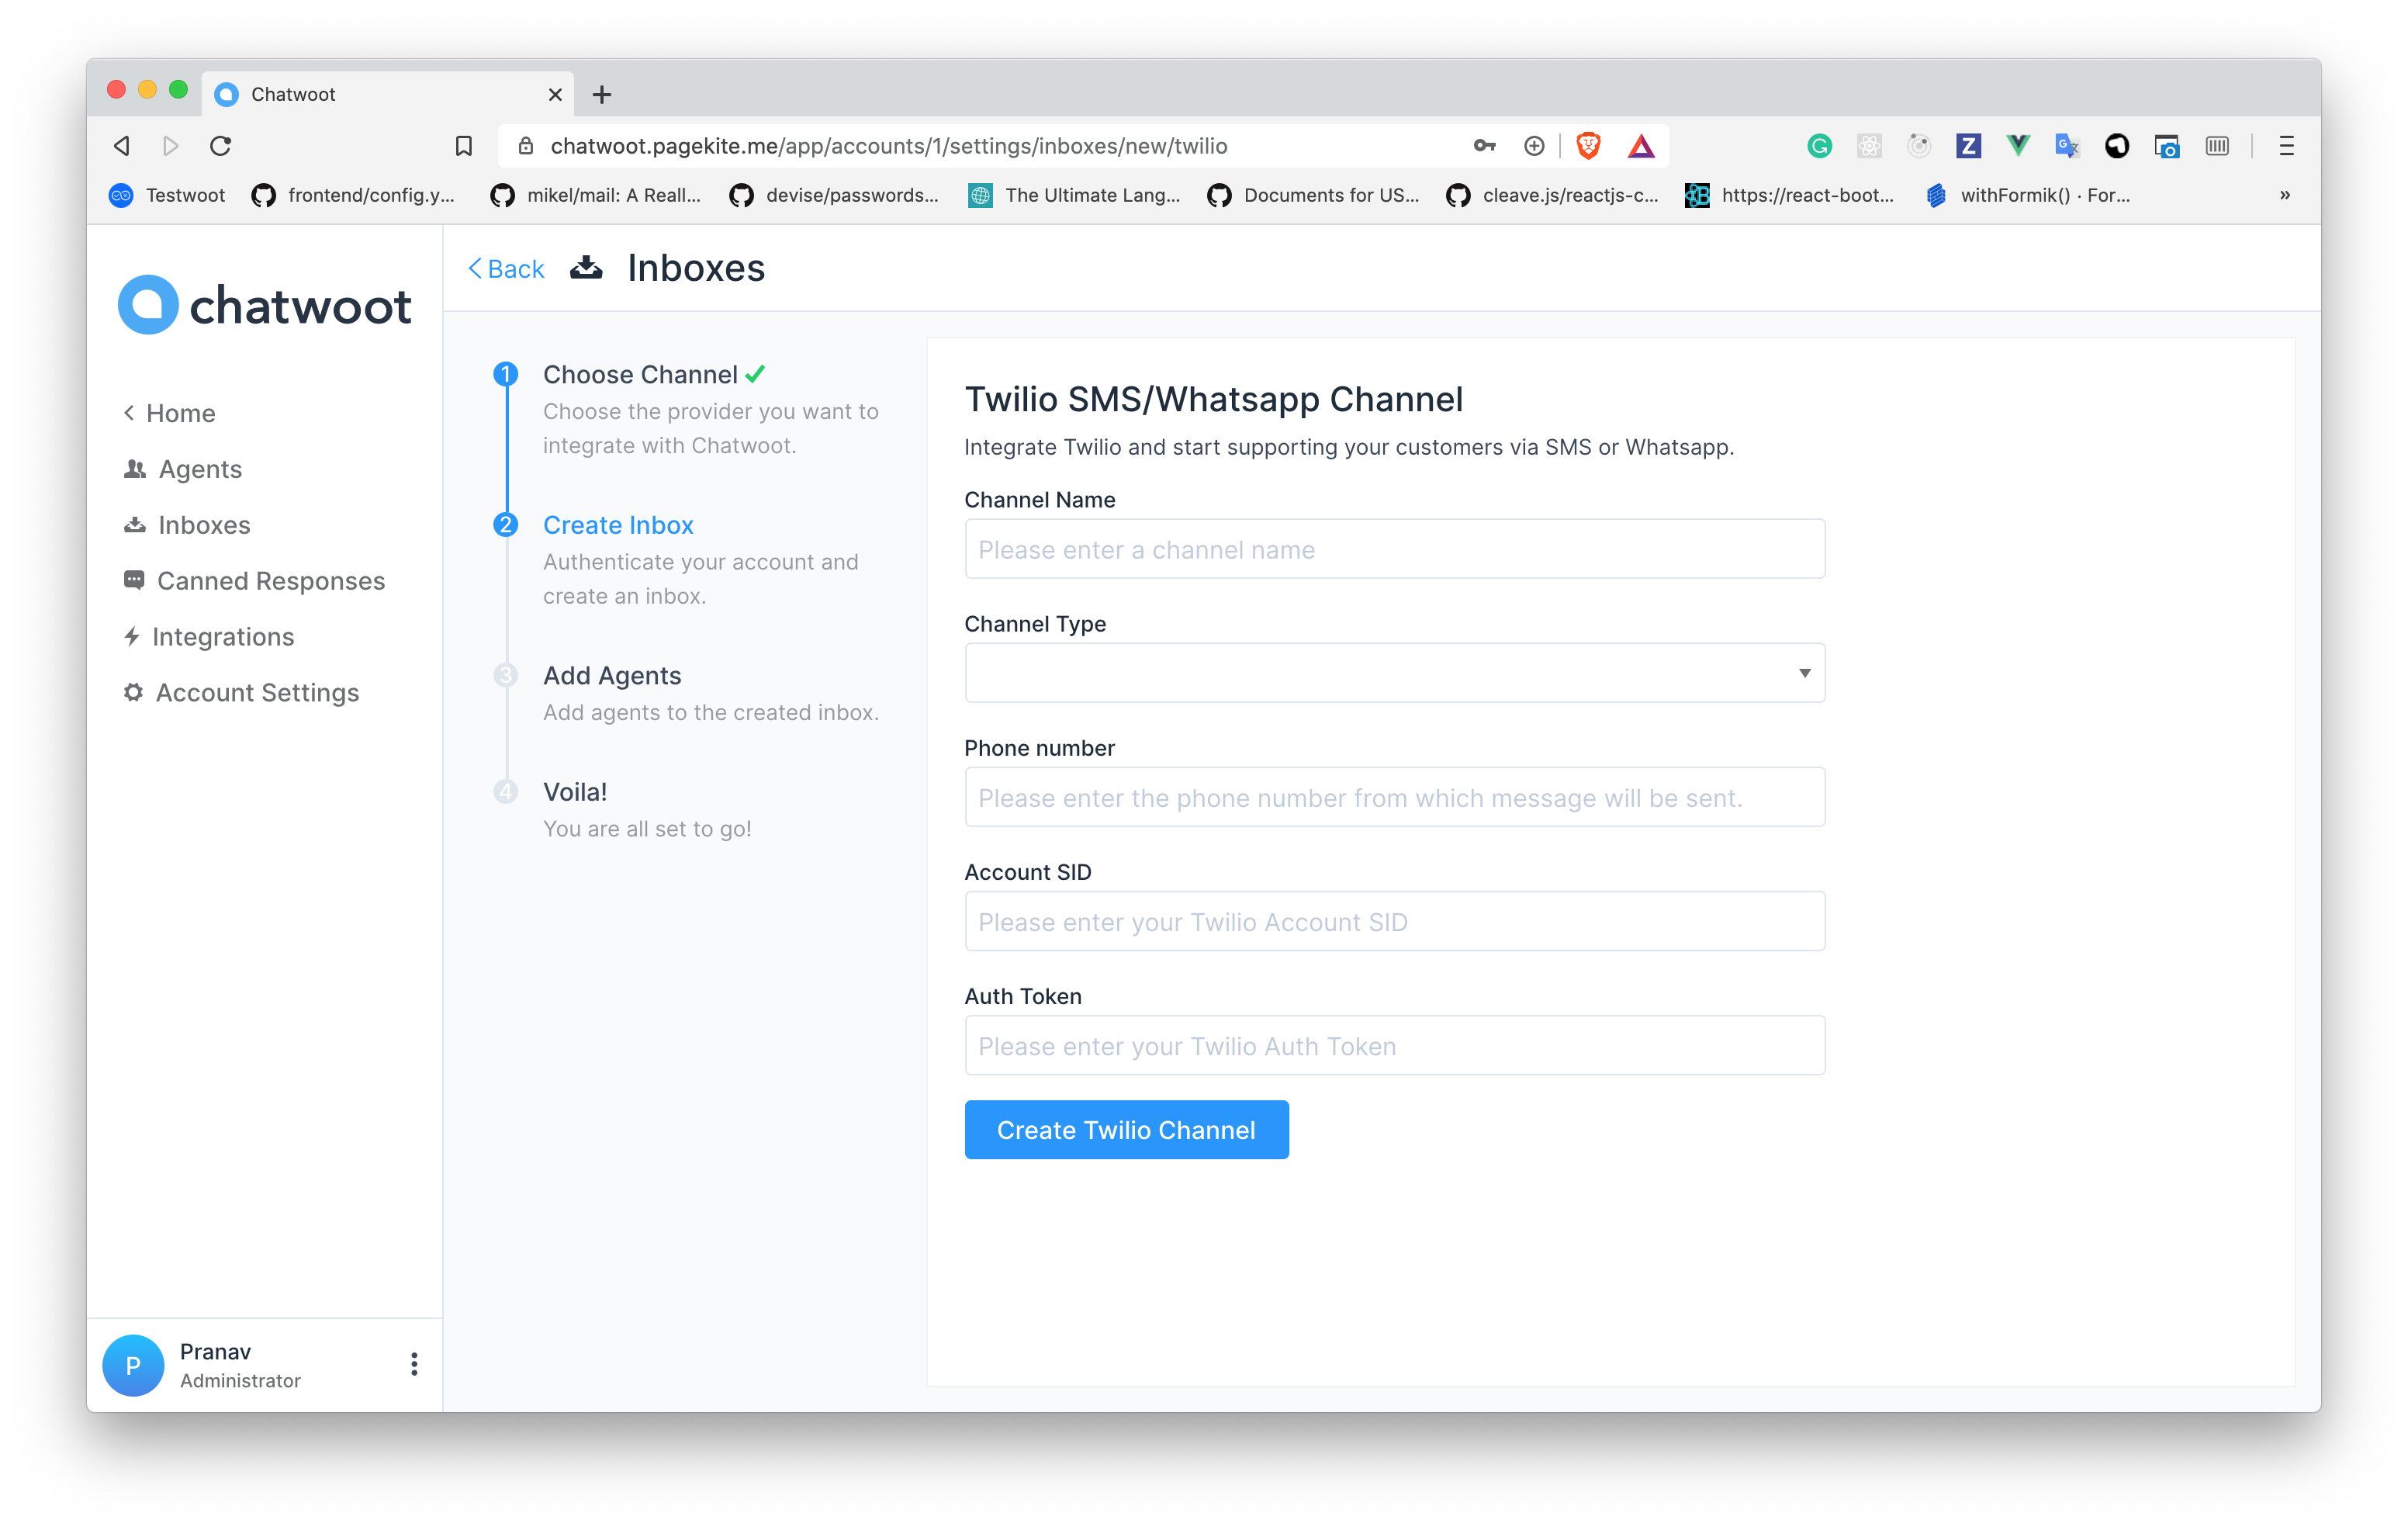
Step 3. Configure the channel.
These are the inputs required to create the channel:
| Input | Description | Where can I find it |
|---|---|---|
| Channel Name | This is the channel name. It will be used across the application. | N/A |
| Channel Type | Select SMS, if you are integrating an SMS channel. Select WhatsApp, if you have a verified WhatsApp number in Twilio. | N/A |
| Phone Number | The number you will be using to communicate with your customer. It has to be verified in Twilio. | Enter your number as in the Twilio Dashboard |
| Account SID | Account SID in Twilio Console | Login to Twilio Console. Here, you would be able to see the Account SID and the Auth Token. |
| Auth Token | Auth token for the account | Login to the Twilio Console. Here, you would be able to see the Account SID and the Auth Token. |
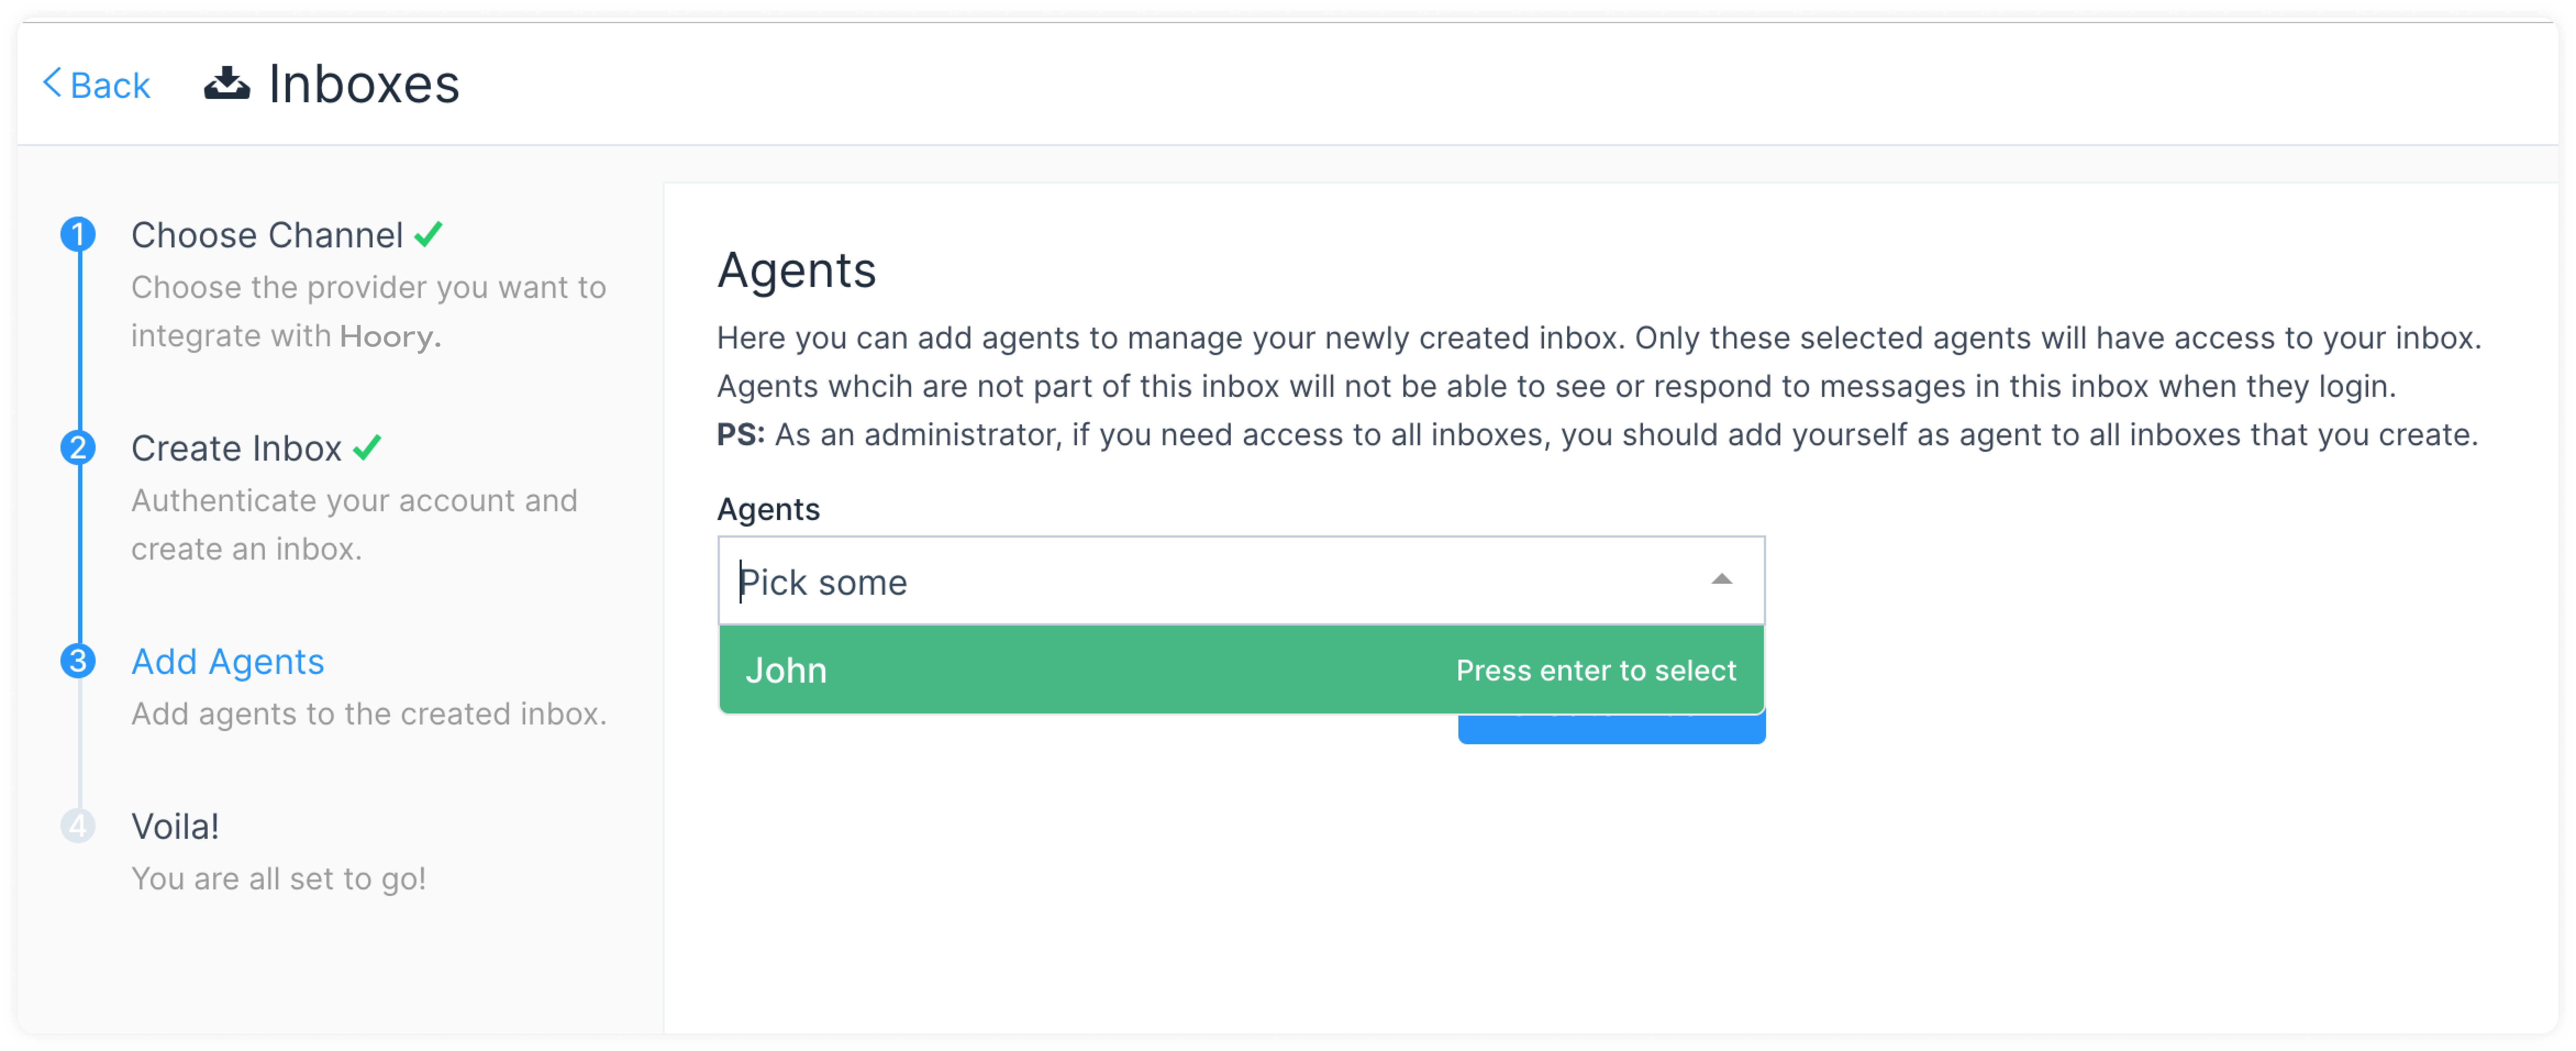
Step 4. "Add agents" to your channel.
Step 6. Hooray! You have successfully created a WhatsApp/SMS channel.
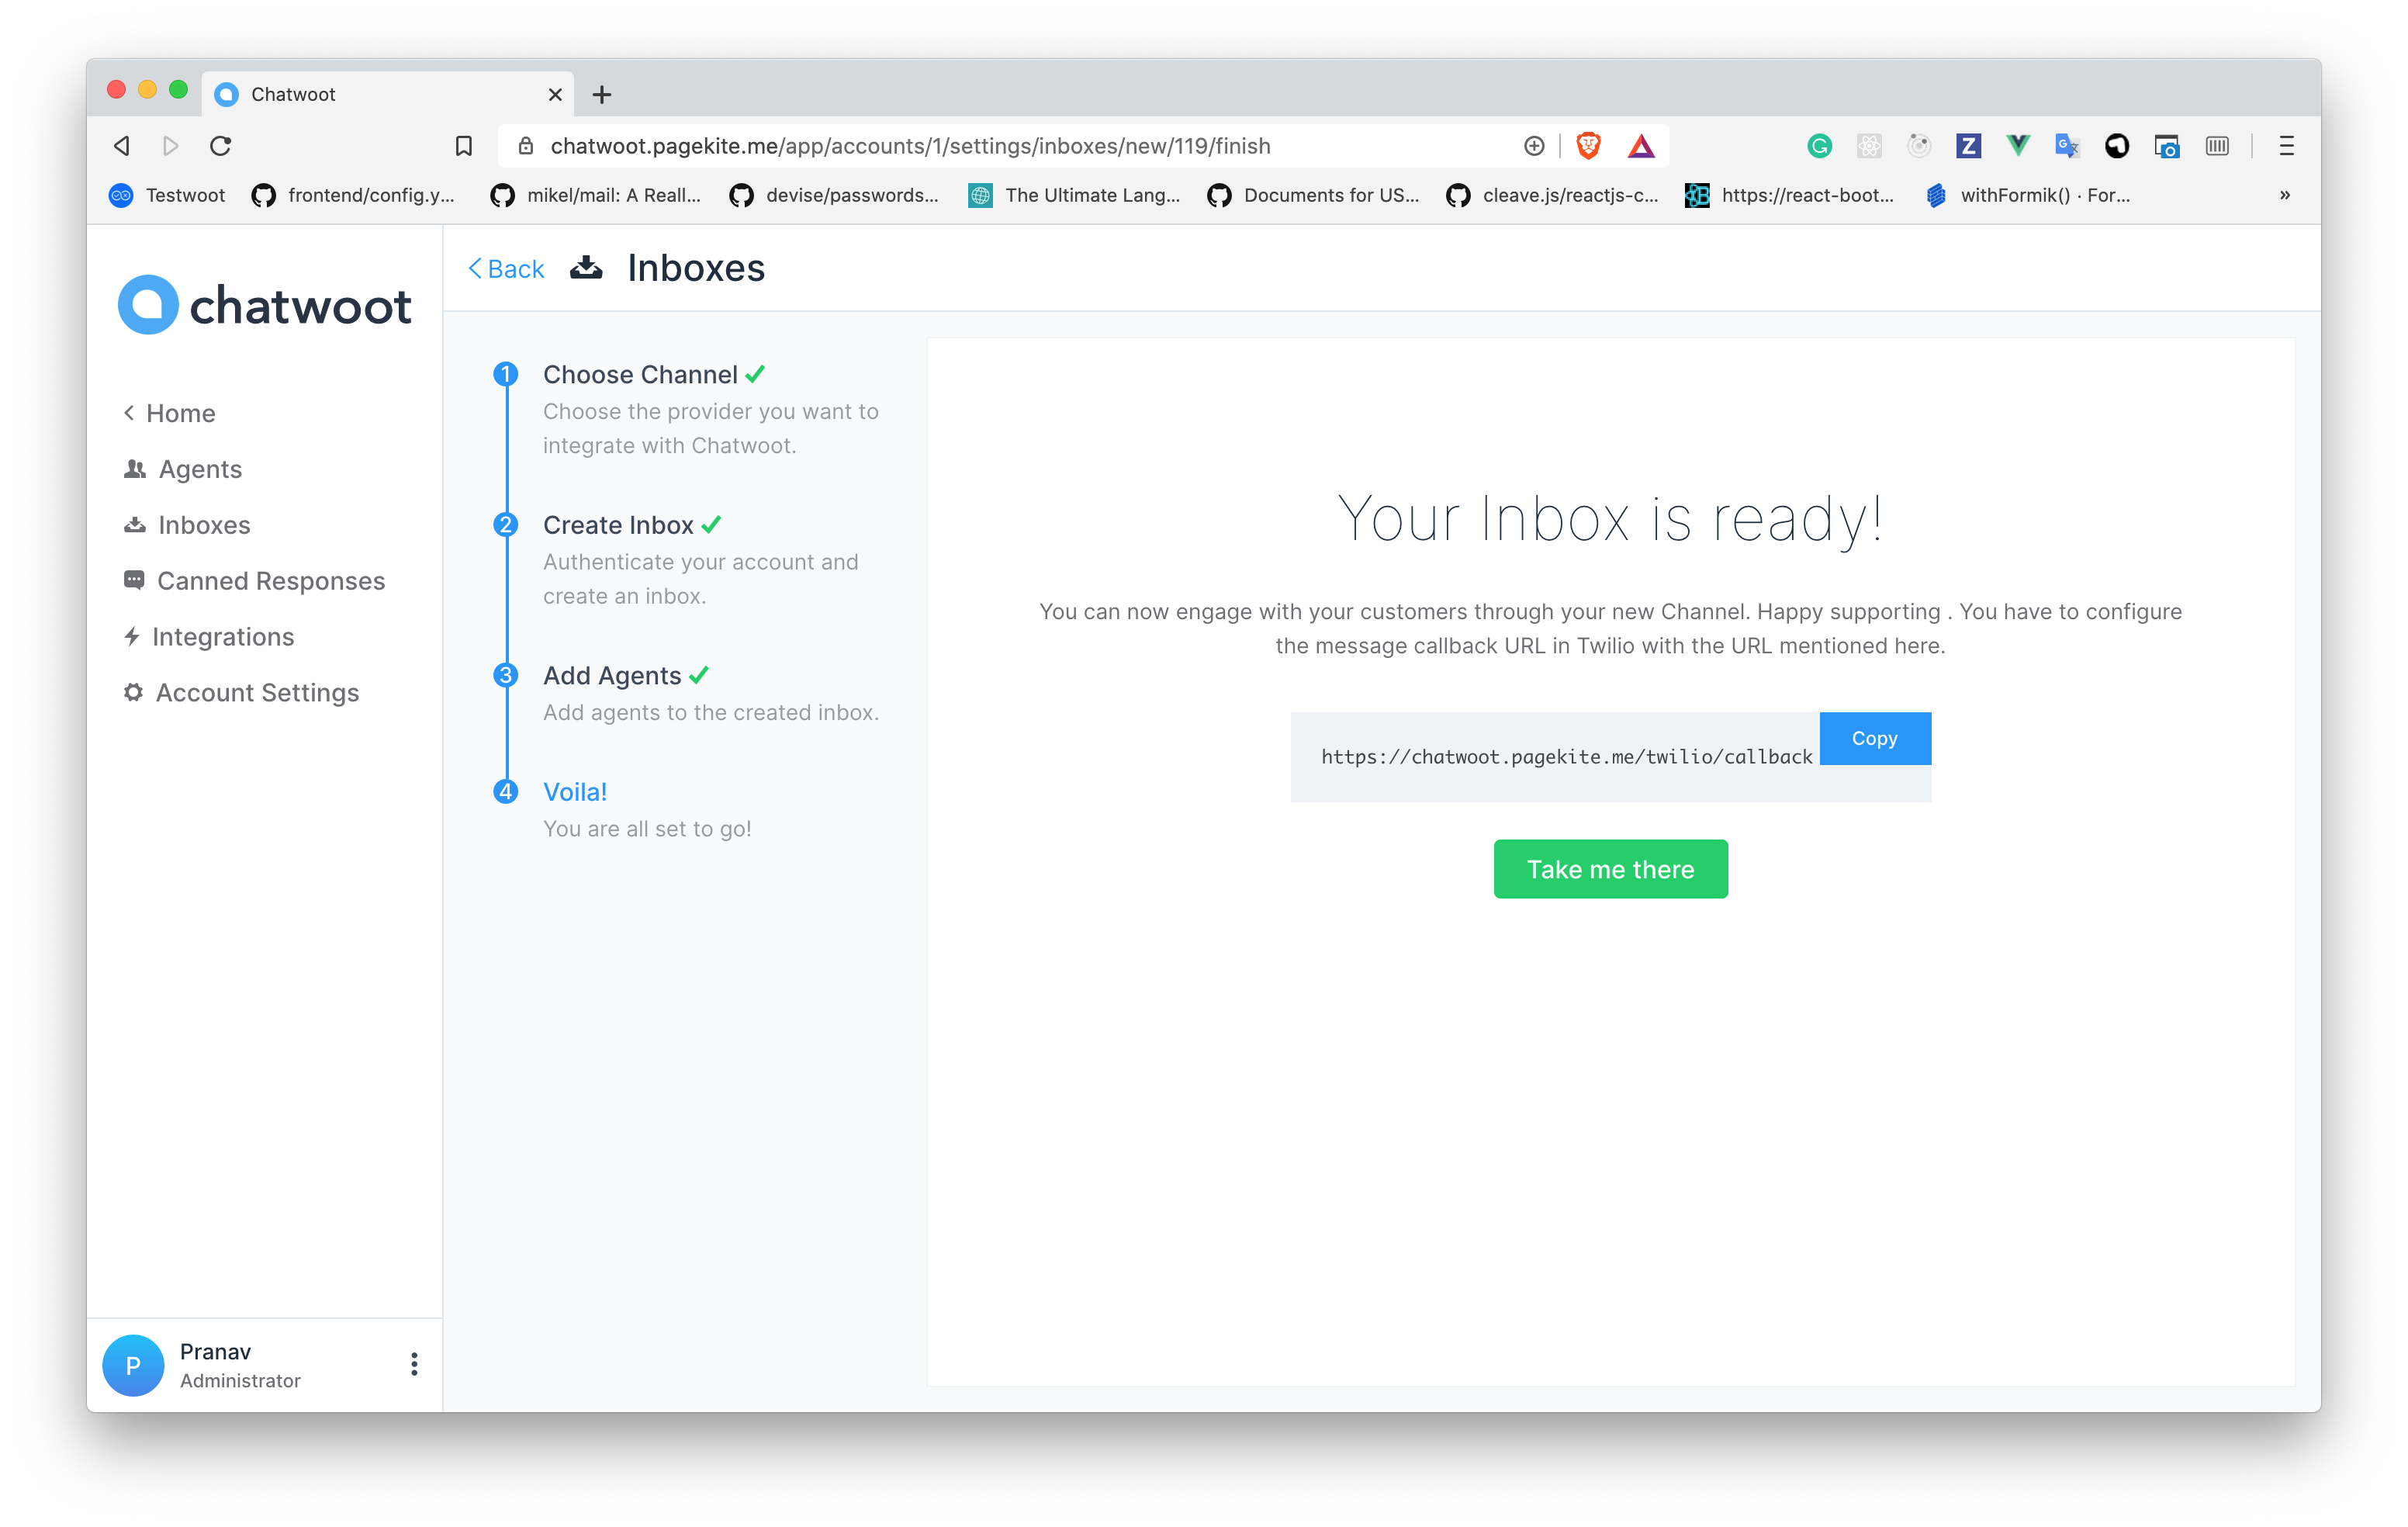
If it is an SMS Channel, you don't need to do anything else. You will start receiving the messages in the dashboard whenever a customer sends you one.
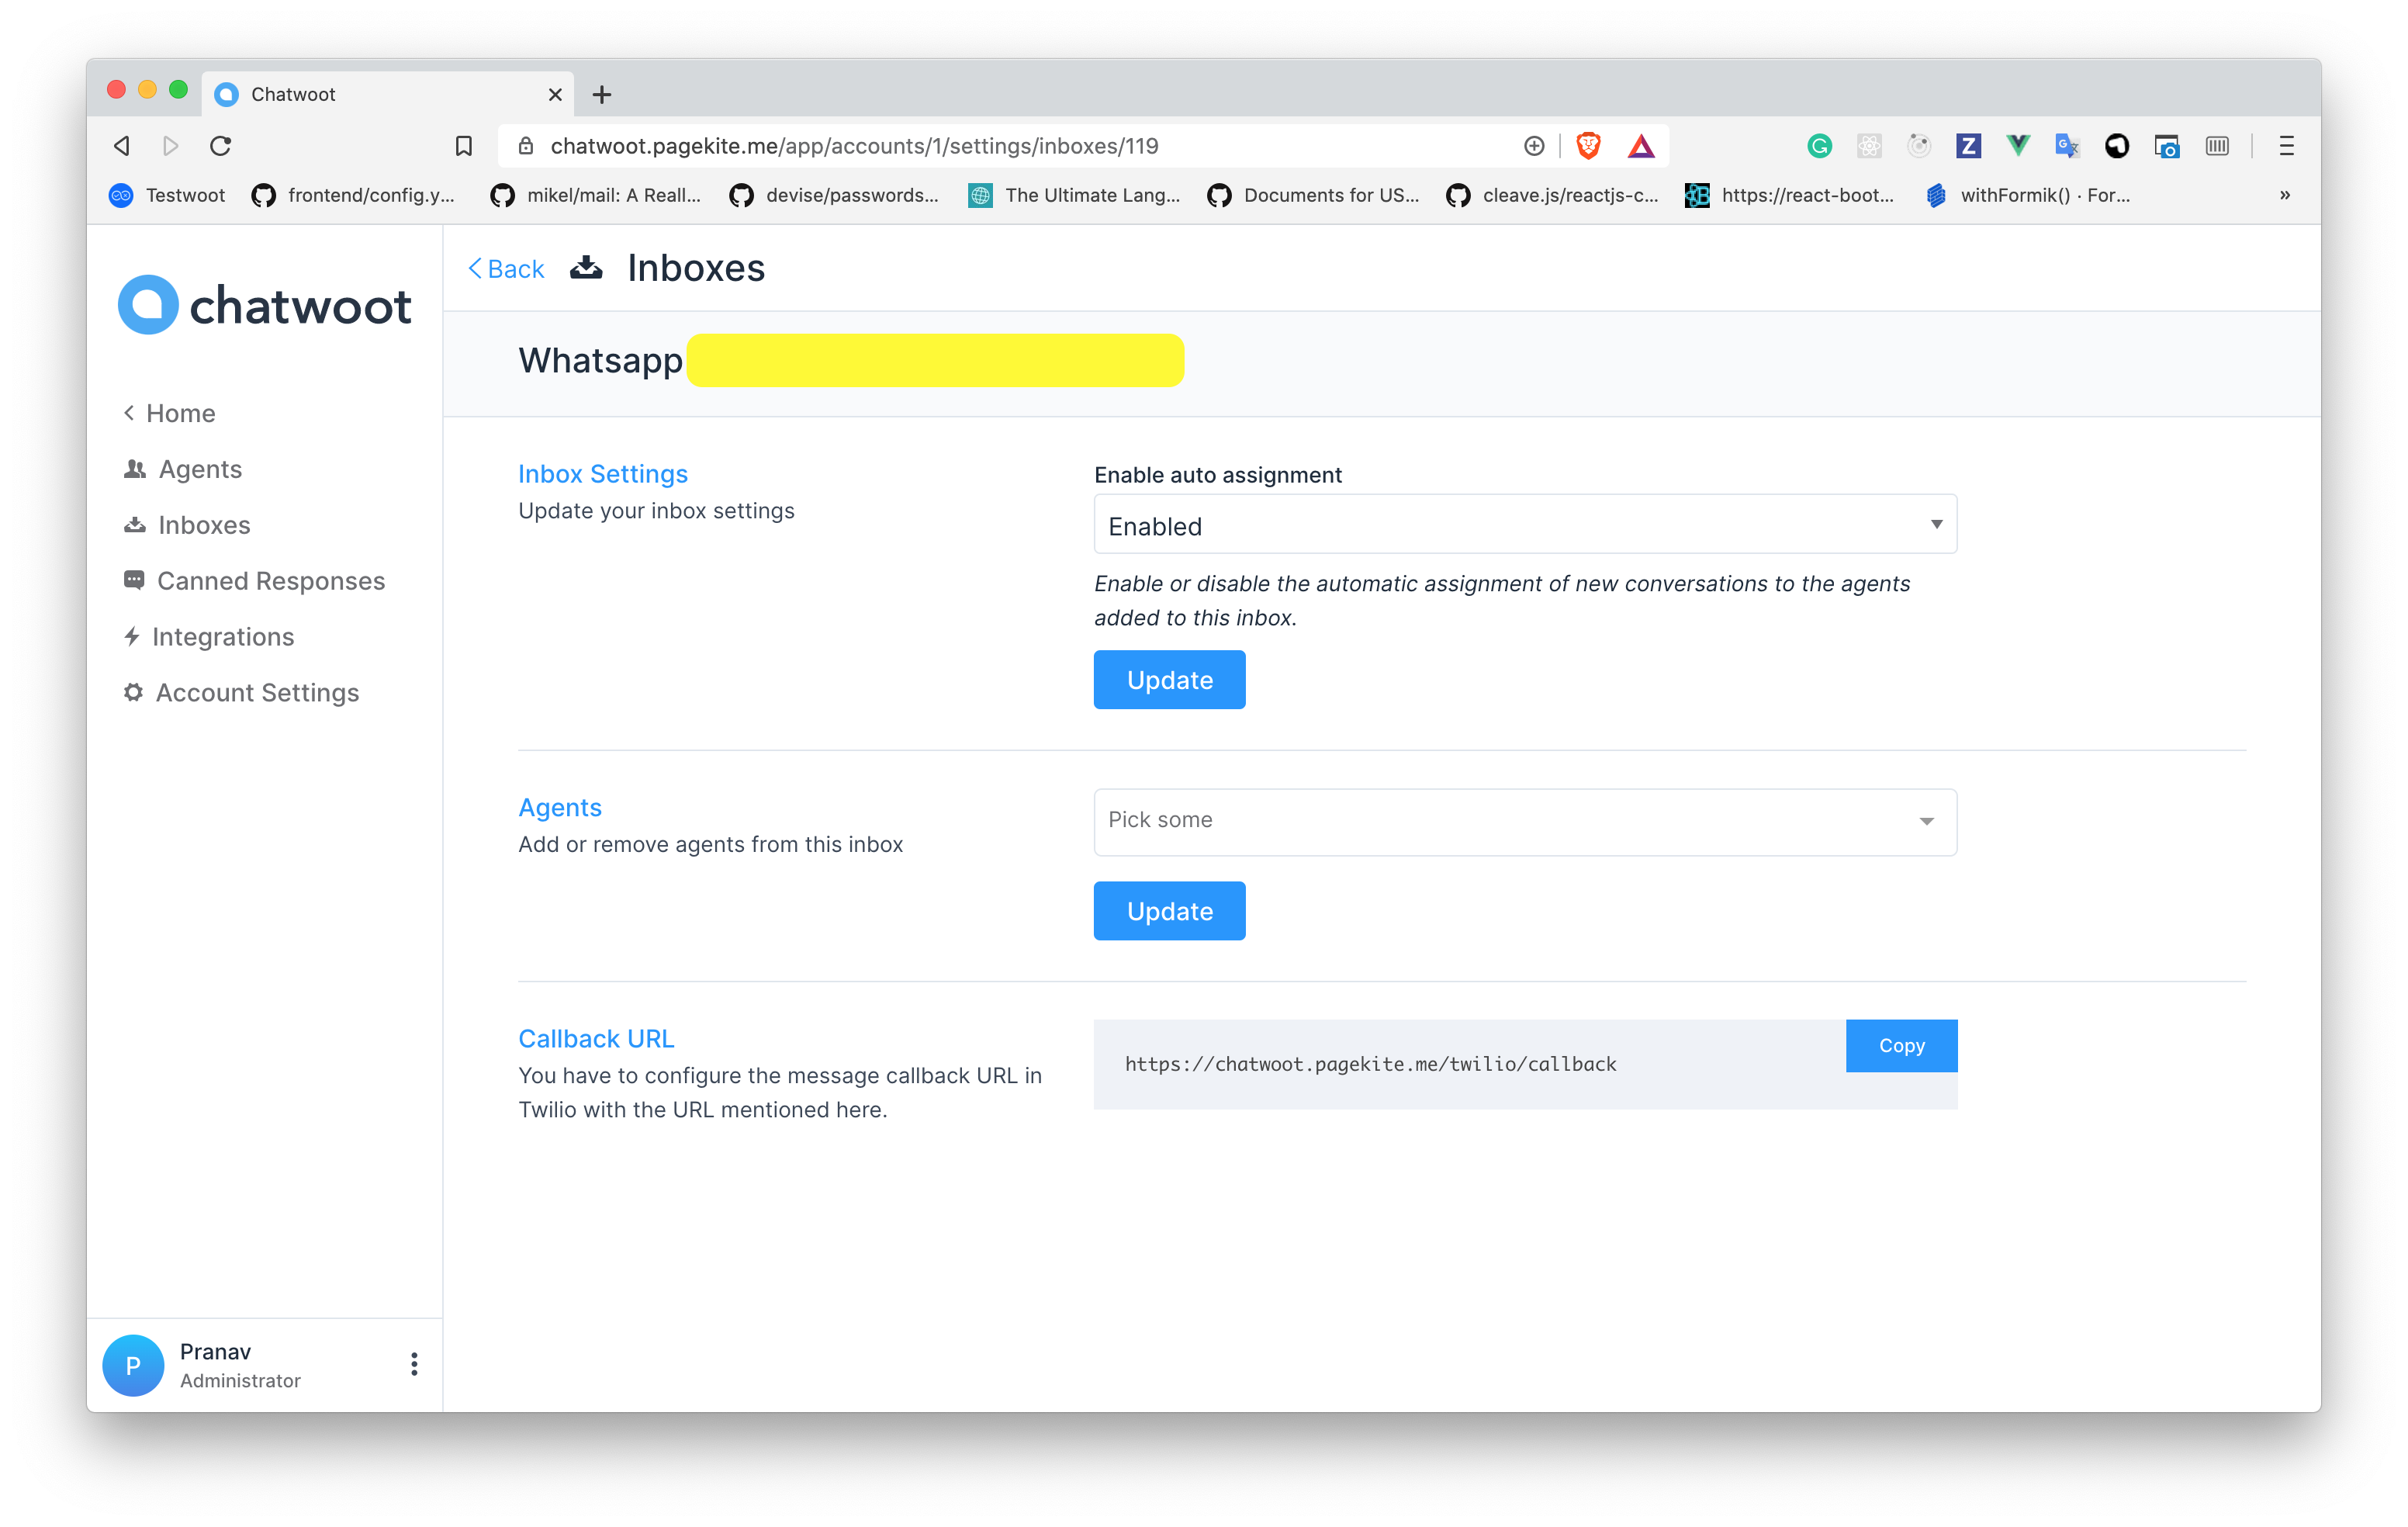
If you are connecting a WhatsApp channel, you have to configure a callback URL in the Twilio channel:
- Login to your Twilio Console.
- Go to
Programmable SMS > WhatsApp > Senders. - You will be able to see your phone number. Upon clicking it, you will see a field like the one shown below.
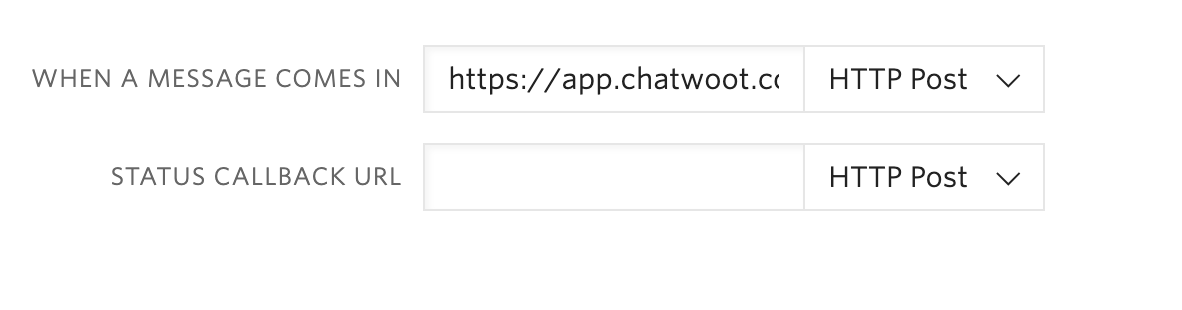
- Provide
https://app.hoory.com/twilio/callbackas the value forWHEN A MESSAGE COMES INinput.
Step 7. If you want to update the agents who have access to the channel, you can go to Settings > Channels.
Configuring Hoory AI with Twilio Studio
If you are using Twilio studio for a custom conversation flow, updating the webhook URL directly will break your exising integration.
For such cases you can follow the given steps.
- Identify the step in your flow where you want the
agent handoffto happen. - Add a
make http request widgetas shown below with the give values
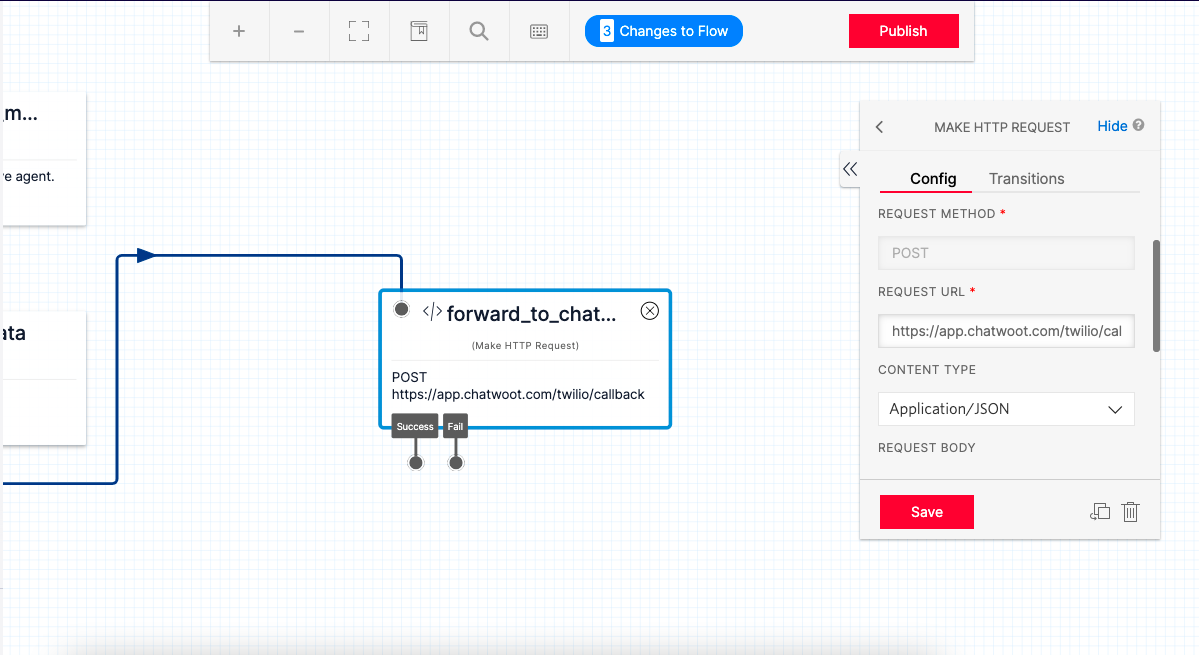
REQUEST METHOD : POST
REQUEST URL: https://app.hoory.com/twilio/callback
CONTENT TYPE: Application/JSON
REQUEST BODY: {{trigger.message | to_json }} Make changes as required based on your flow variables.
HTTP request widget will forward the message body to Hoory AI. It will create a conversation in Hoory AI from where the agent can reply.
- Make sure that your flow can handle the user reponses to Agent Replies.