Help Center
Hoory AI's Help Center allows you to create a portal and add articles directly from your Hoory app dashboard. You can connect the Help Center to the live chat widget of your website with a single click and showcase it as your public-facing help desk. Additionally, we provide SSL certificates for your help docs via our Hoory AI domain.
With the Help Center, you can provide targeted support to different segments of your customer base. Whether managing multiple brands, products, or services, you can create a unique portal for each and manage all of them from a centralized dashboard. Besides, you can make your articles accessible to everyone by publishing language-specific content in different locales.
Creating a Portal in Hoory's Dashboard
Now, let's create a product documentation portal for yourdomain.com, which will be served at docs.yourdomain.com.
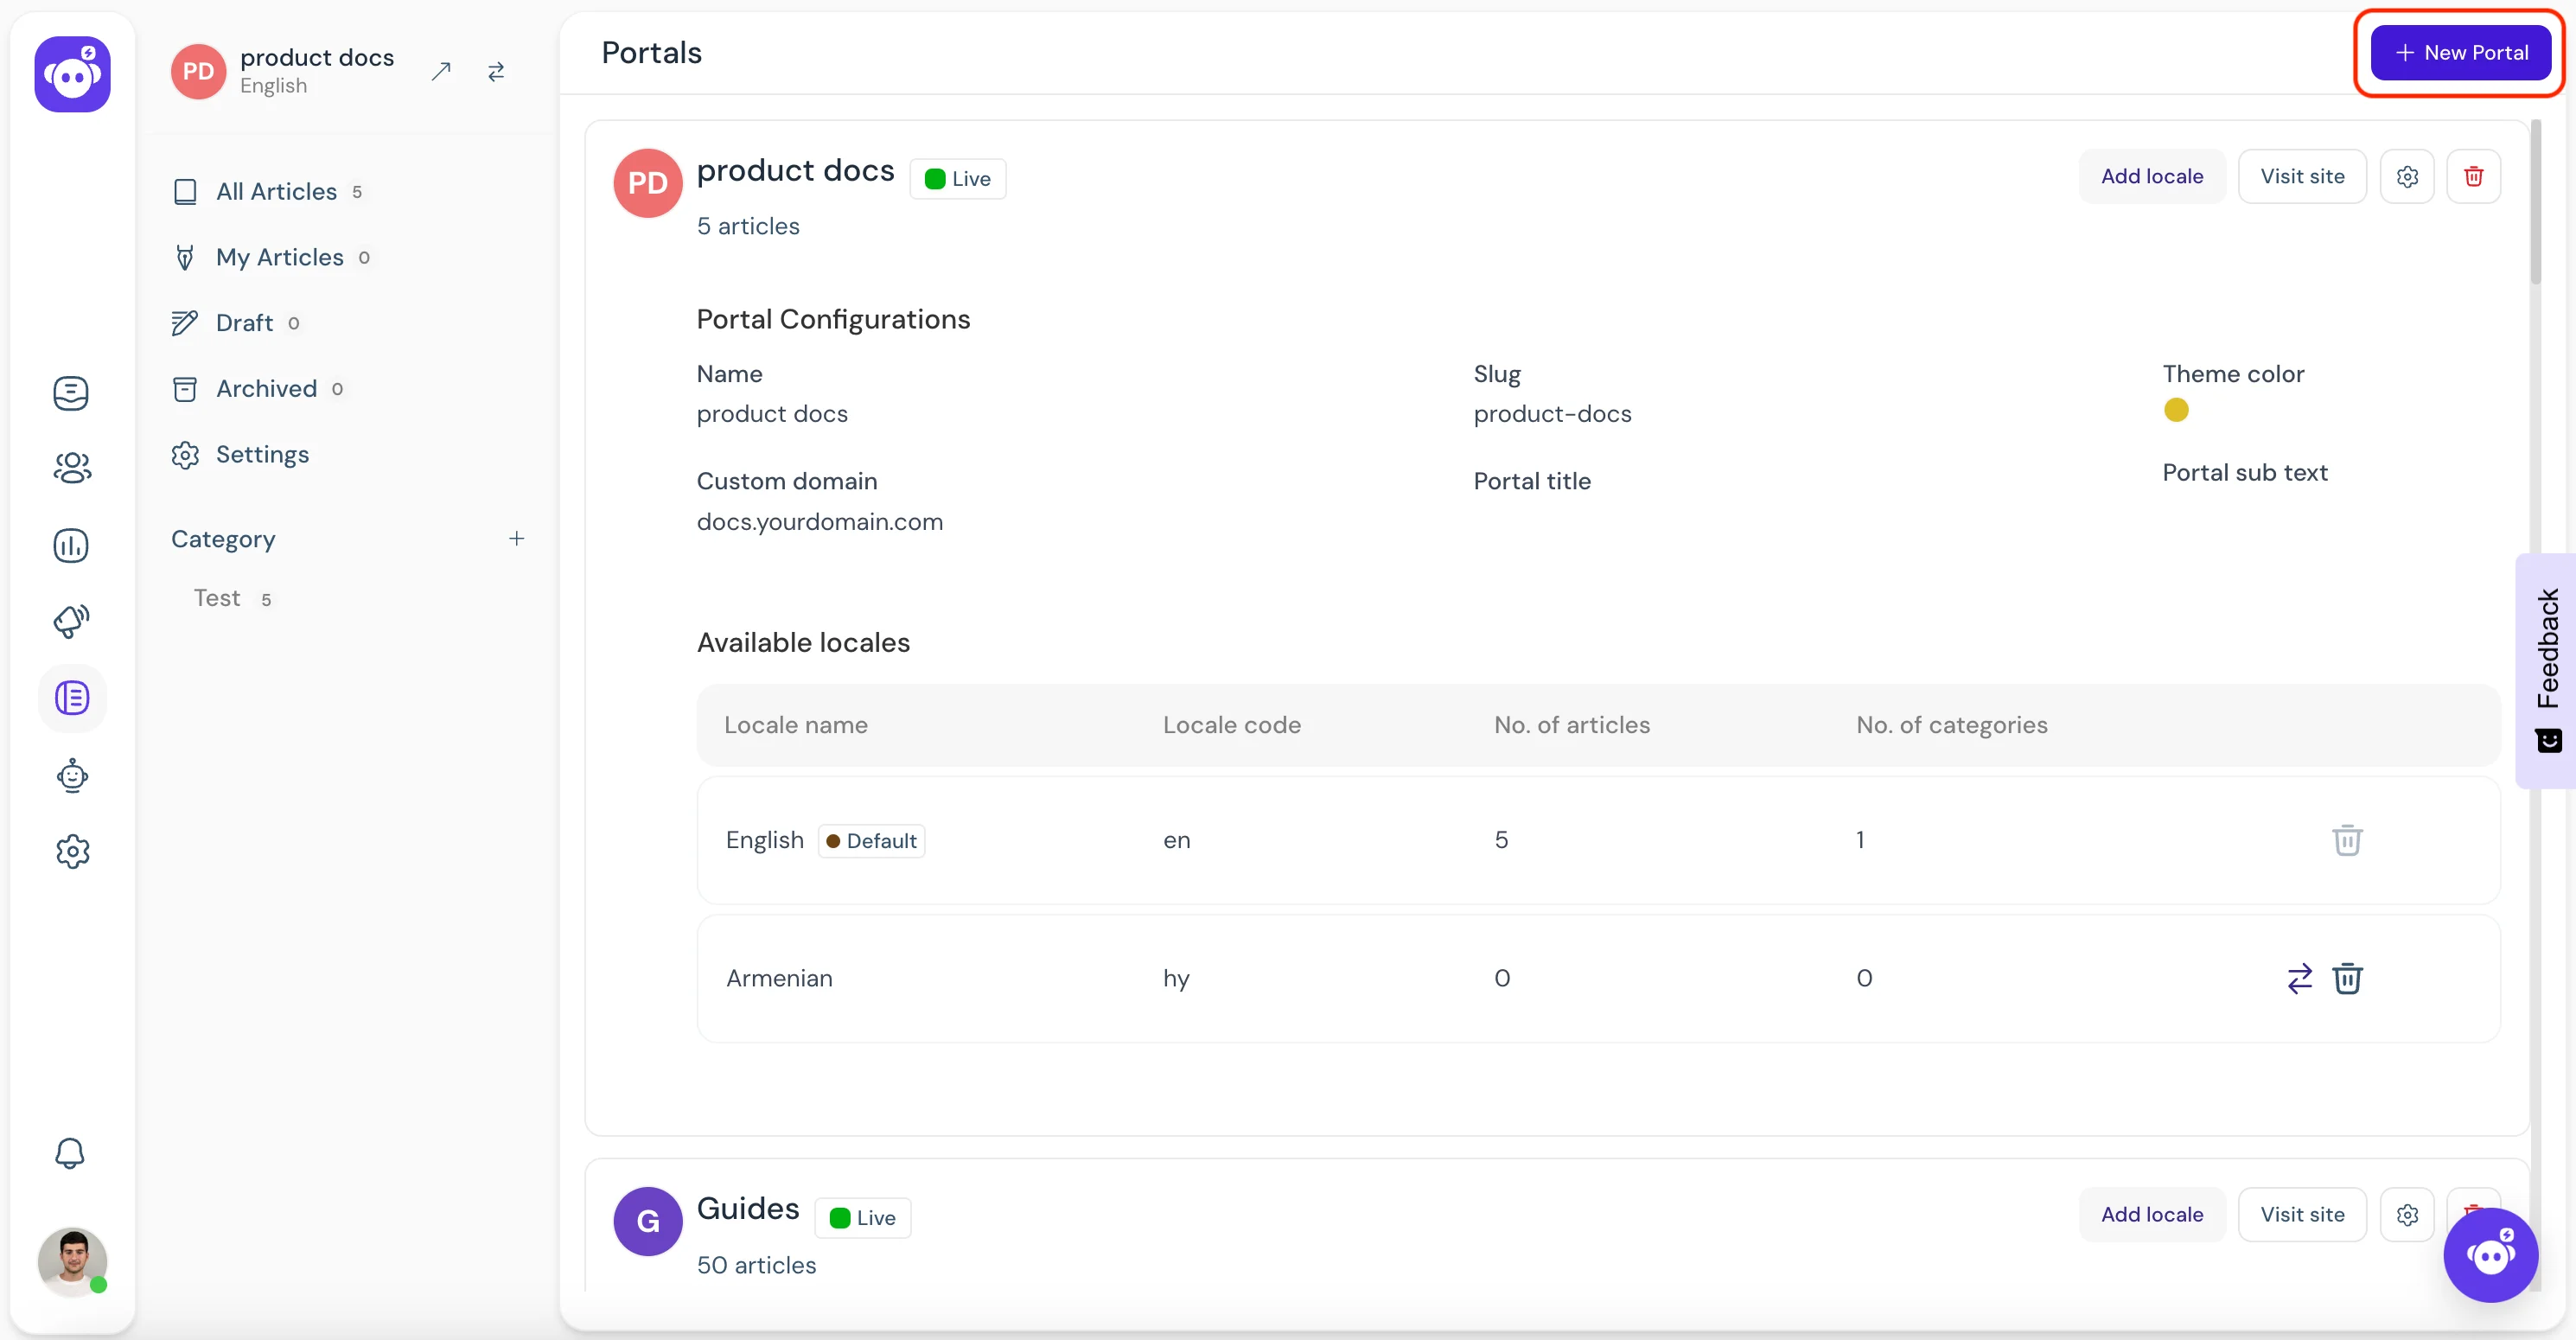
- Navigate to the Help Center.
- Click "New Portal."
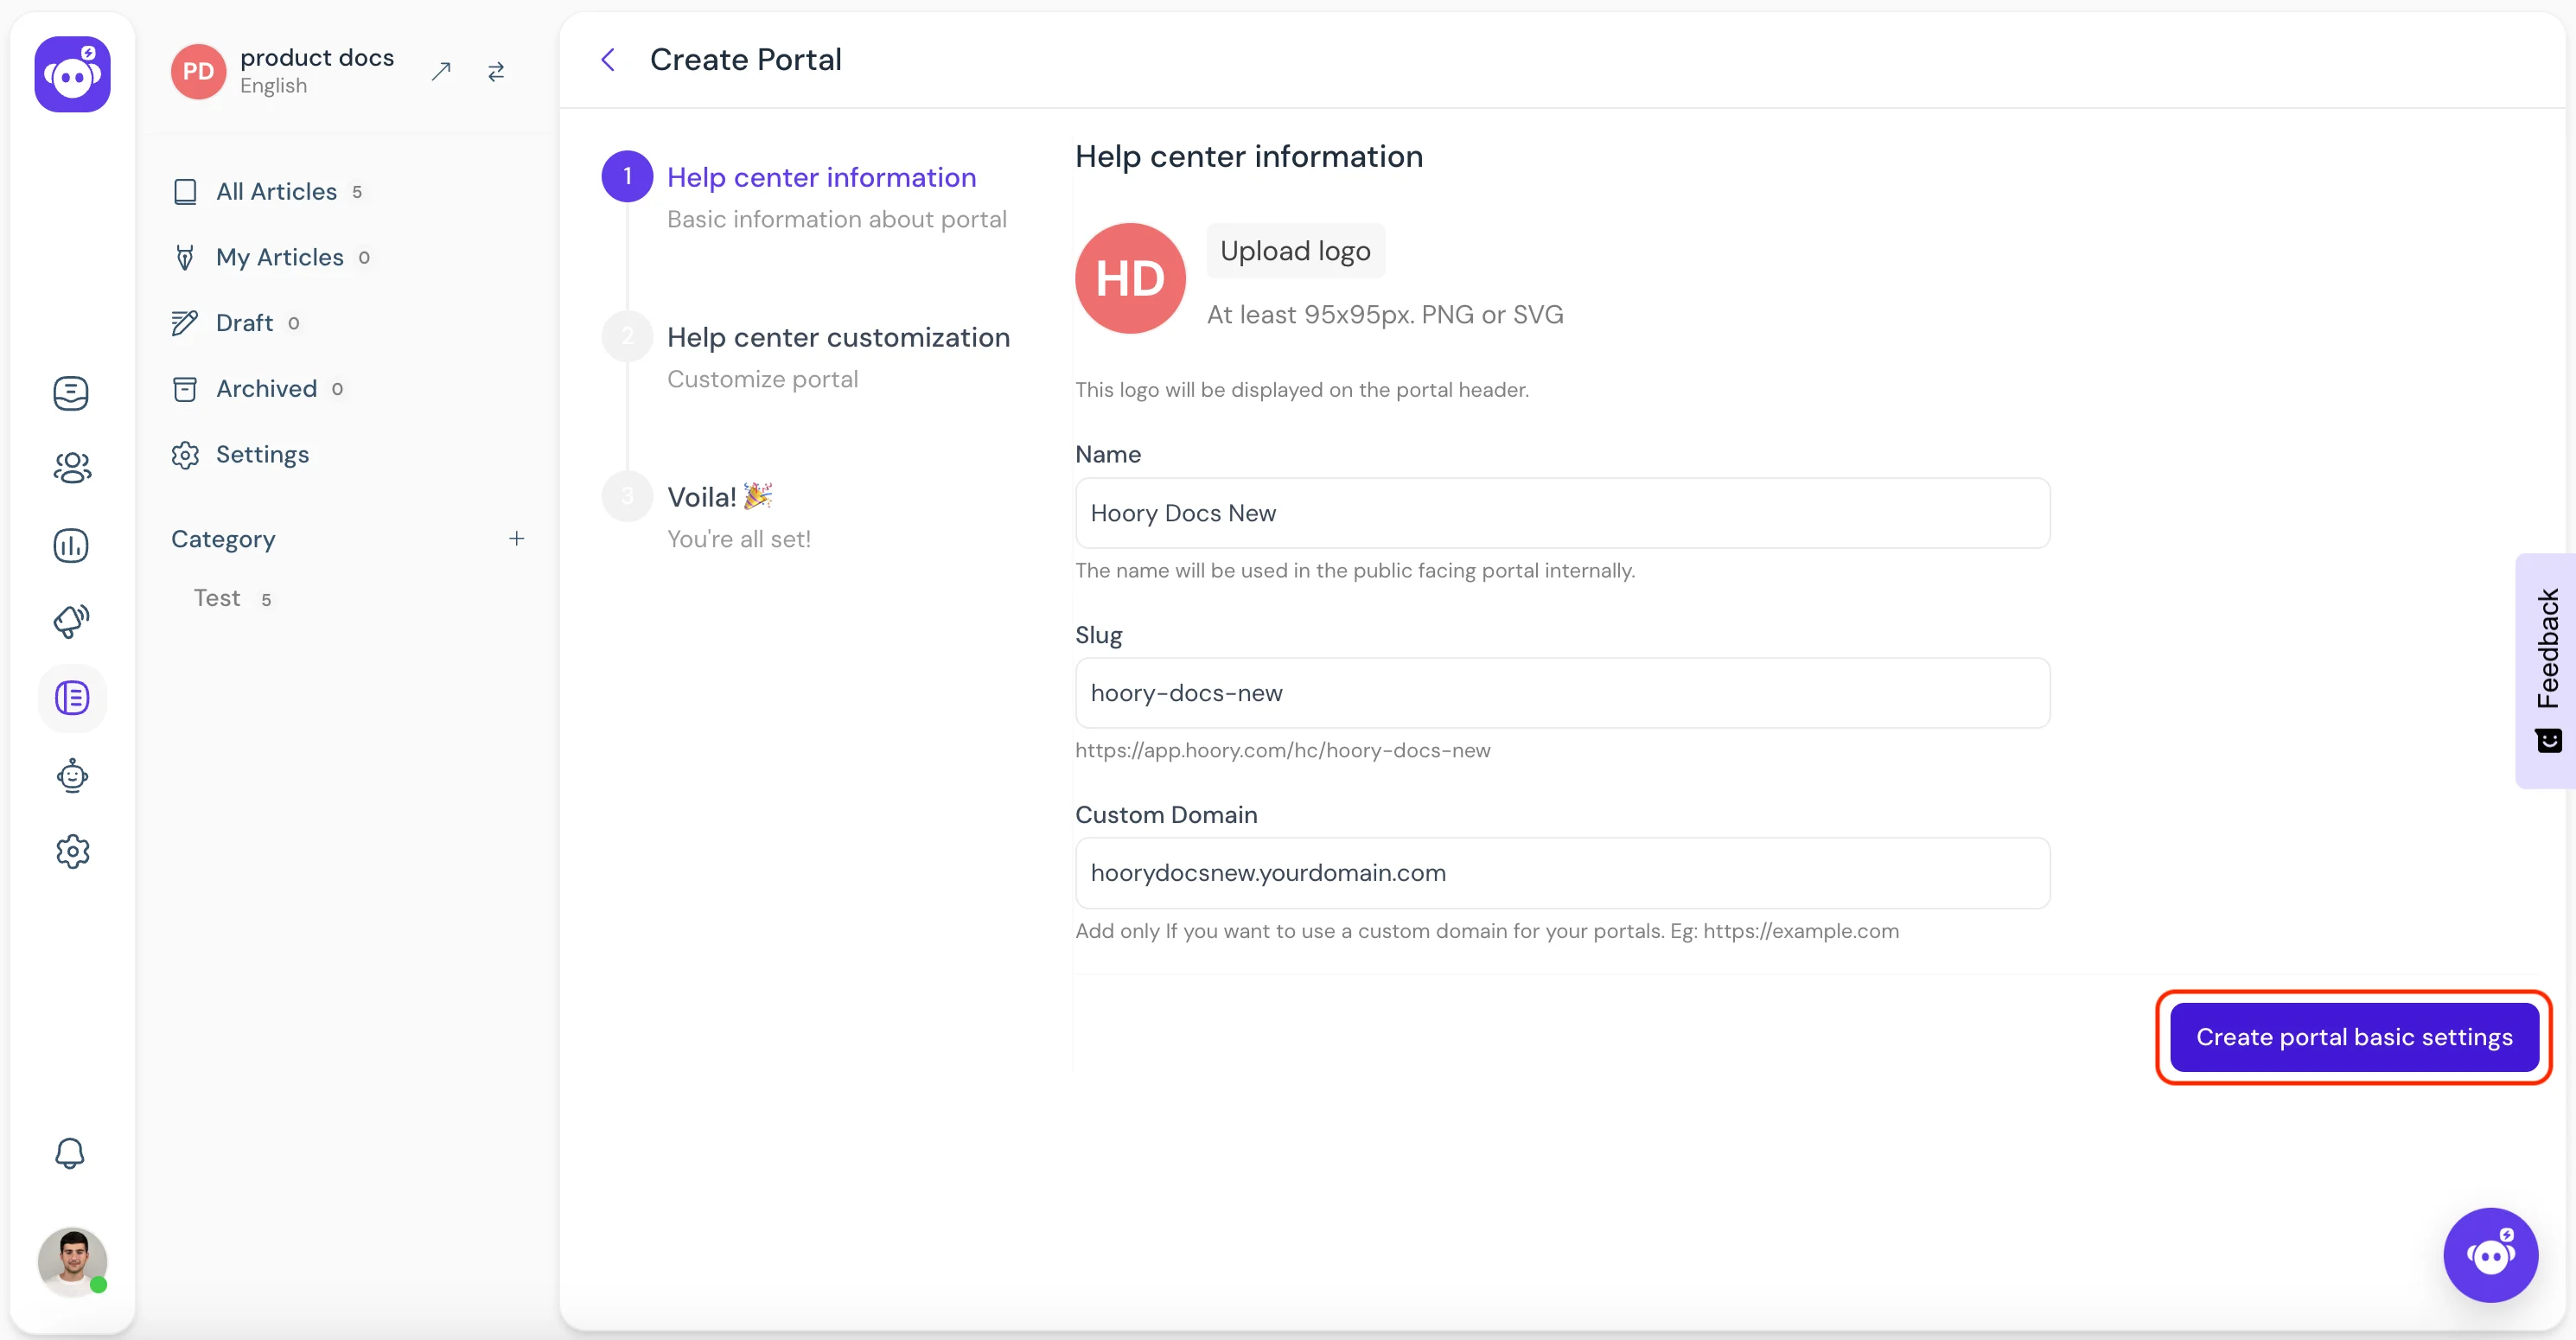
- Add Basic Information:
- Fill in the details about your portal.
- Specify the custom domain where you want to serve your portal (e.g., if your main site is yourdomain.com, and you want your portal at docs.yourdomain.com, enter docs.yourdomain.com as your custom domain).
- Enter the portal name, which will be the heading of your portal.
- Note: The slug is auto-generated; do not change it.
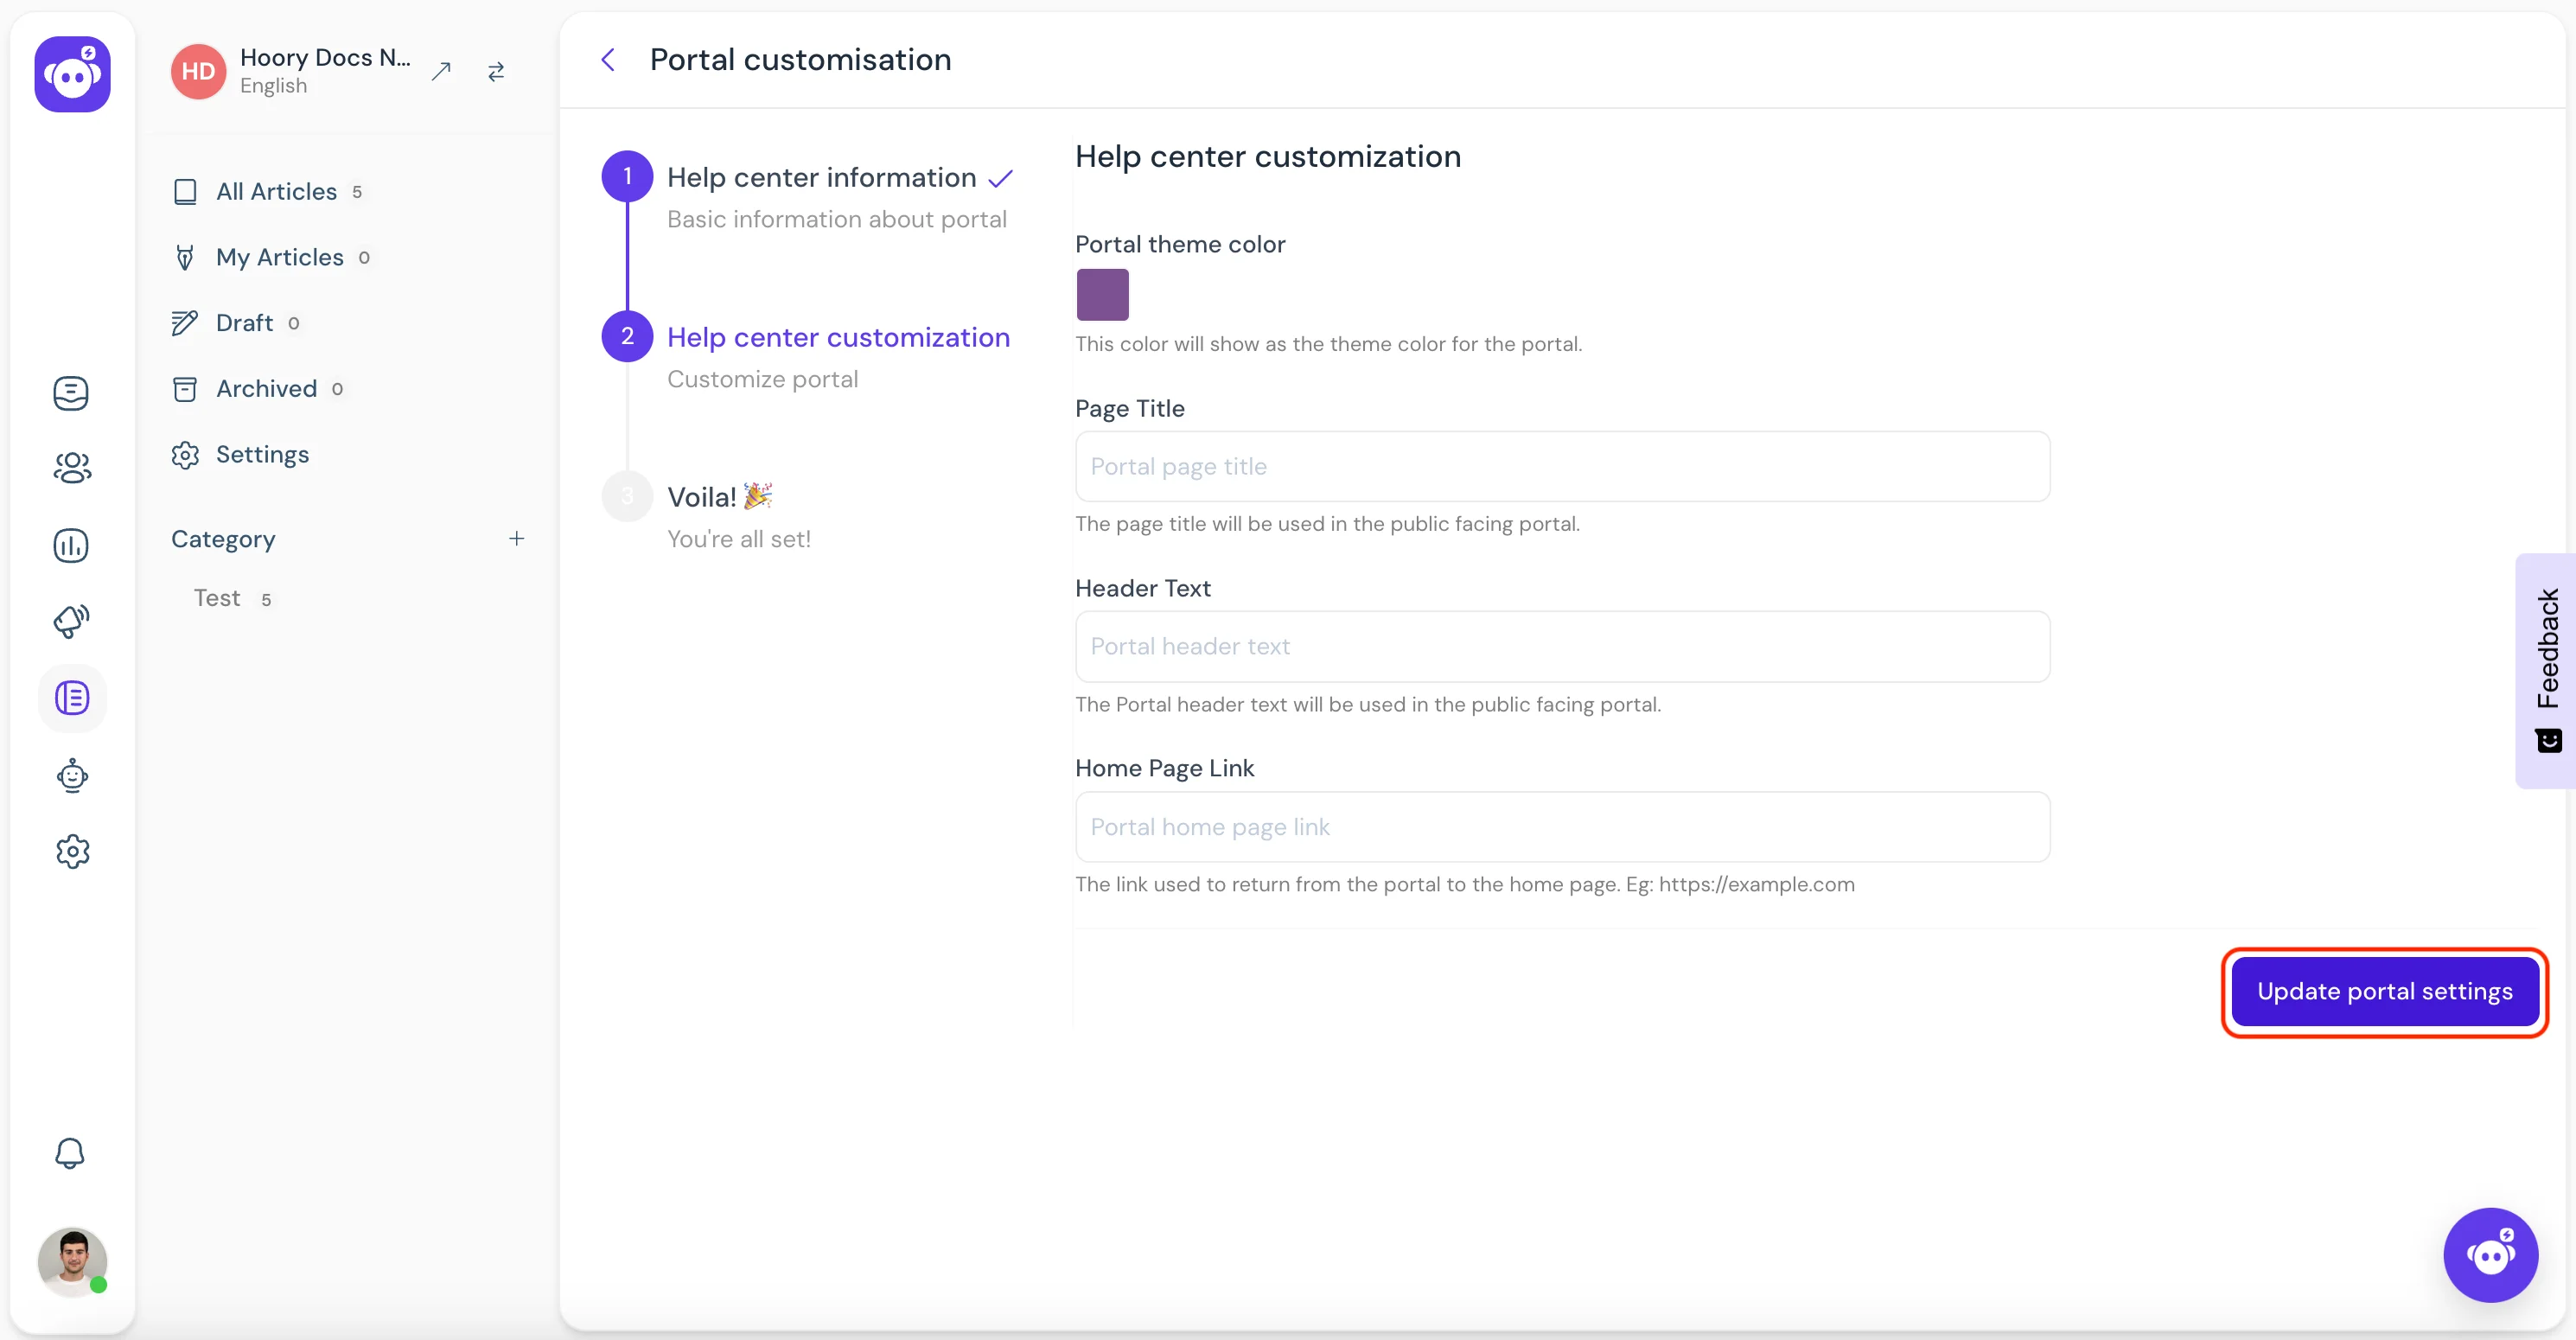
- Customize Your Portal:
- Add customization details such as theme color, page title, header text, and homepage settings. These can match the theme and style of yourdomain.com.
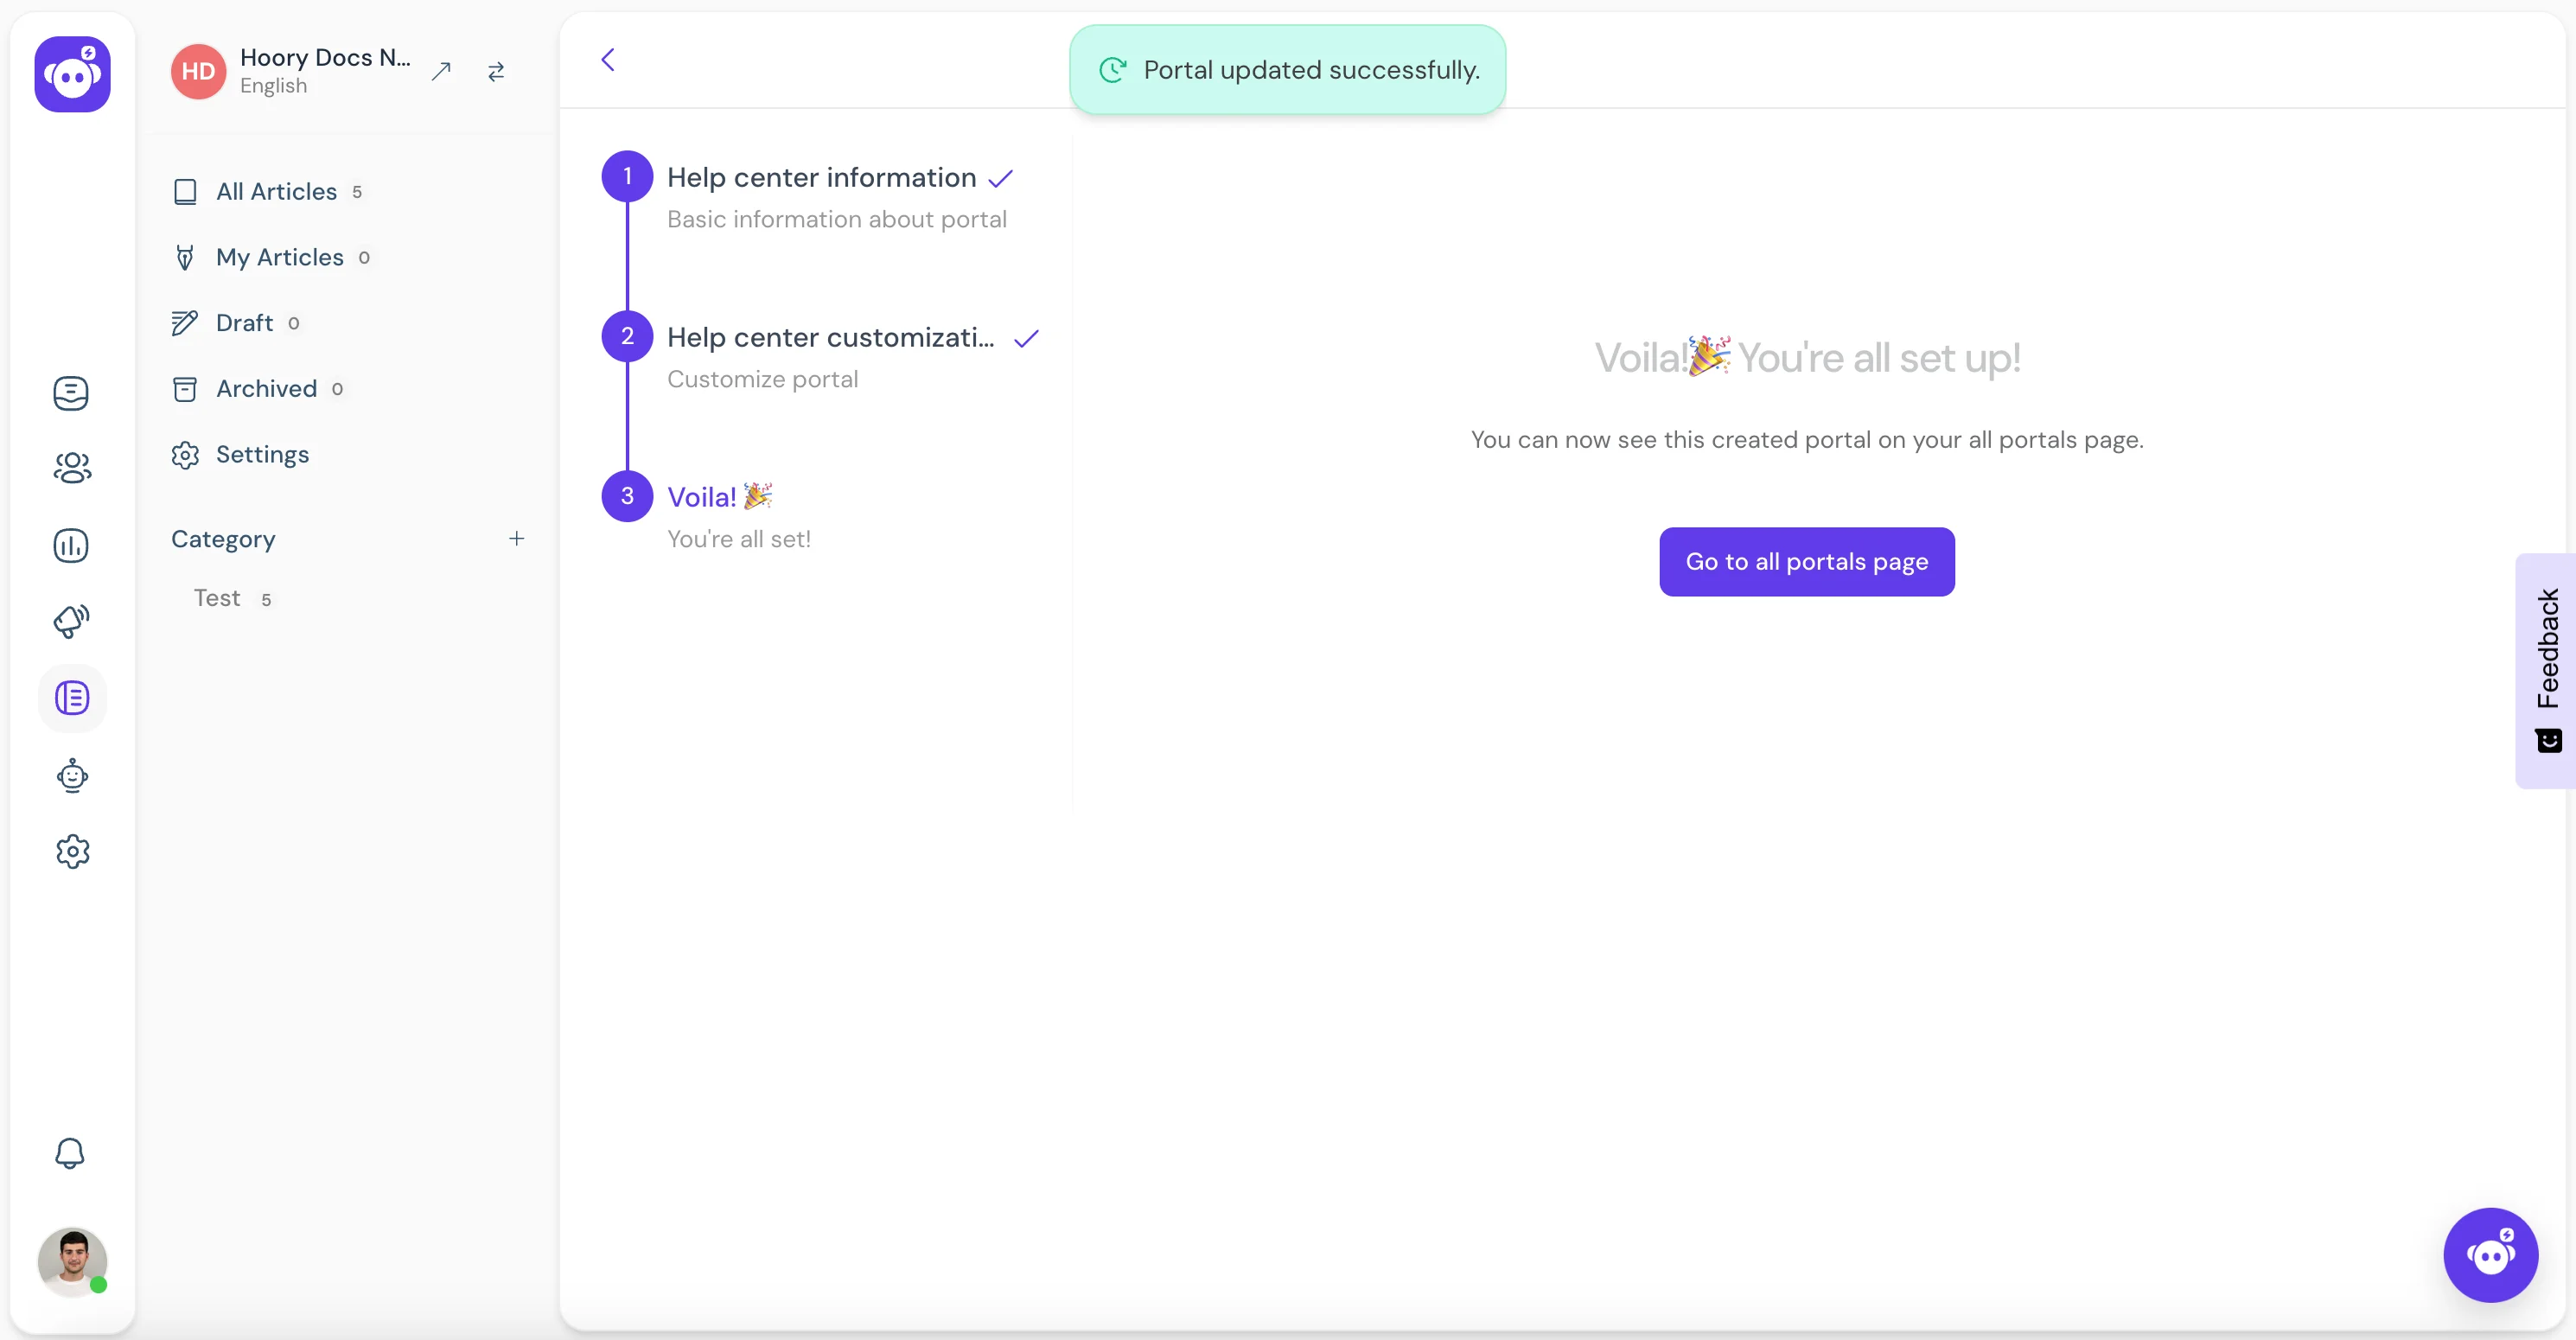
Note that you can have multiple portals and different locales for each one. Your portal is now set up! Now, let's get to adding articles to your Help Center.
Creating a Category and Publishing an Article in Your Public-Facing Portal
Create a Category
To create a new category:
- Navigate to Settings.
- Open the Categories tab.
- Click the **+ New Category ** button.
- Fill in the necessary fields:
- Name: Enter the name of the category.
- Slug: Provide a unique slug for the category.
- Description: Add a description to give context to the category.
- Click the Create Category button.
Publish an Article
- Navigate to All Articles.
- Click the + New Article button at the top right corner.
- Copy and paste your article. Use the editing tools available to format your article (bold, italics, etc.).
- Configure the article settings.
- Select a Category: Assign the article to a relevant category.
- Author: Specify the author of the article.
- Meta Title: Provide a meta title for SEO purposes.
- Meta Description: Add a meta description to summarize the article.
- Meta Tags: Include relevant meta tags.
- Slug: Ensure the article has a unique slug.
- Click the Preview button to see how the article will appear in the portal.
- If everything looks good, hit the Publish button to make the article live. You can also:
- Save as Draft: Select Draft from the publish button dropdown to keep the article as a draft.
- Archive: Click the Archive button in the bottom right sidebar to archive the article.
- Delete: Click the Delete button in the bottom right sidebar to delete the article. By following these steps, you'll successfully categorize and publish articles in your public-facing portal, ensuring an organized and accessible content structure.
Attaching Your Help Center Portal to a Website Inbox
To attach your newly created Help Center portal to a specific website inbox, follow these steps:
- Go to Settings.
- Click Inboxes.
- Find the inbox you want to connect to your Help Center and access its settings.
- Within the main Settings tab, scroll down until you see the "Help Center" dropdown menu.
- Select the Help Center portal you want to attach to this inbox.
- Click Update to save the changes.