Conversation Workflow
The customer initiates a conversation from the website front end through the widget.
For example, a customer types in 'hi'.
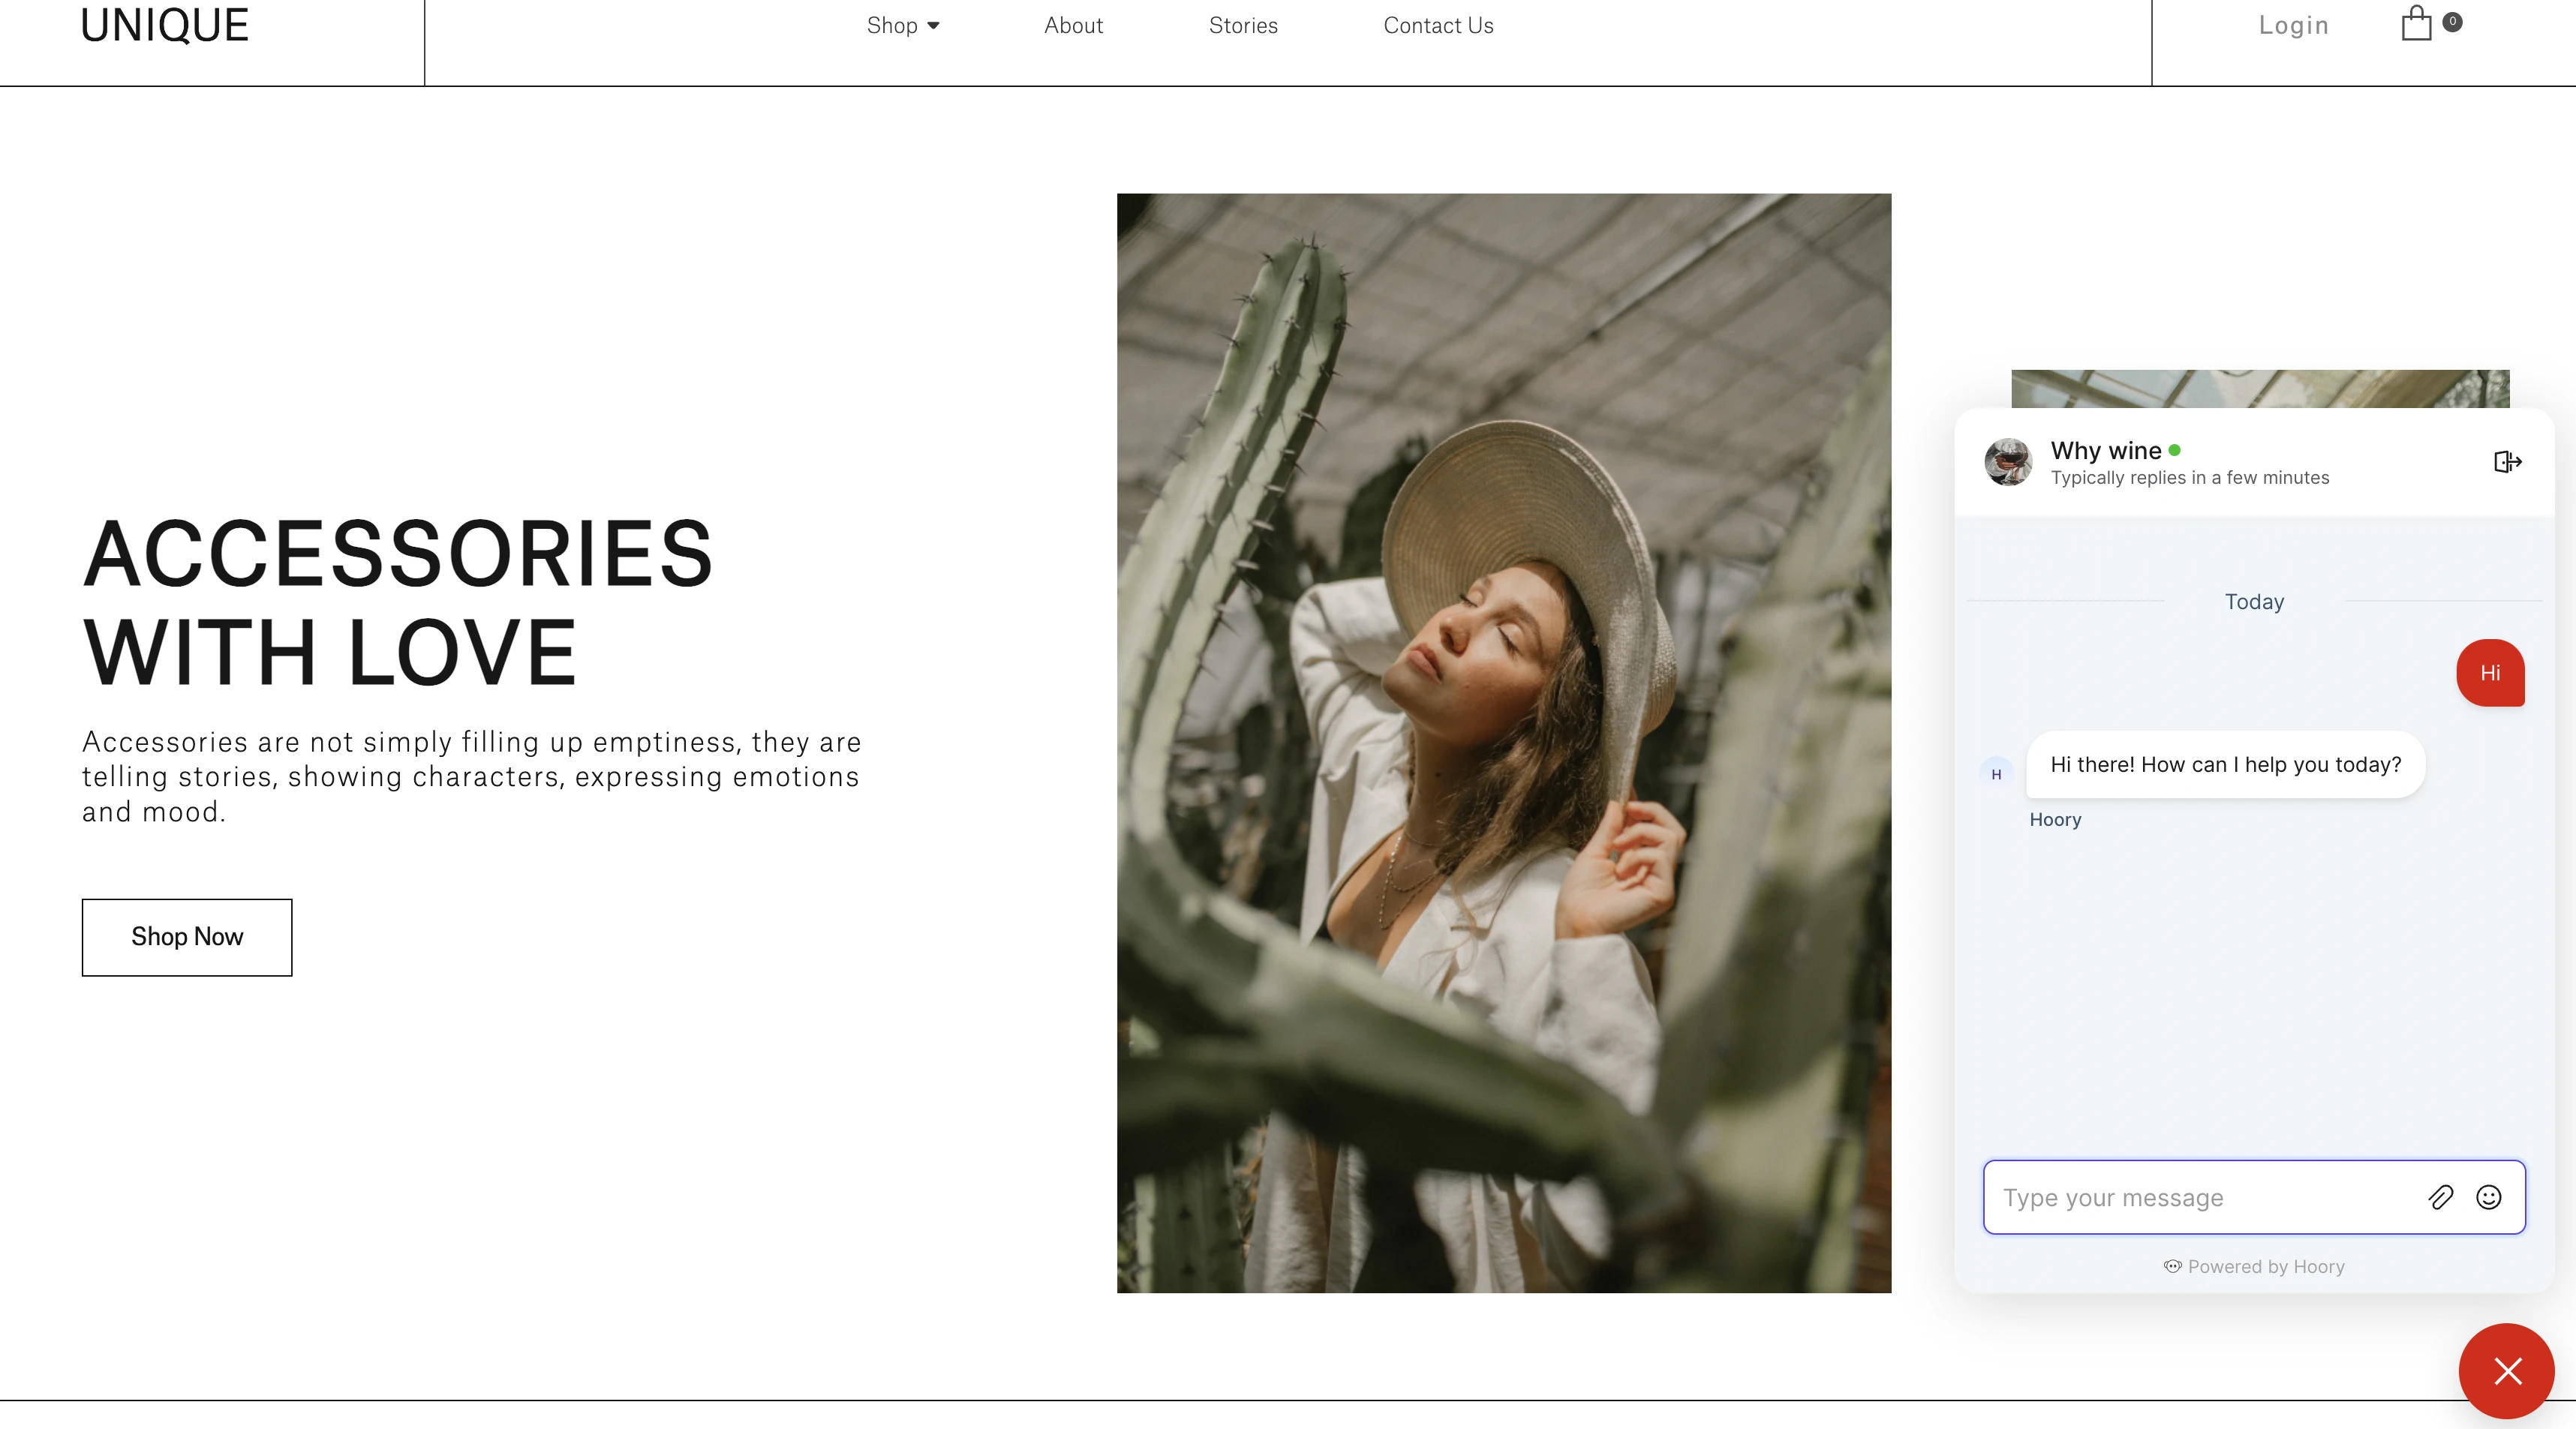
The automated response set in the channel greeting message will immediately be displayed on the screen as a reply. In addition, two more automated messages will be sent by the 'bot' to collect customer information (email ID) for further communication and record.
Campaigns
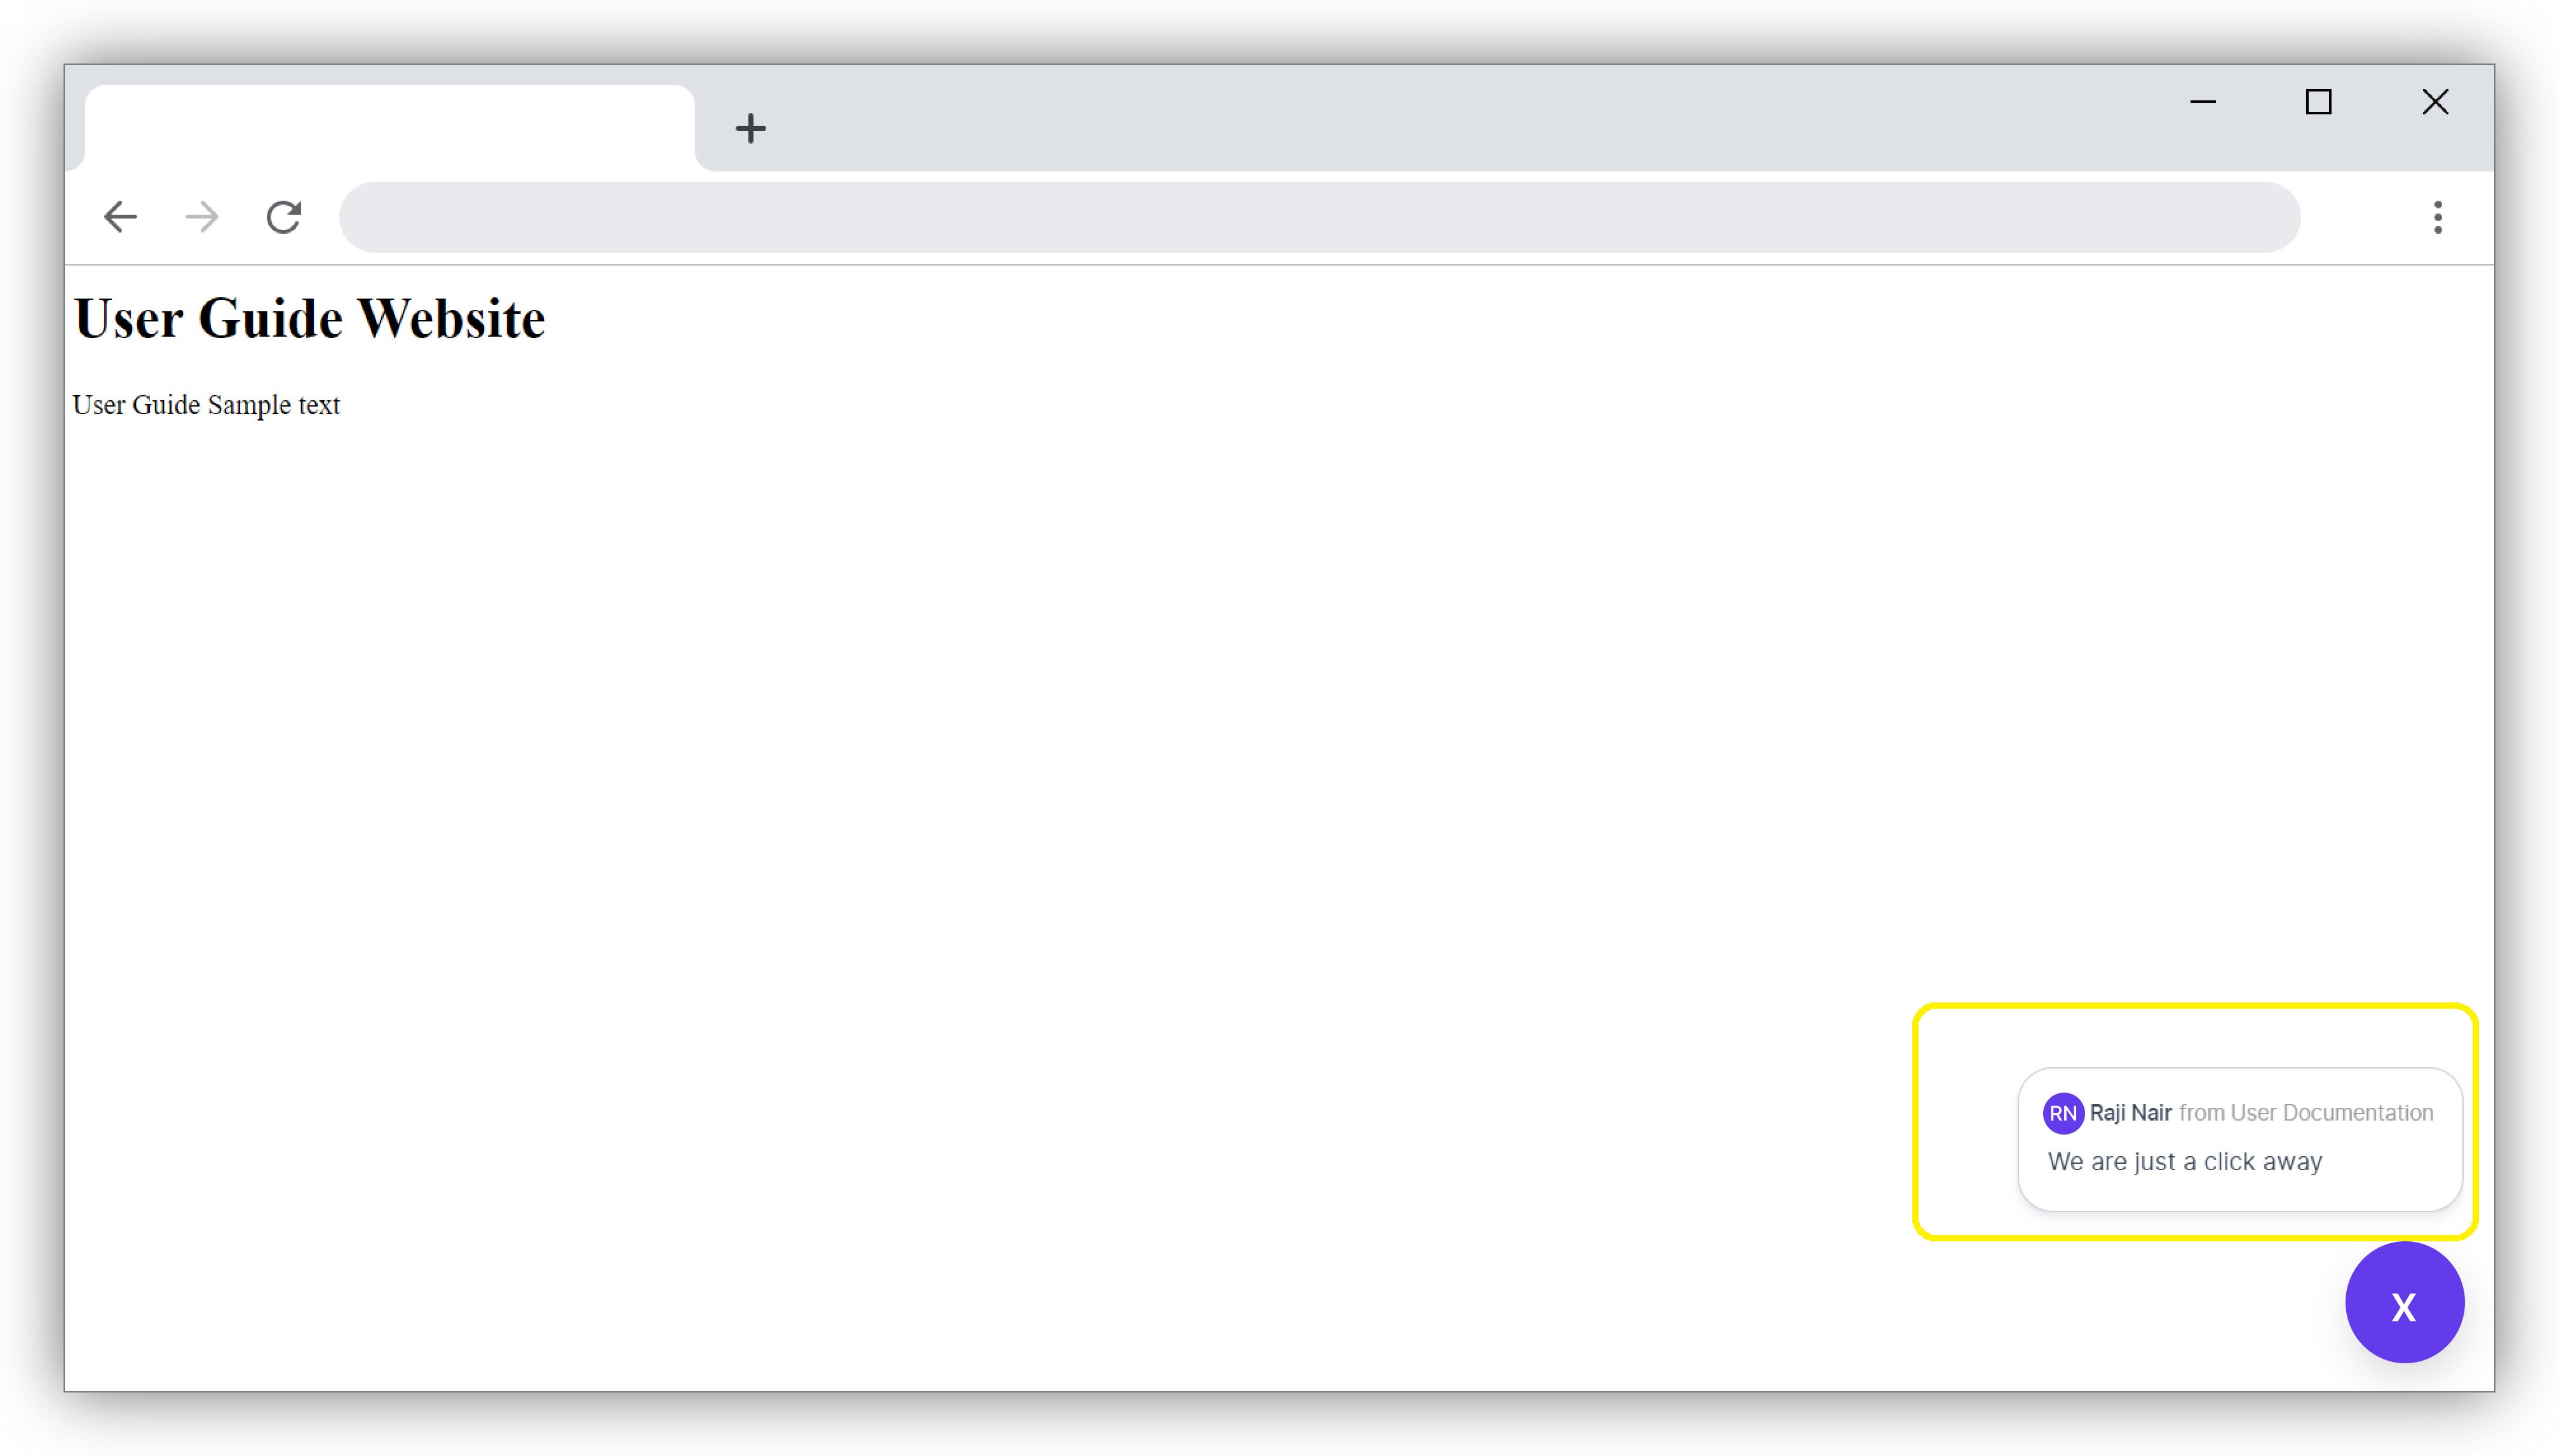
If the customer does not initiate conversation and you have enabled campaign message, the message will be displayed on the screen just above the widget to attract customer attention.
Pre-Chat Forms
If you have enabled Pre-Chat forms in the channel, as soon as the customer clicks the chat widget, the message requesting their name and email ID will appear on the screen as shown below.
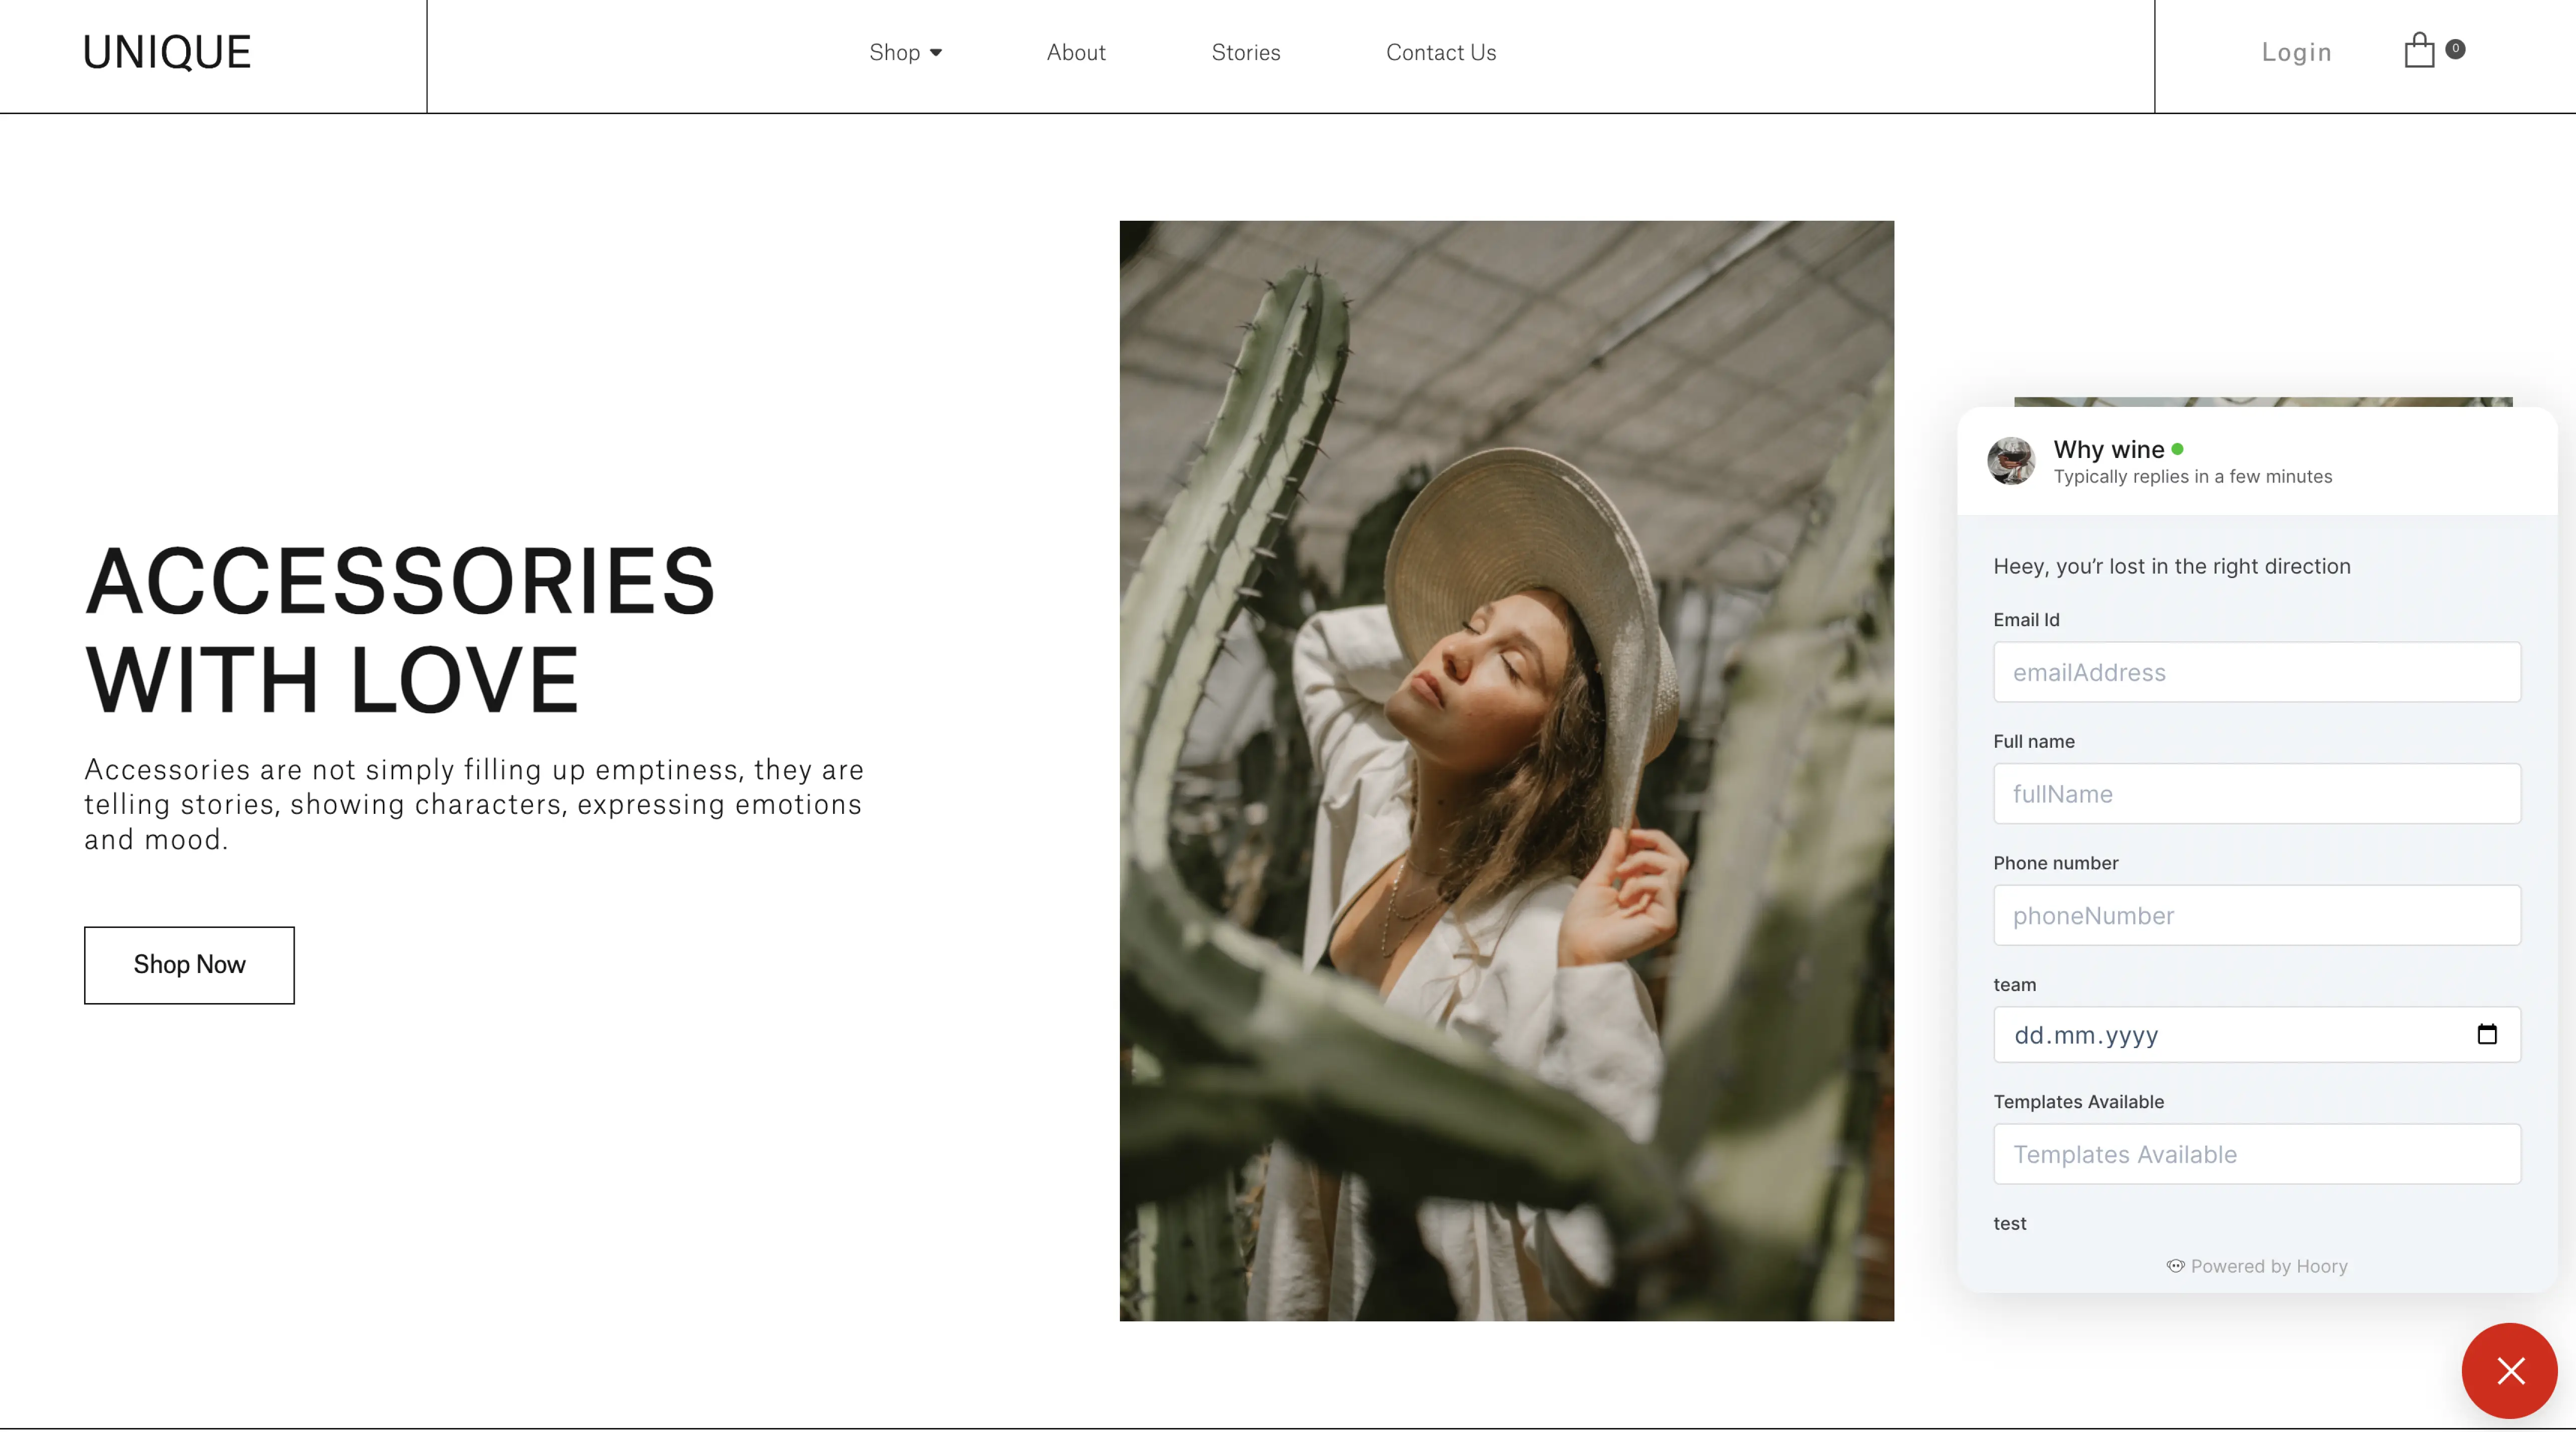
You can find more details about configuring pre-chat forms through this guide.
Now, let's look at how this message is captured in the Agent Dashboard.
Conversations
Go to the homescreen of Hoory AI agent dashboard.
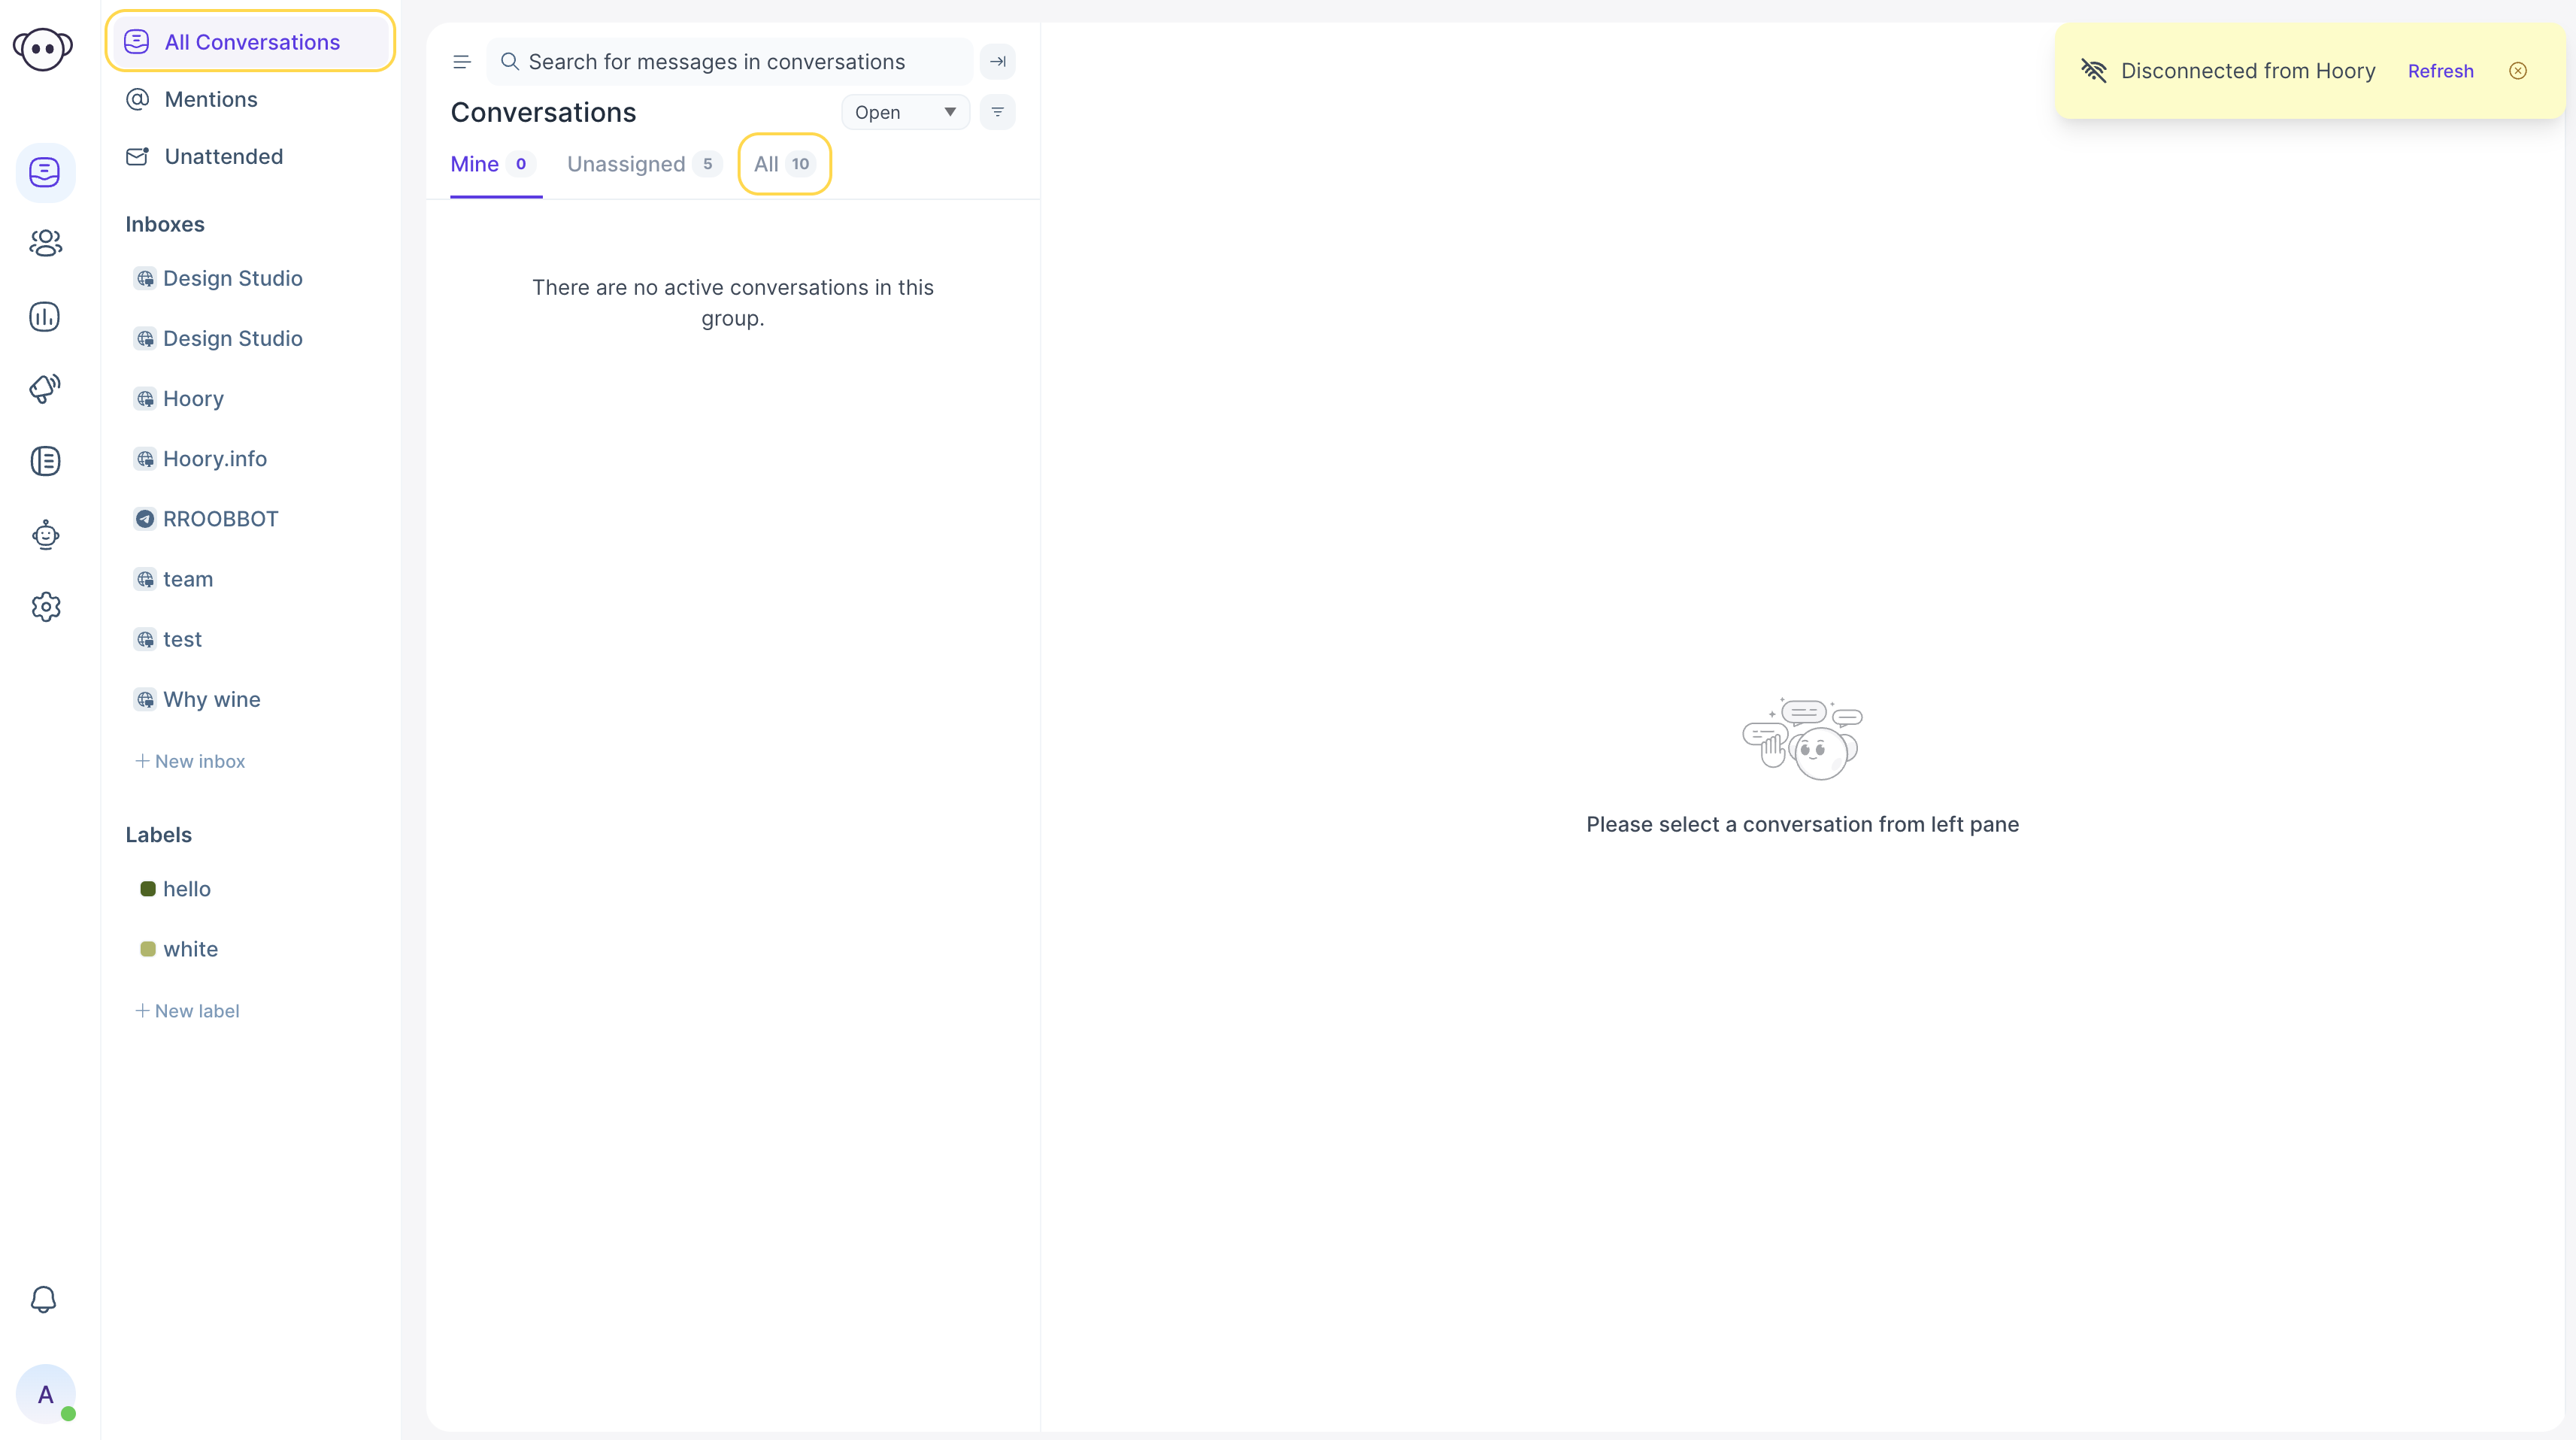
Click Conversations. Then click All. The conversation which the customer has initiated can be seen here.
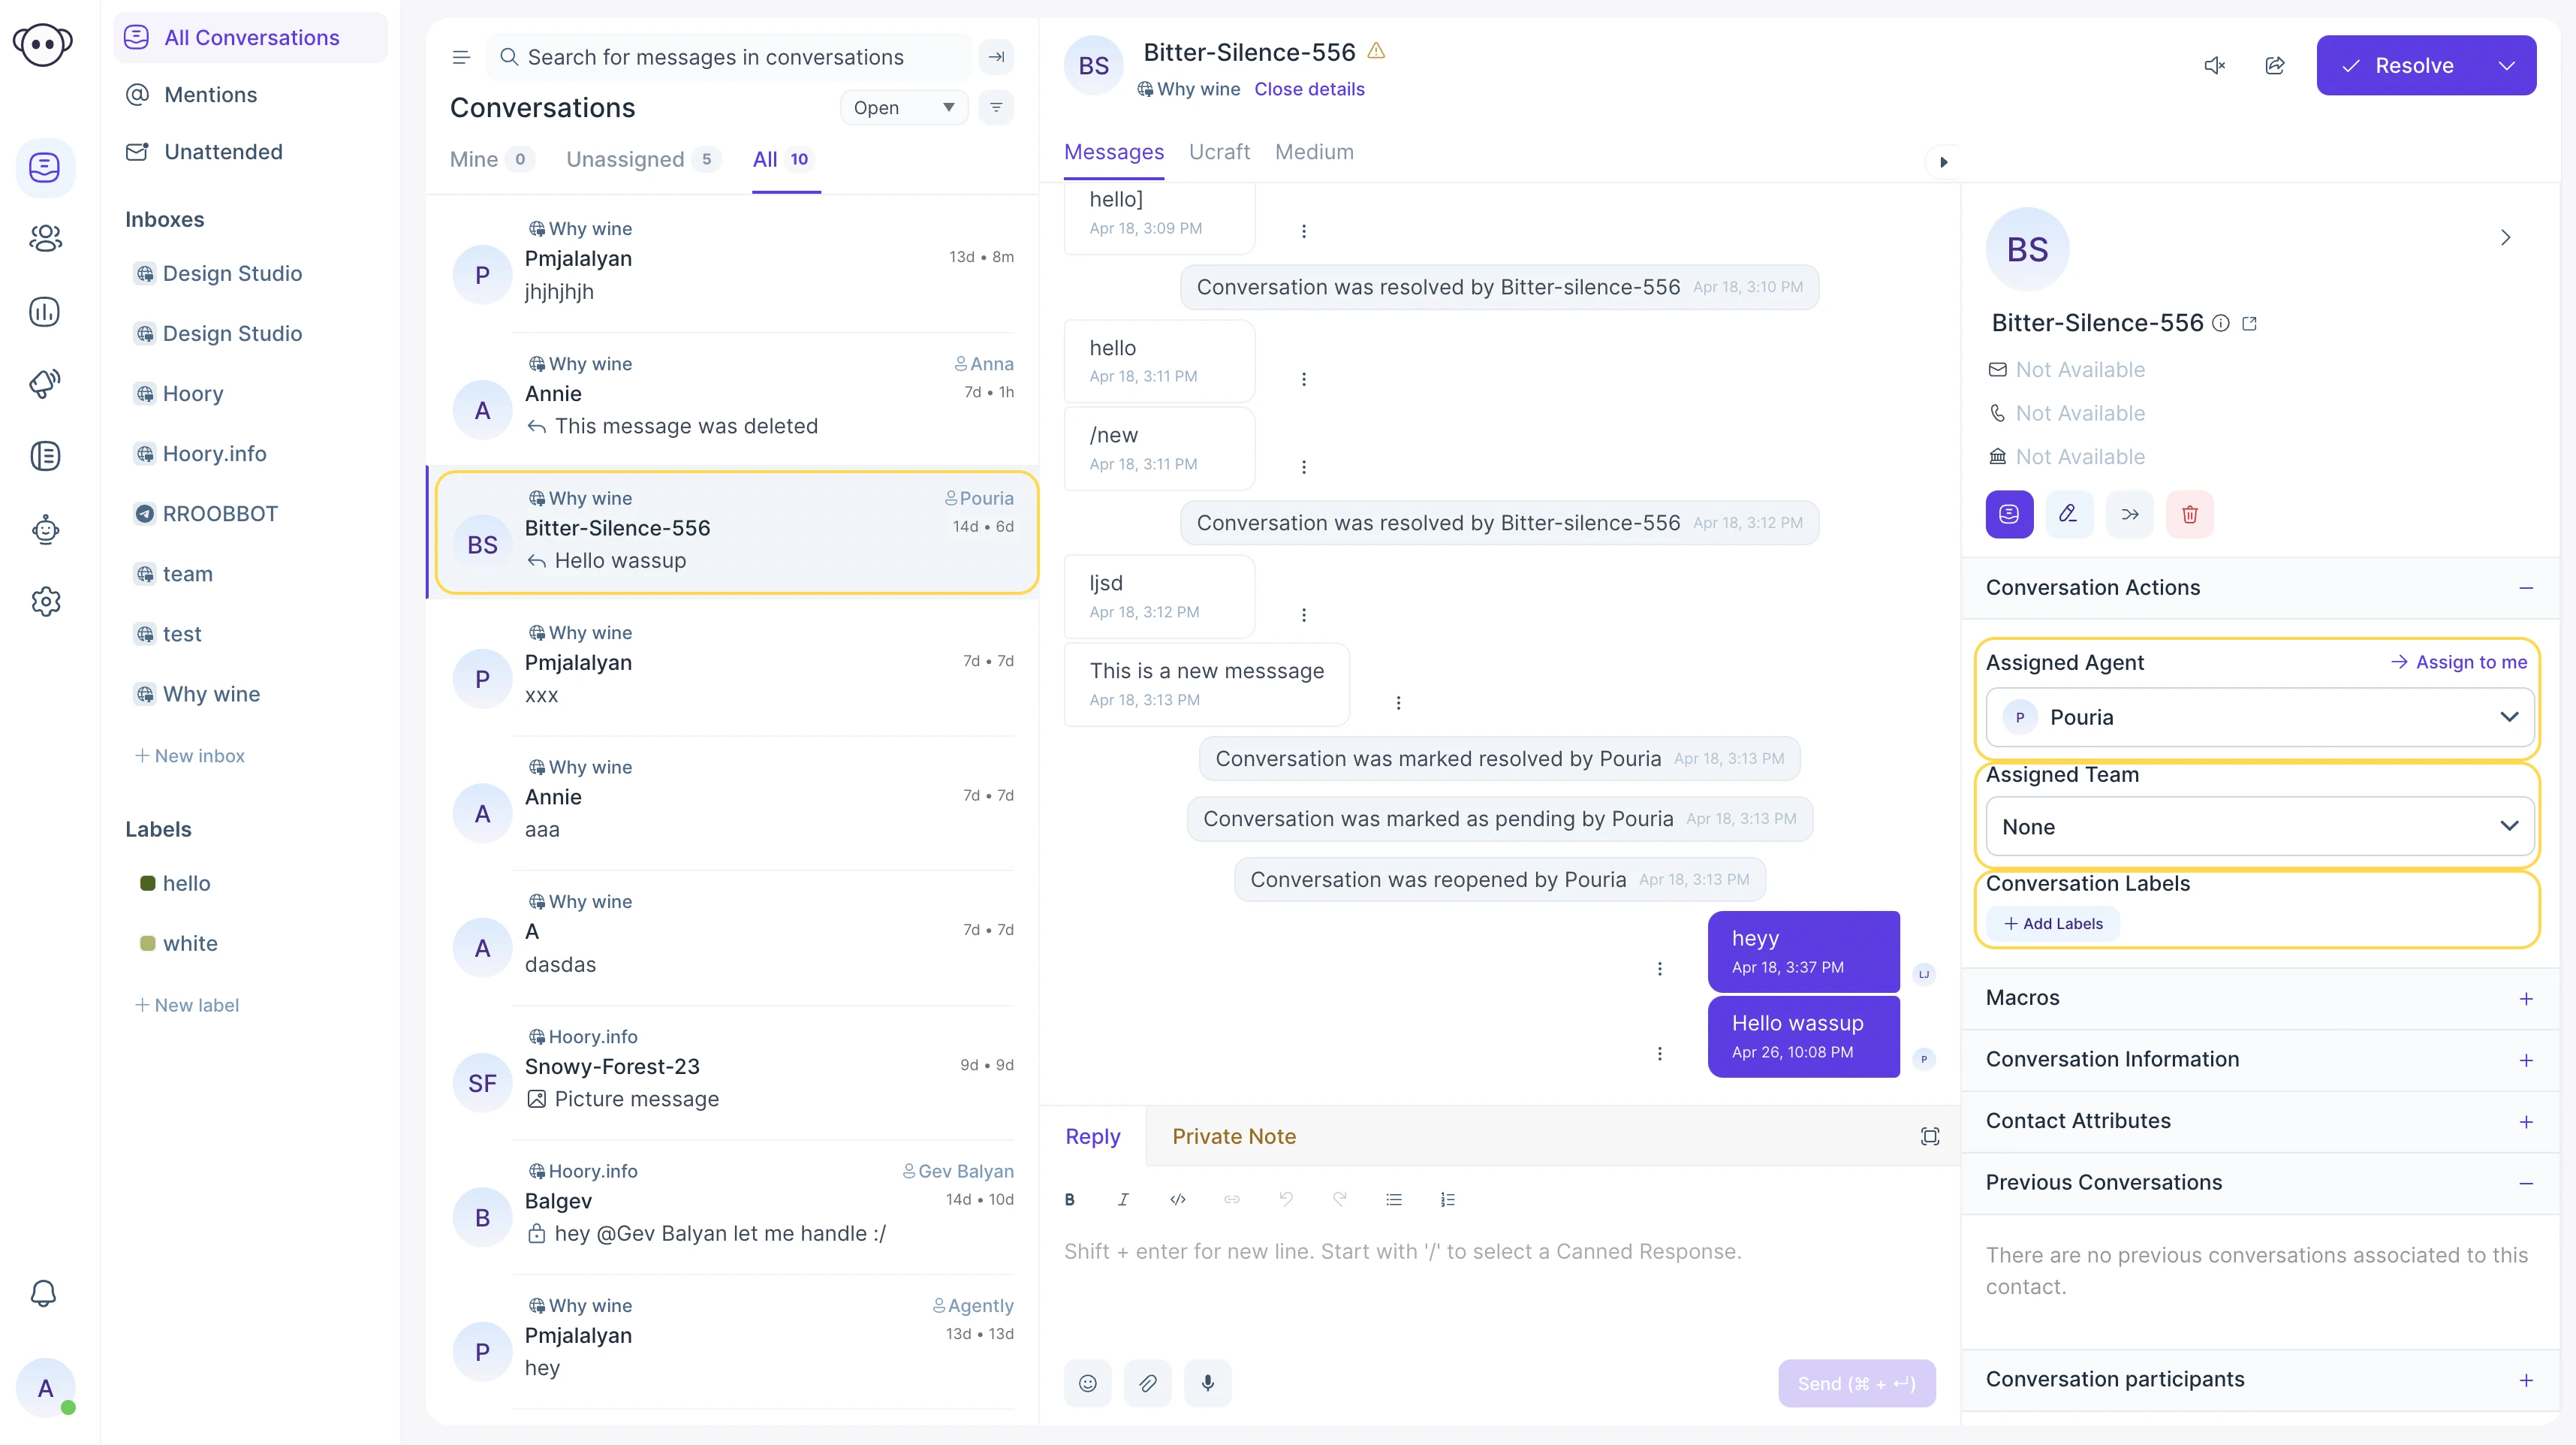
The details of the conversation open up in the right-hand side panel.
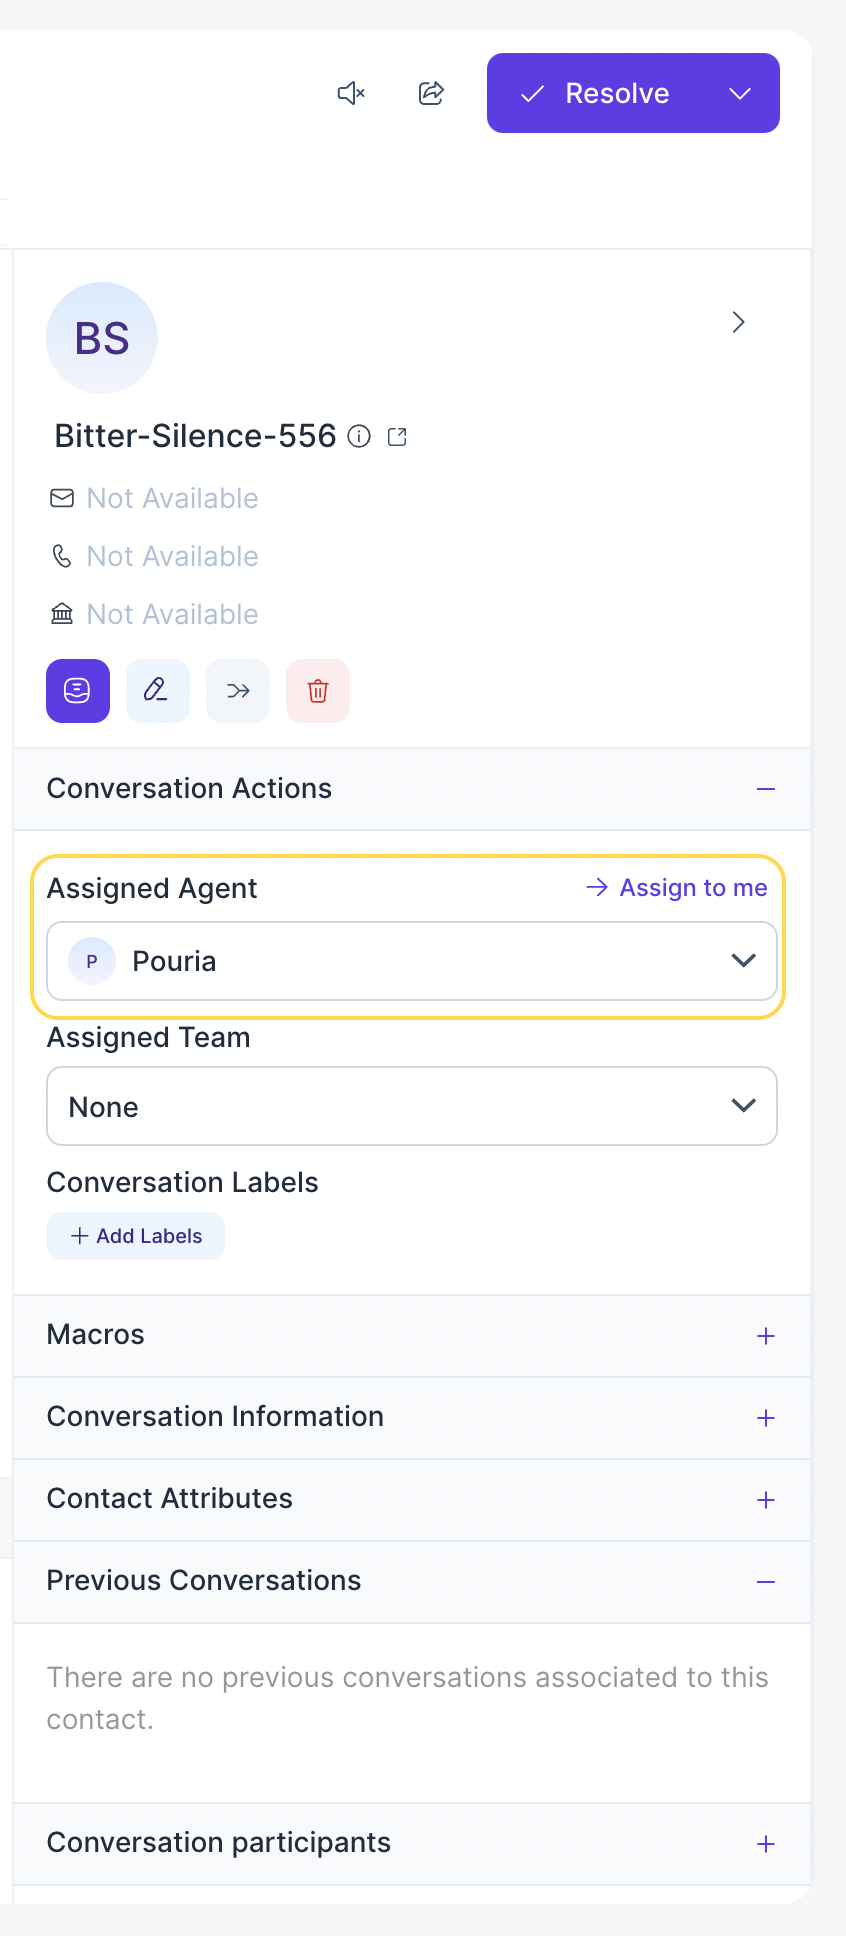
Assign Agent
If the channel has been created with 'auto assign' not enabled, the conversation will not be assigned to any agent. Click the drop-box below Assigned Agent and select the Agent name. You can change the assigned agents any time you want.
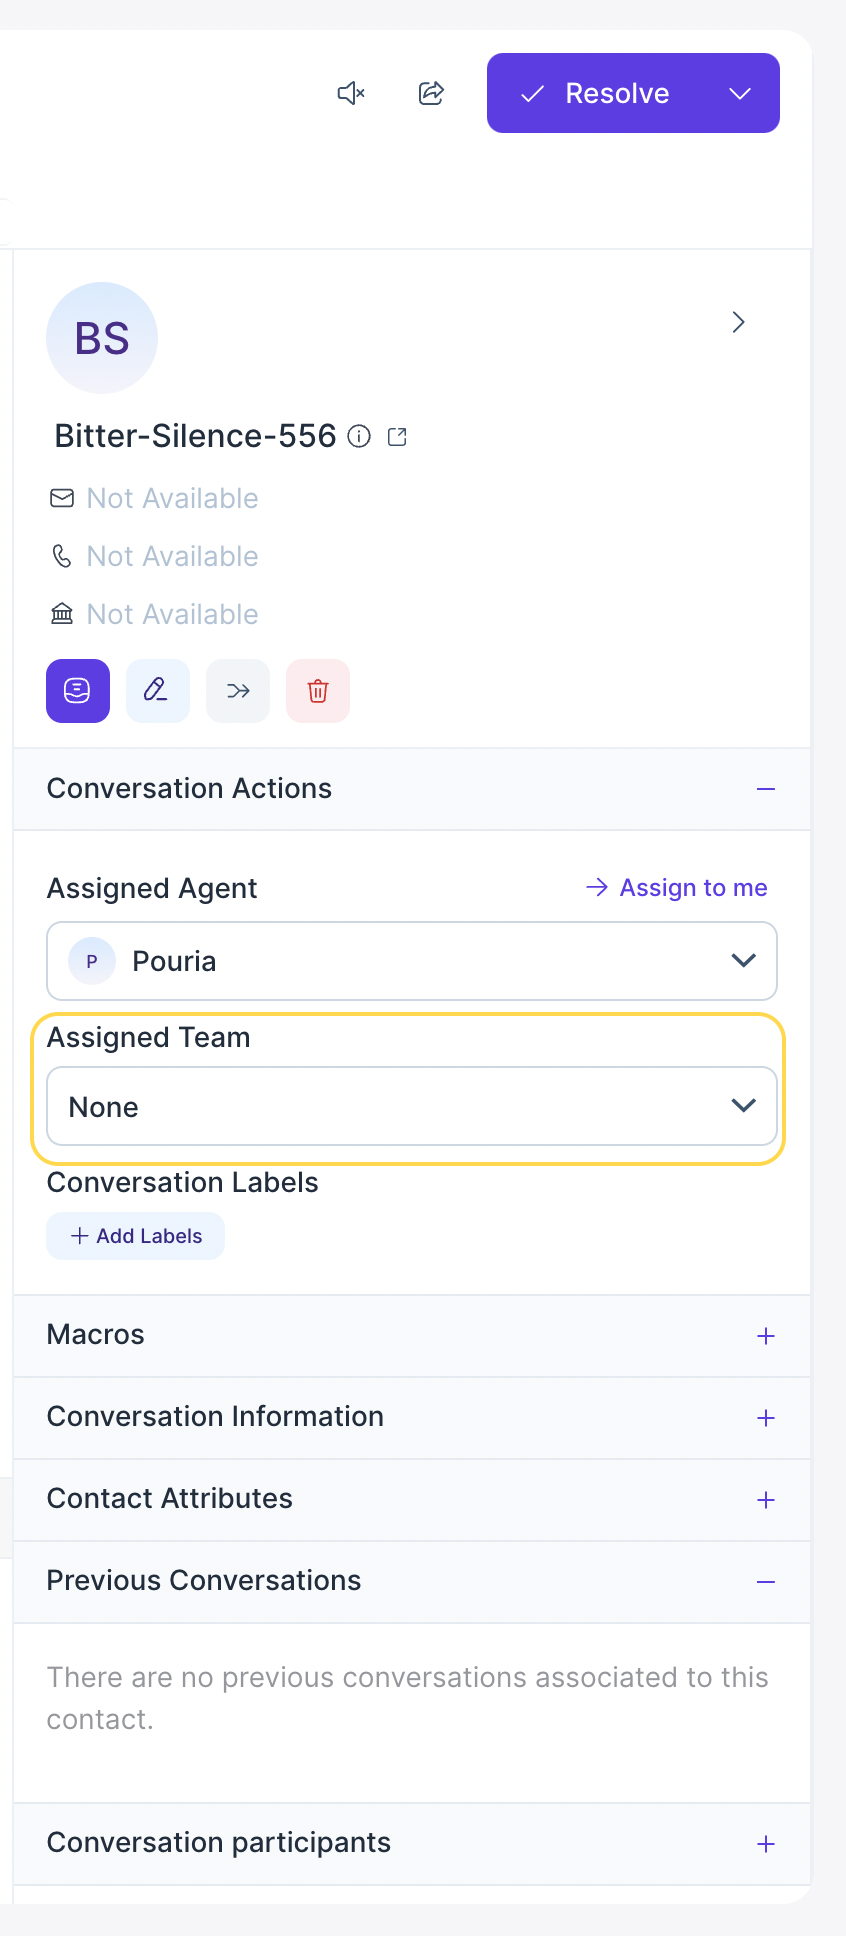
Assign Team
Click the drop-box below Assigned Team and select the team which this conversation belongs to.
Assign Labels
Click Add Labels below Conversation Labels and select the category which this conversation belongs to.

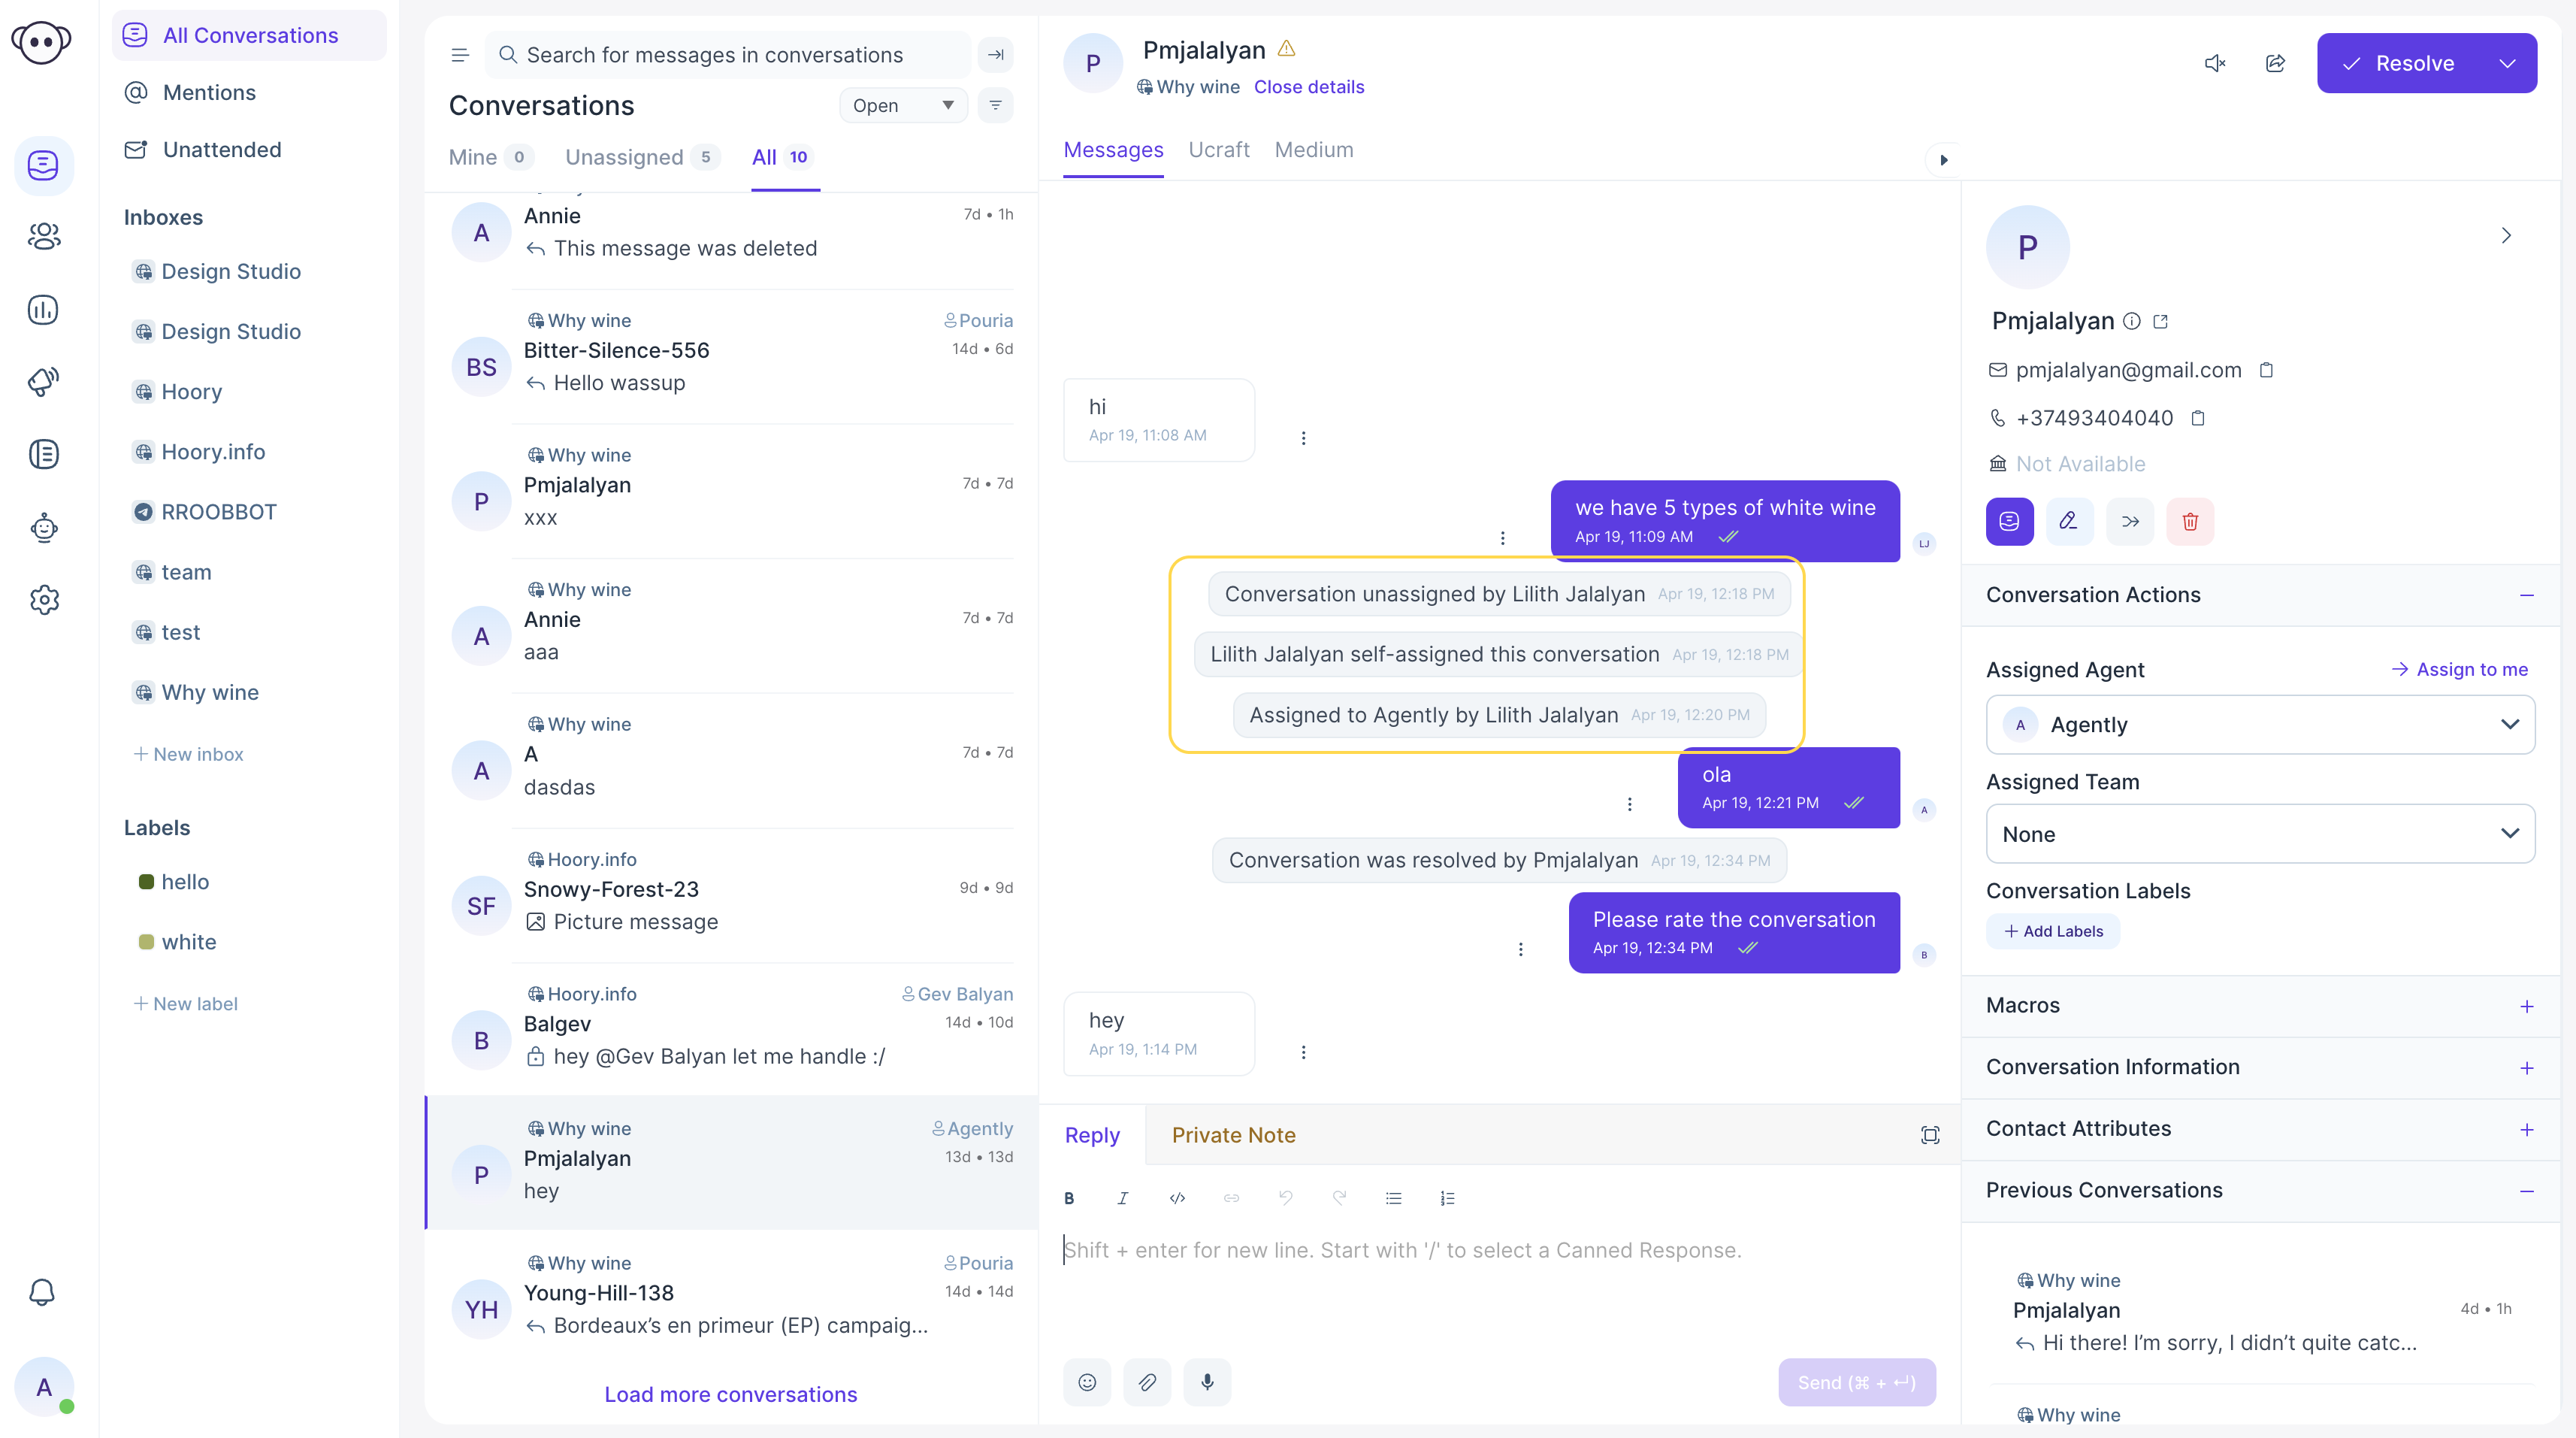
You can see in the screenshot that all your actions are seen in the chat window of the Agent Dashboard.
Reply for the Conversation
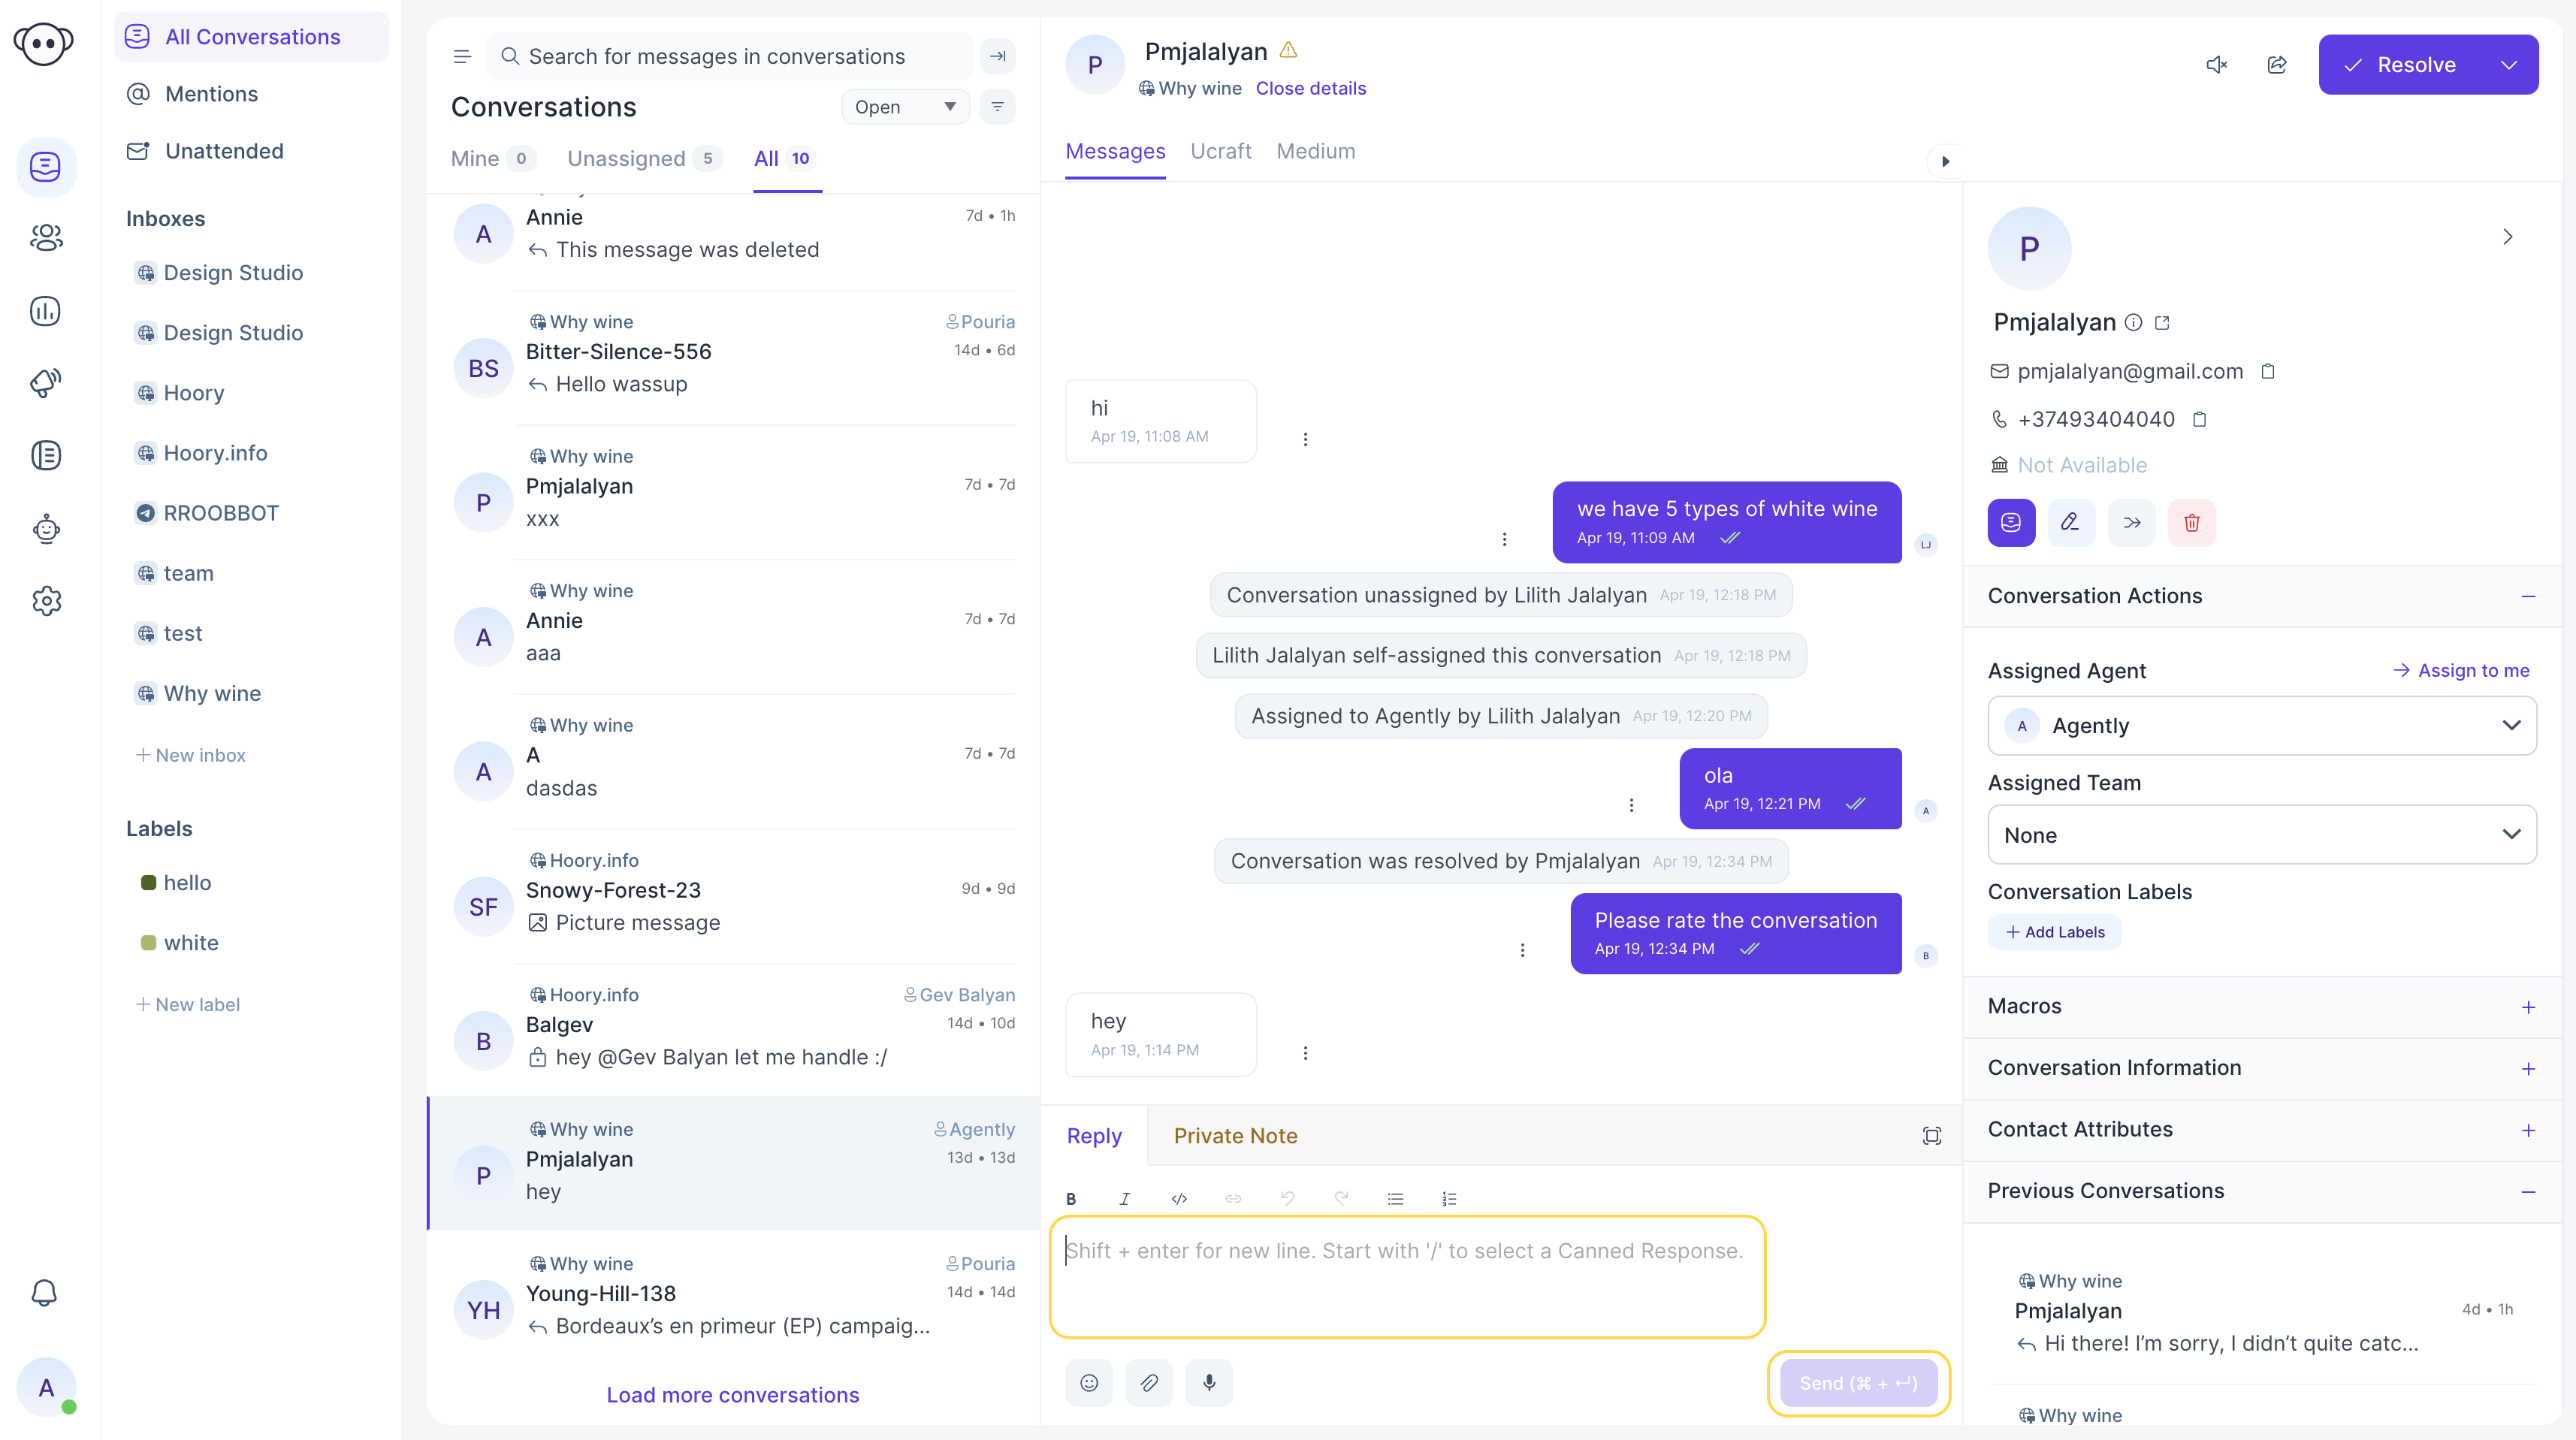
You can reply to a customer conversation by typing in the reply area. Shift + Enter keyboard shortcut will enable you to start typing in a new line.
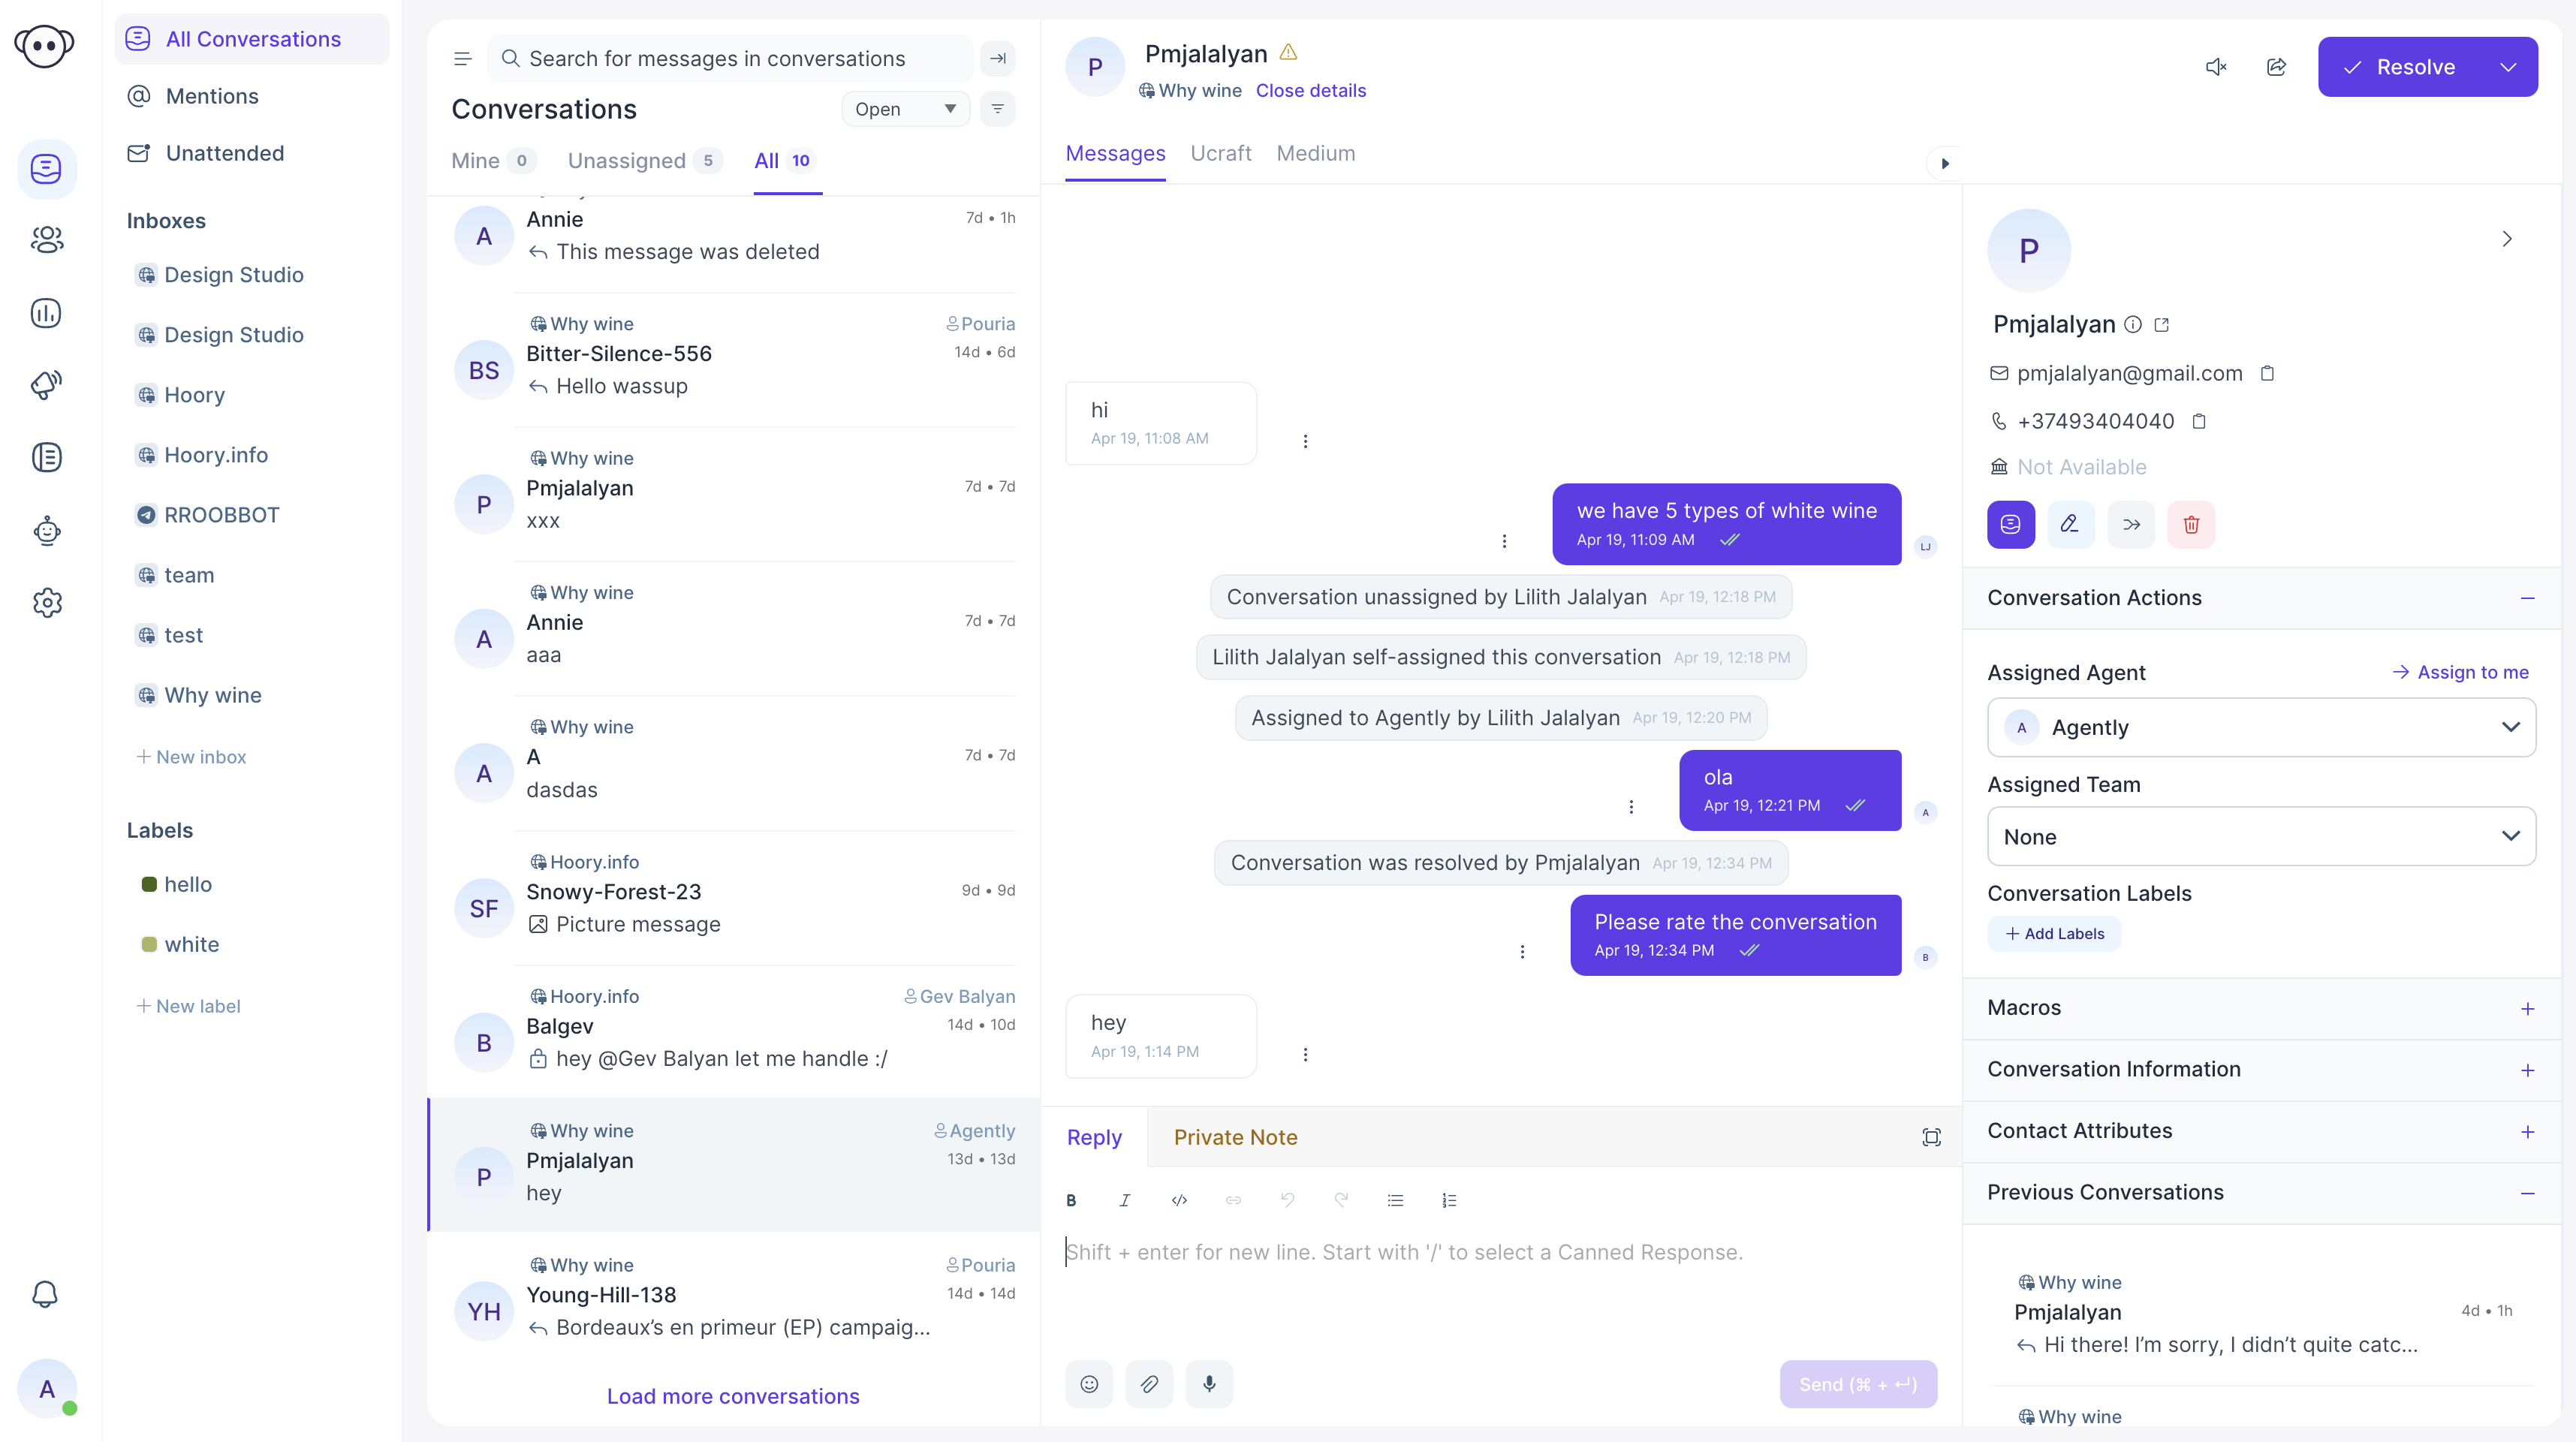
Click the Send button to send your message to the customer.
Various options are there in the Reply area to enhance the messages.
 This Button is to select and include Emoji in the message.
 This Button is to select and include attachments in the message.
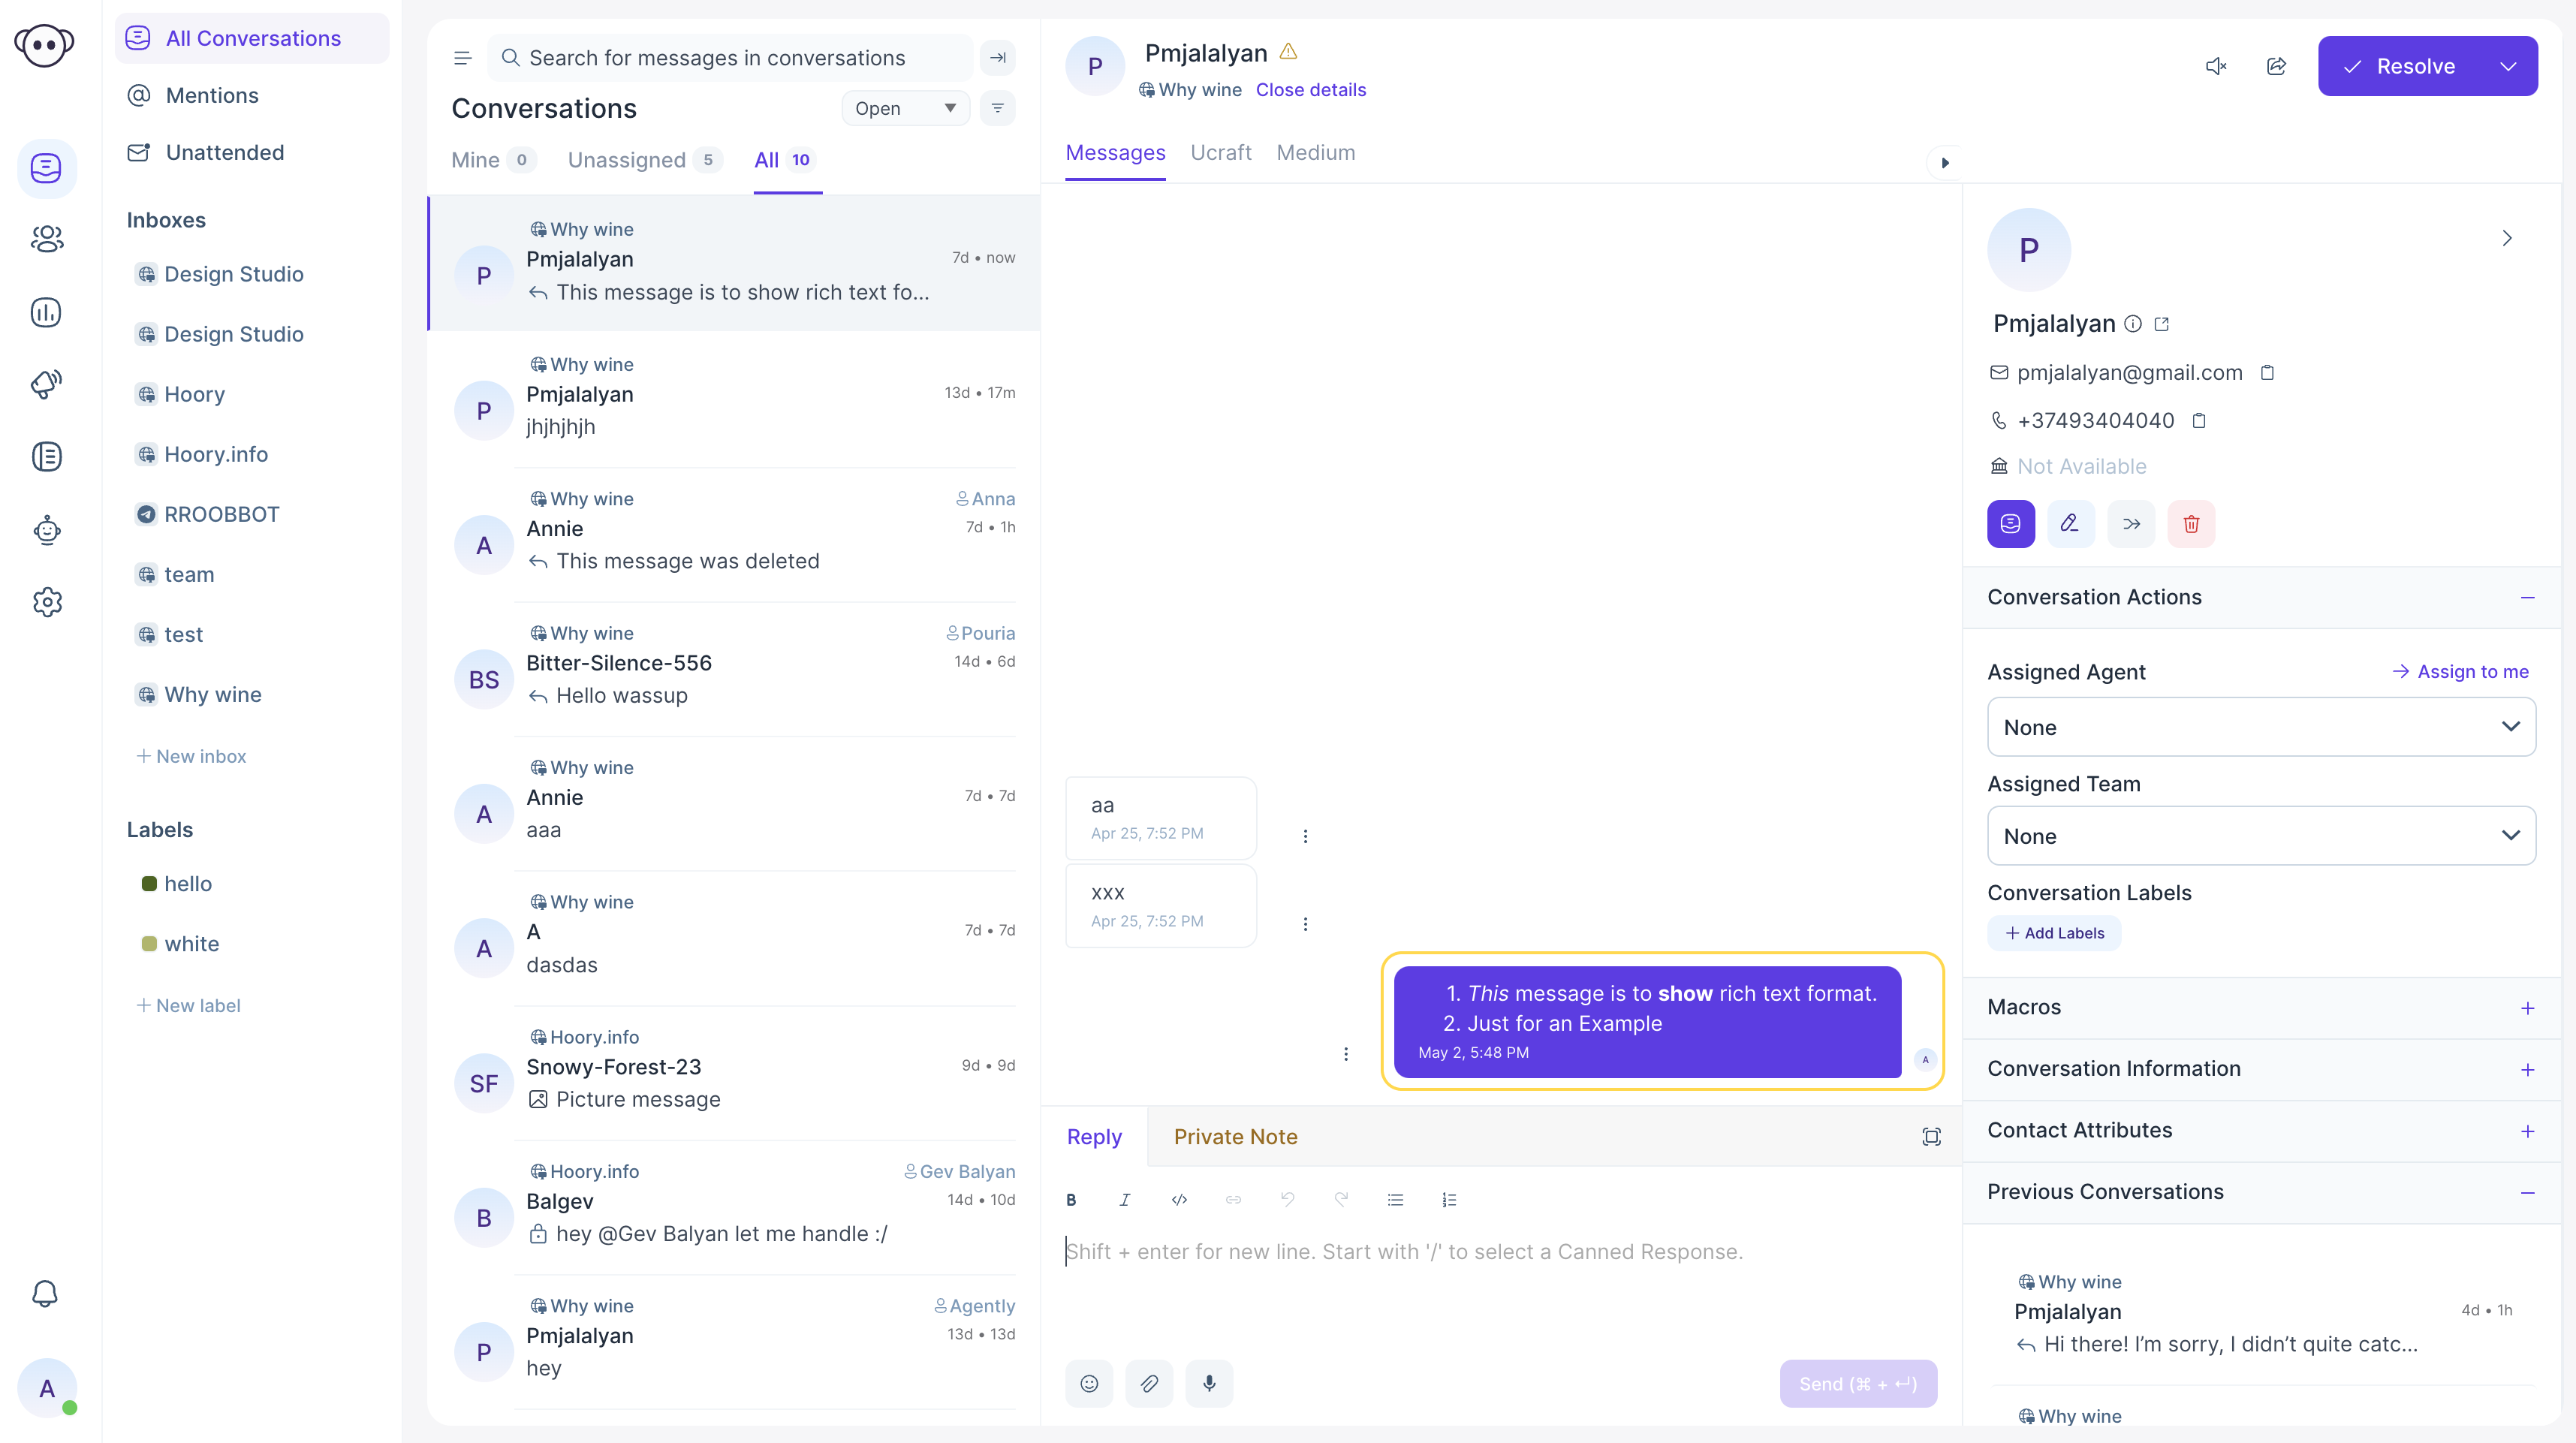
 This Button enables to use the Rich Text Editor. Additional options appear on the Reply screen as shown below.
Once the message is typed and edited, you need to tick the checkbox to send the message to the customer. Below is an example of how the message will look like when a rich text editor is used. If you want to go back to normal text, click the rich text editor button again.
How to Send Canned Responses
Suppose you wish to include one of your pre-created canned responses as a reply, type '/', then the short name of the message. An example is given below. Once you type '/', the available canned responses will be listed and you wil be able to select from them.

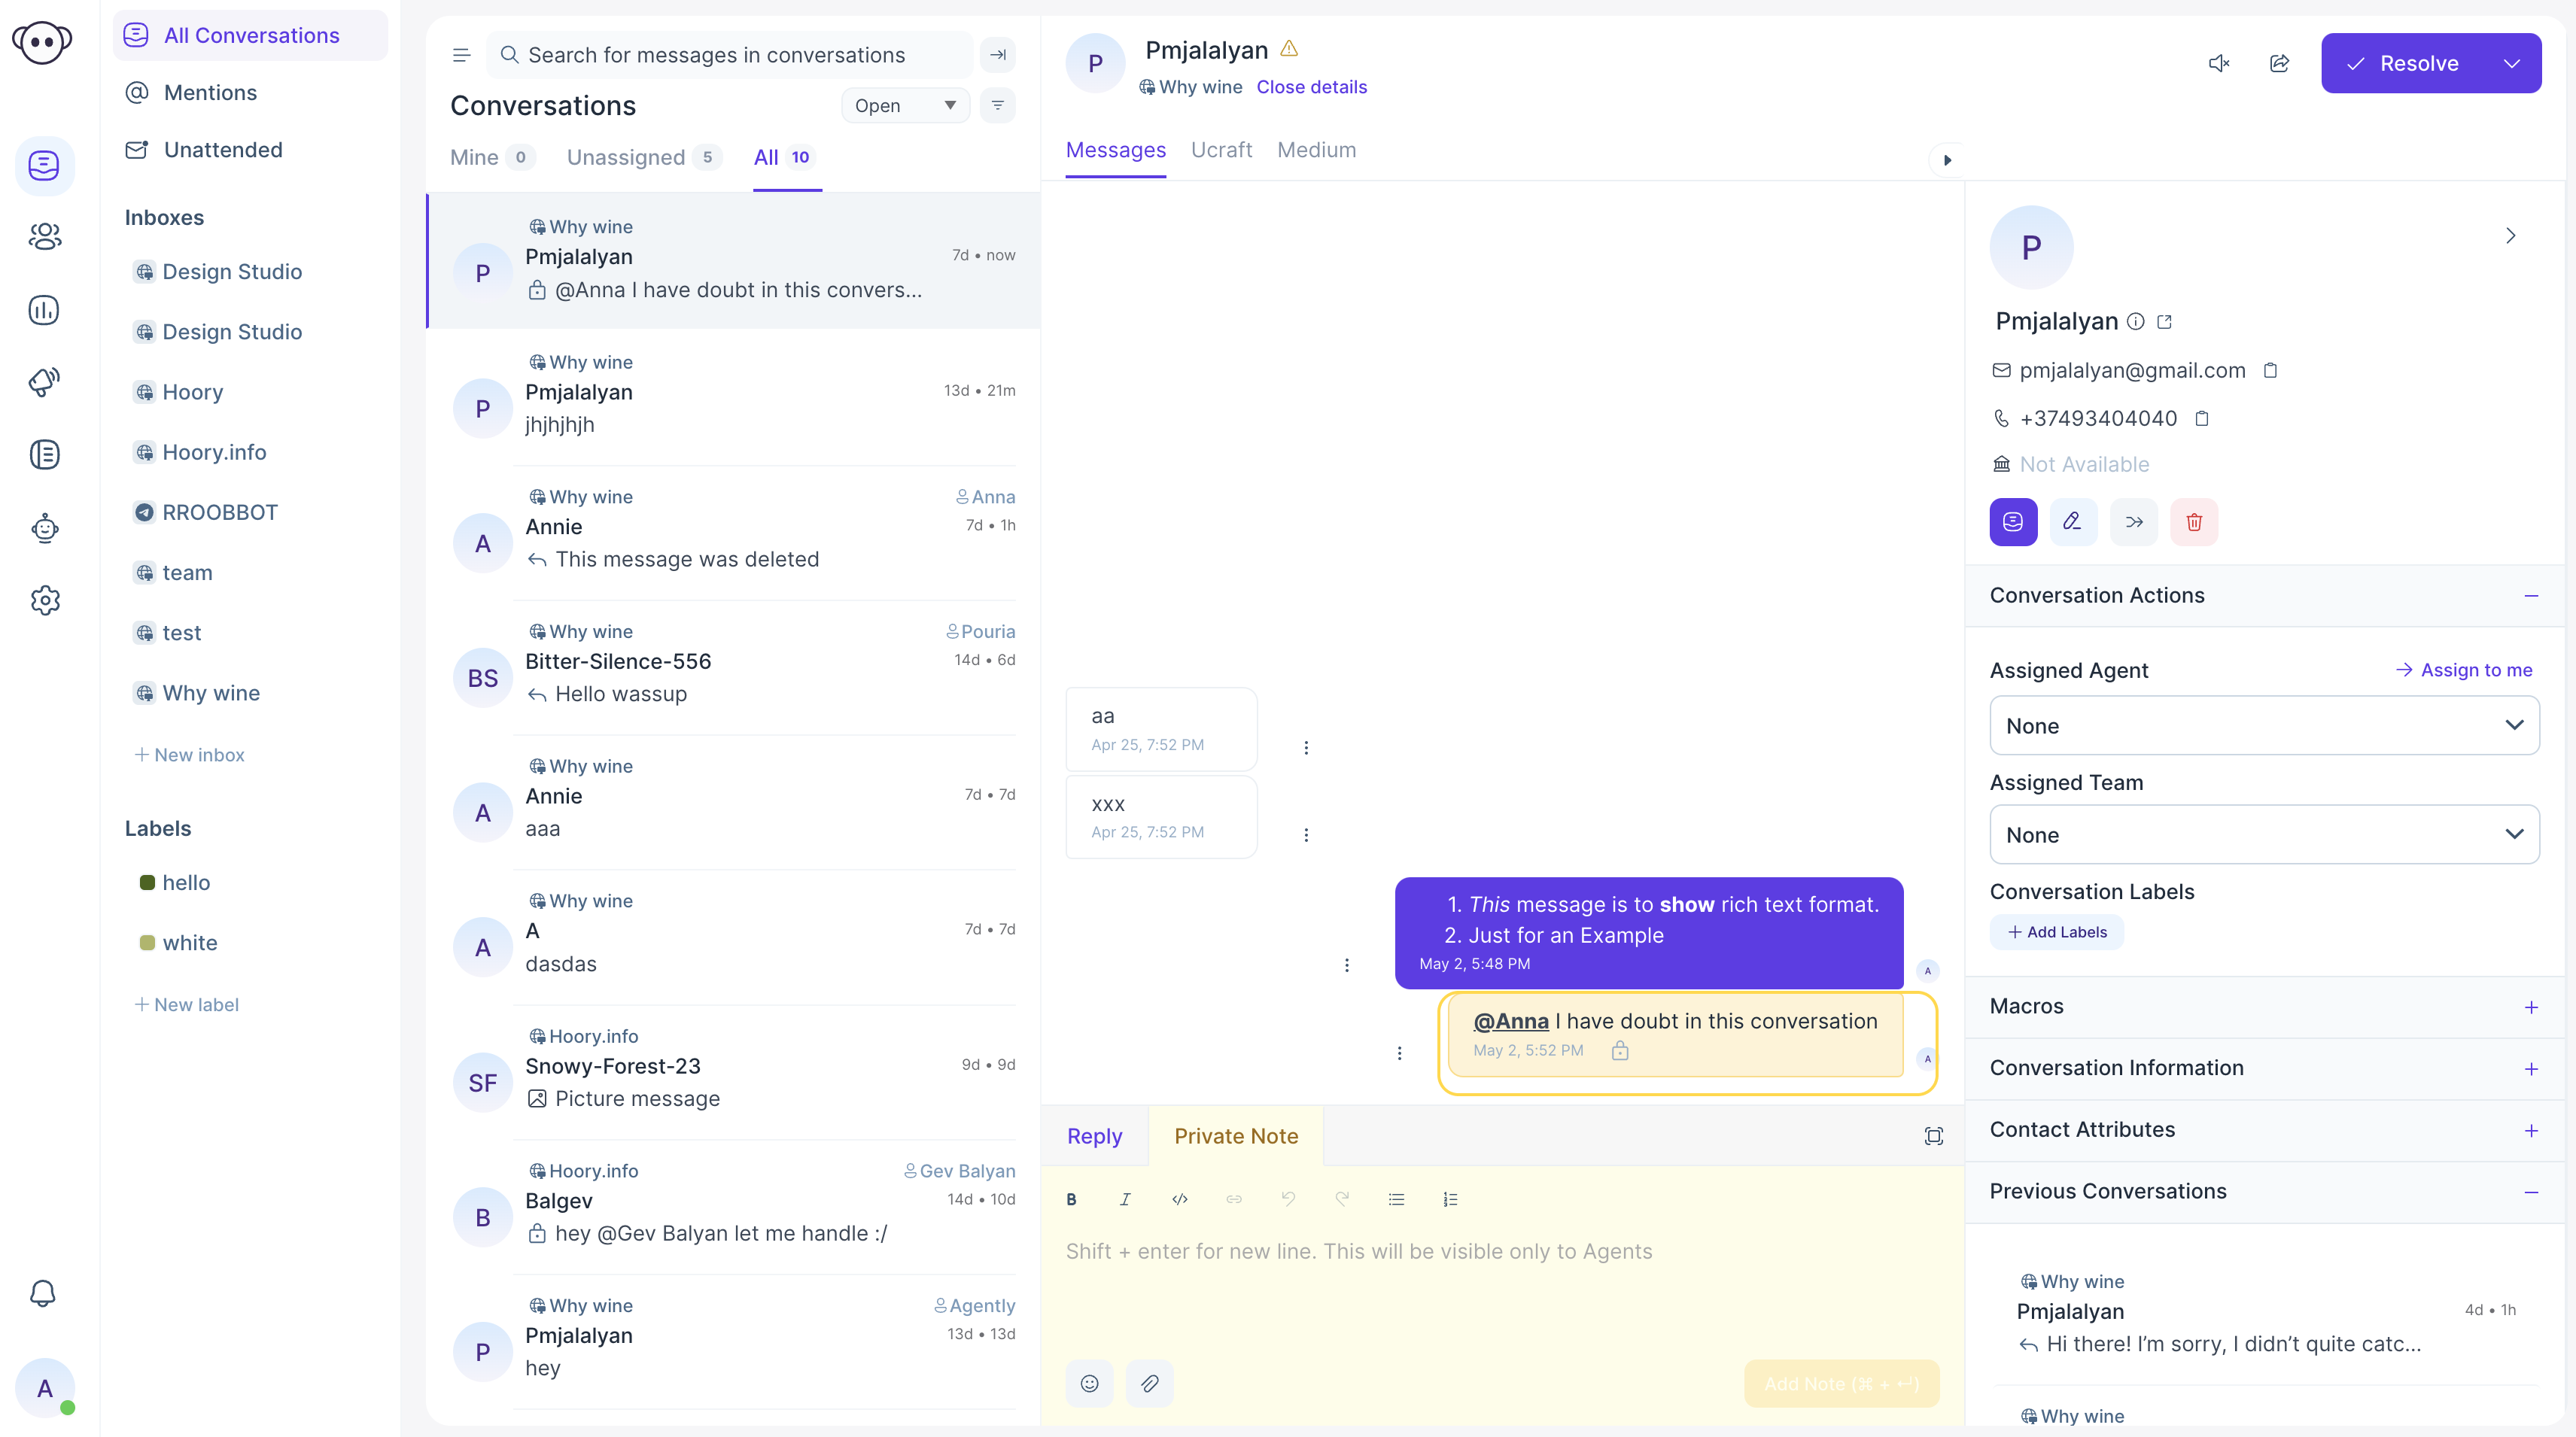
Private Chat with Agents
There is an option to discuss the customer's conversation with a fellow agent if you need some more clarification. This option is available just beside the Reply tab, named Private Note.

Type '@' in the Private Note window and all the agents who have been added to this team will be listed. Select the agent and type in the message that you want to consult with this agent.
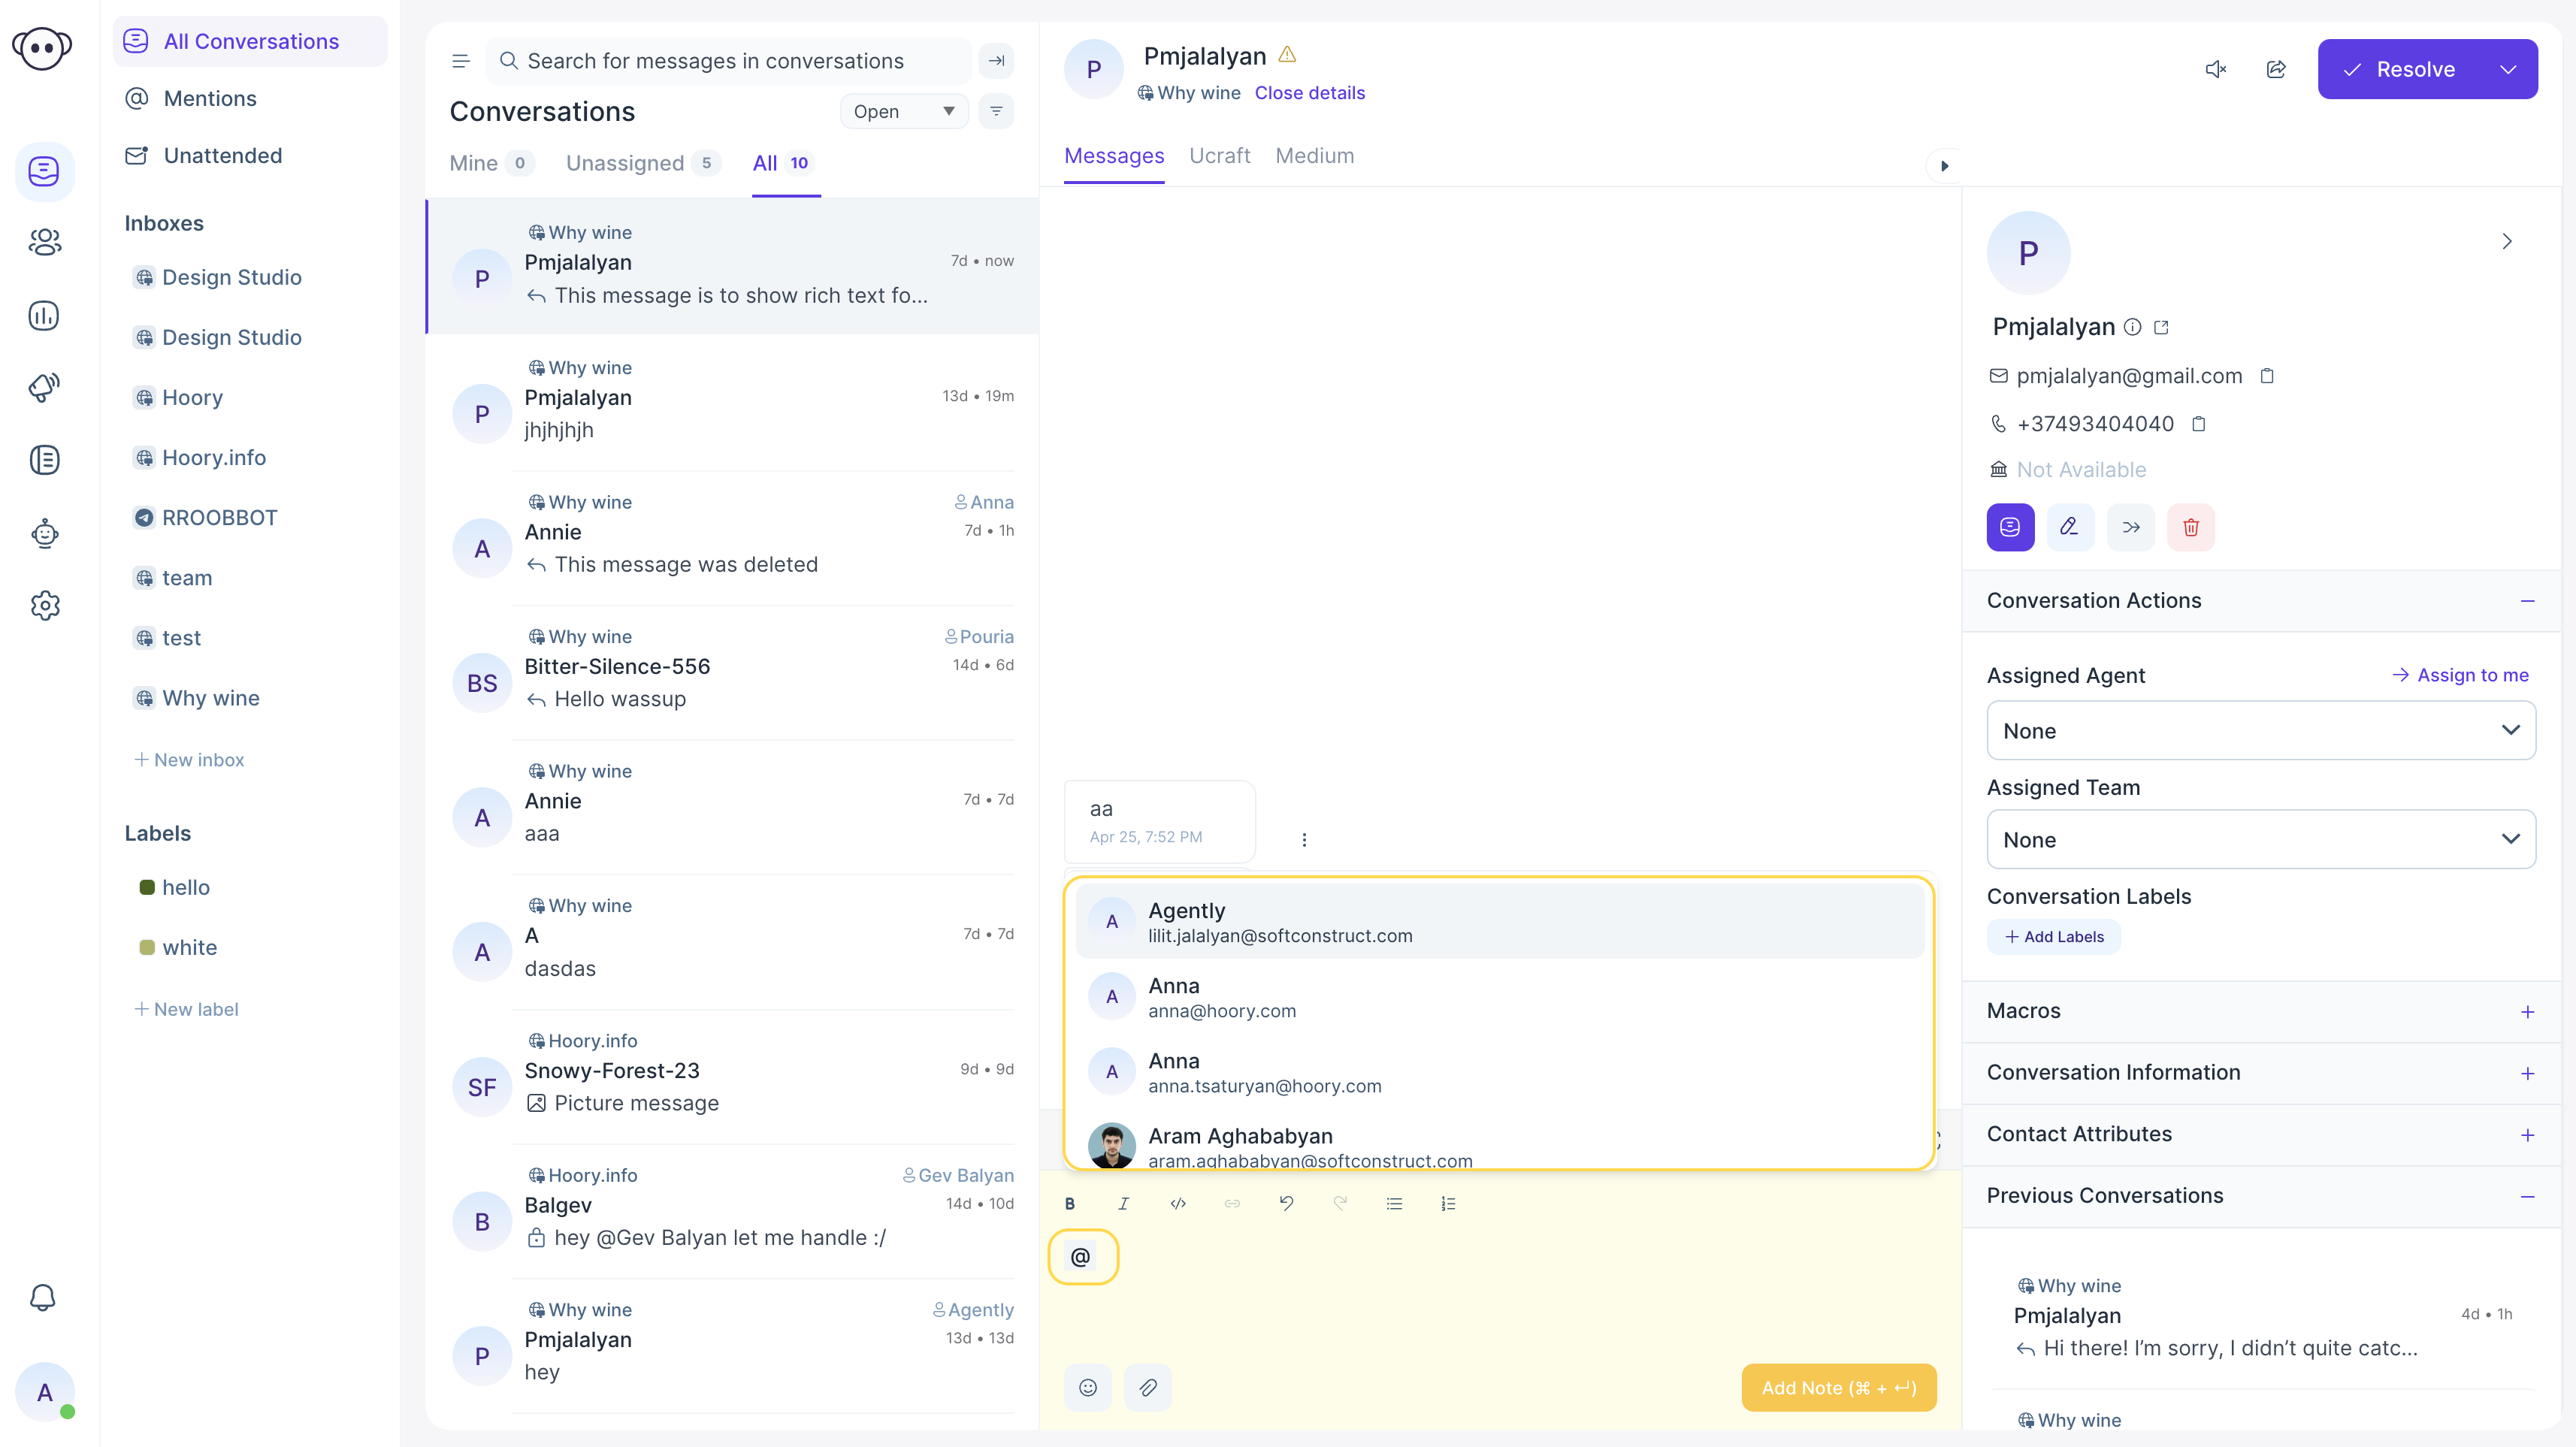
Click Add Note to send the message. You can see a locked sign on the message that you sent as it will not be visible to the customer.
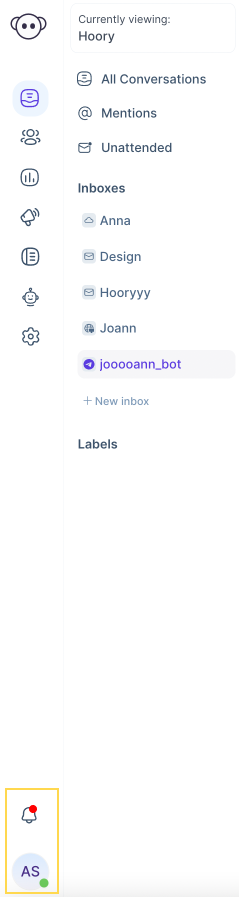
The second agent who the private chat is addressed to, will recieve a notification in his account.
Replies sent by the second agent will be visible in your private chat window.
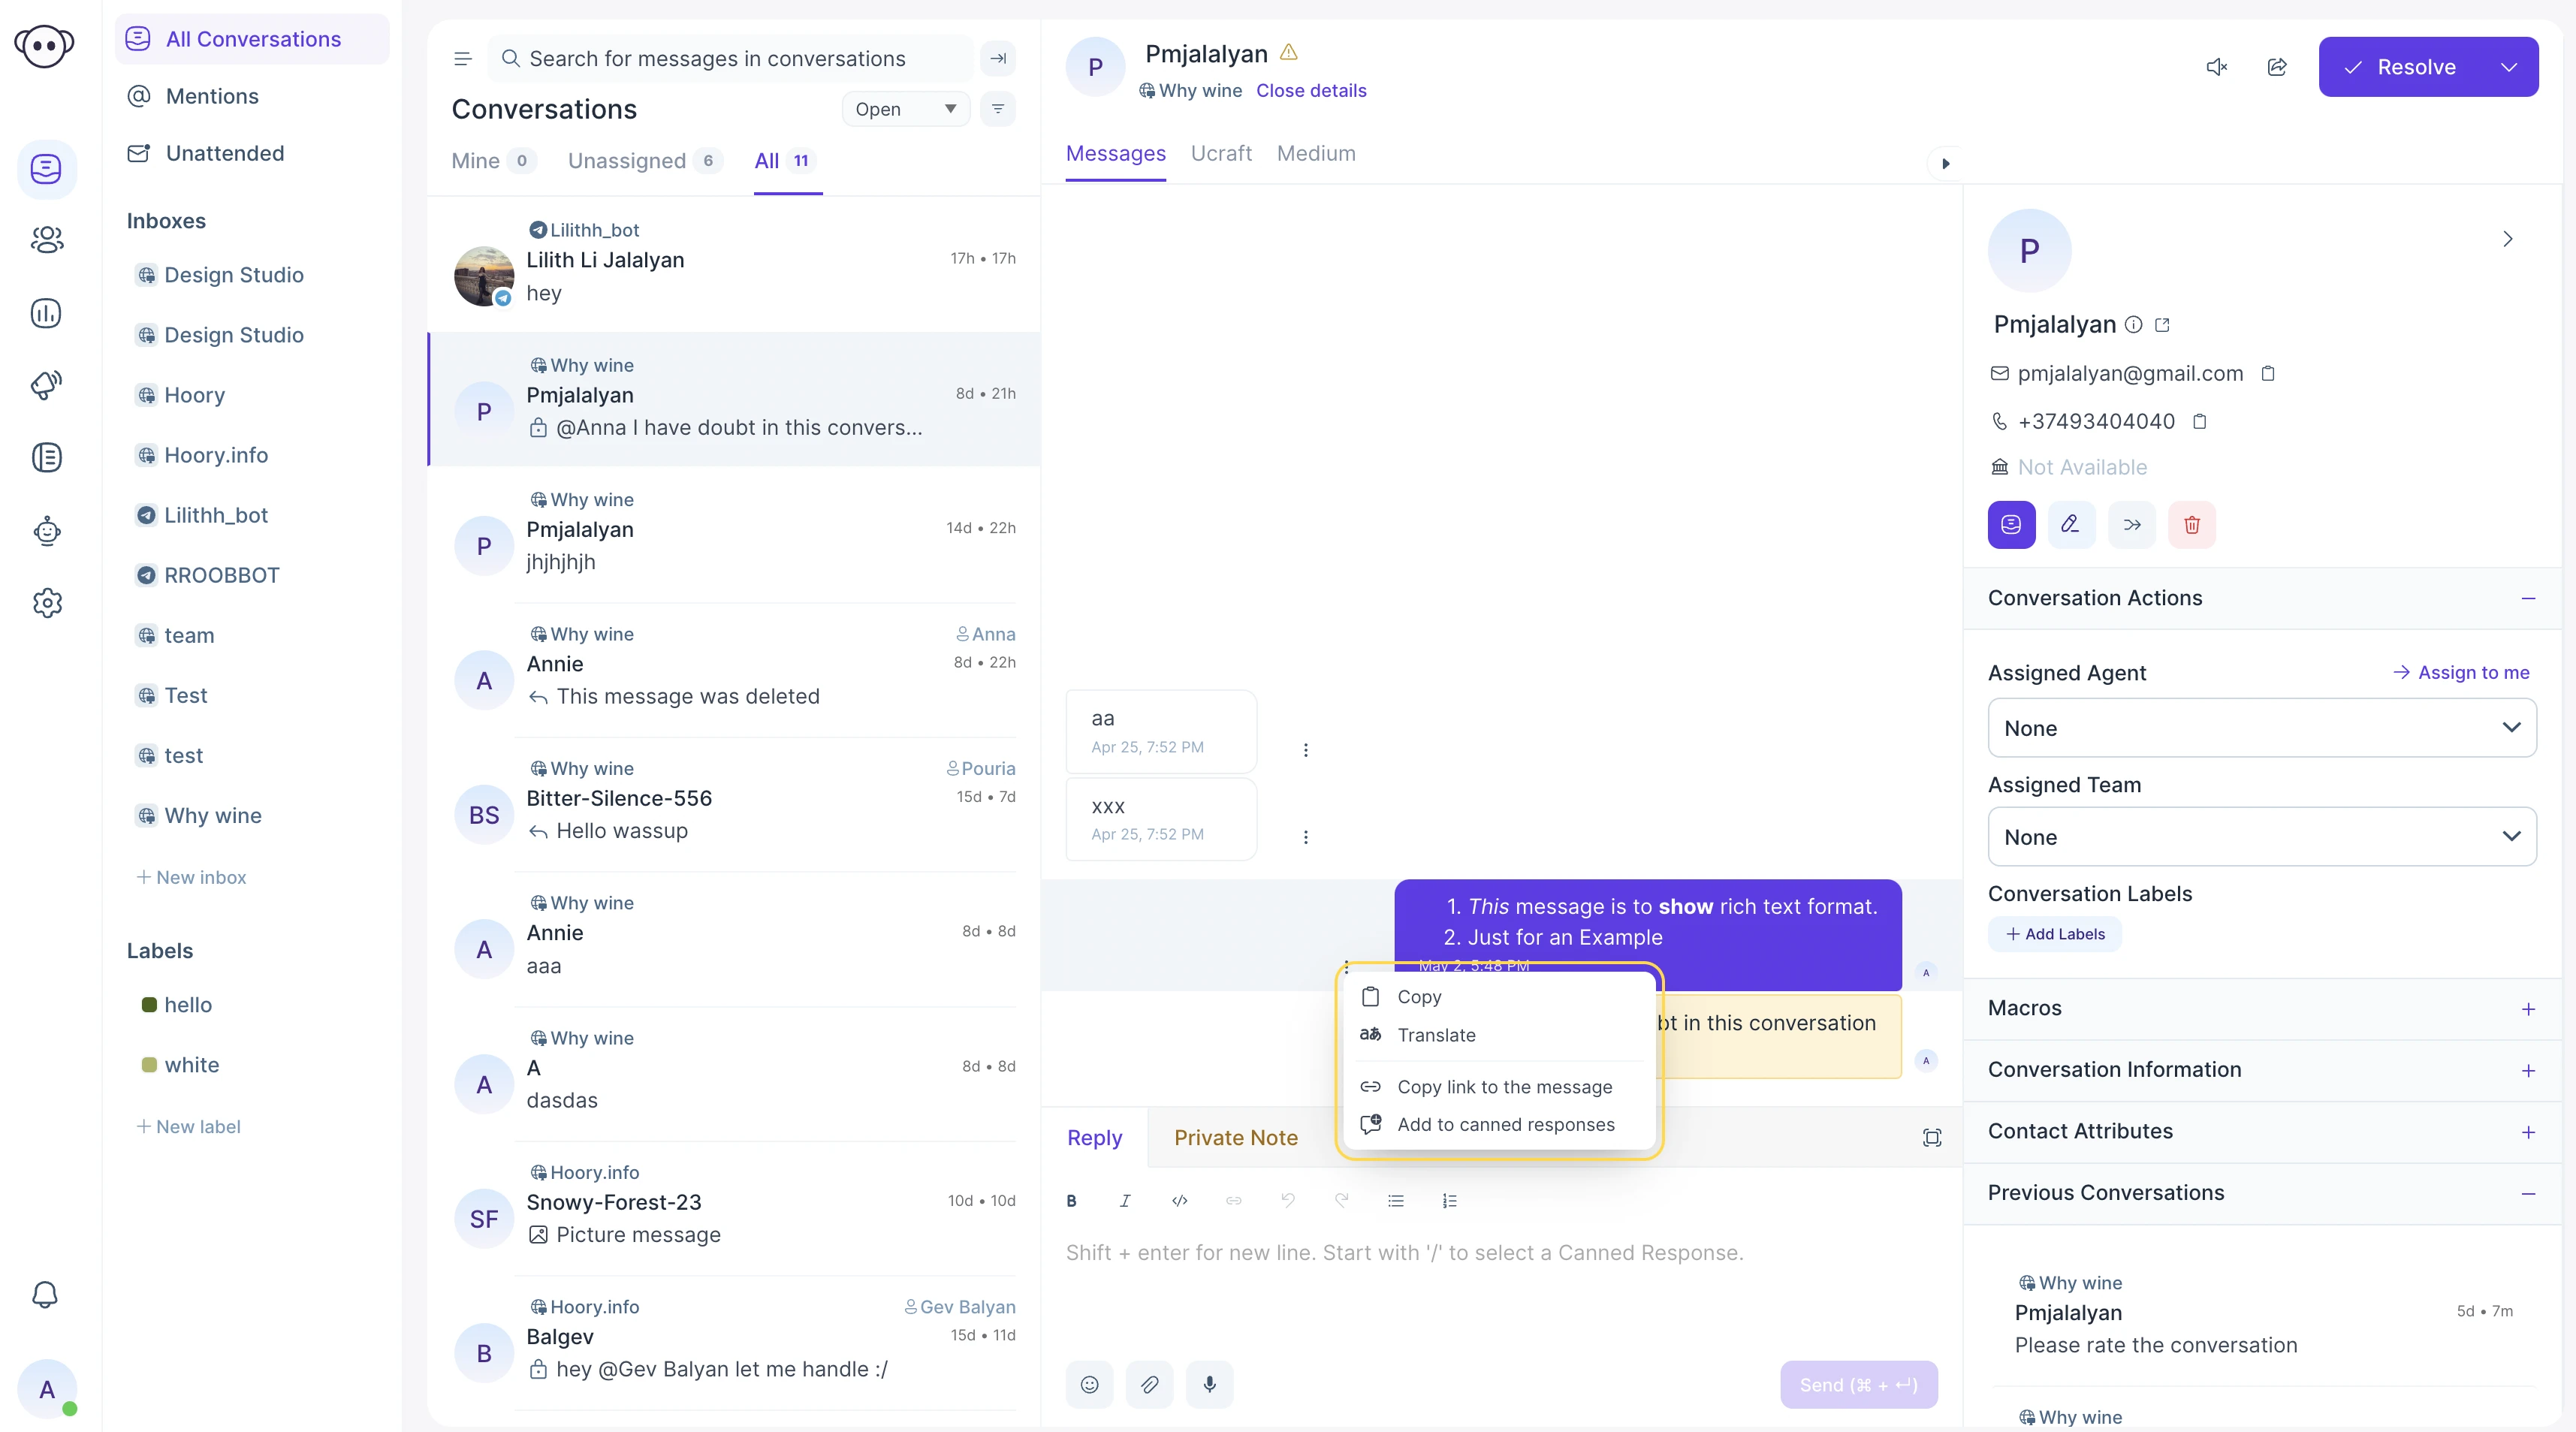
Delete Message
There is an option to delete the message which you have already sent. Click the 3 dots (...) beside the sent message. You can copy or delete the message. Click Delete and the message will be deleted.
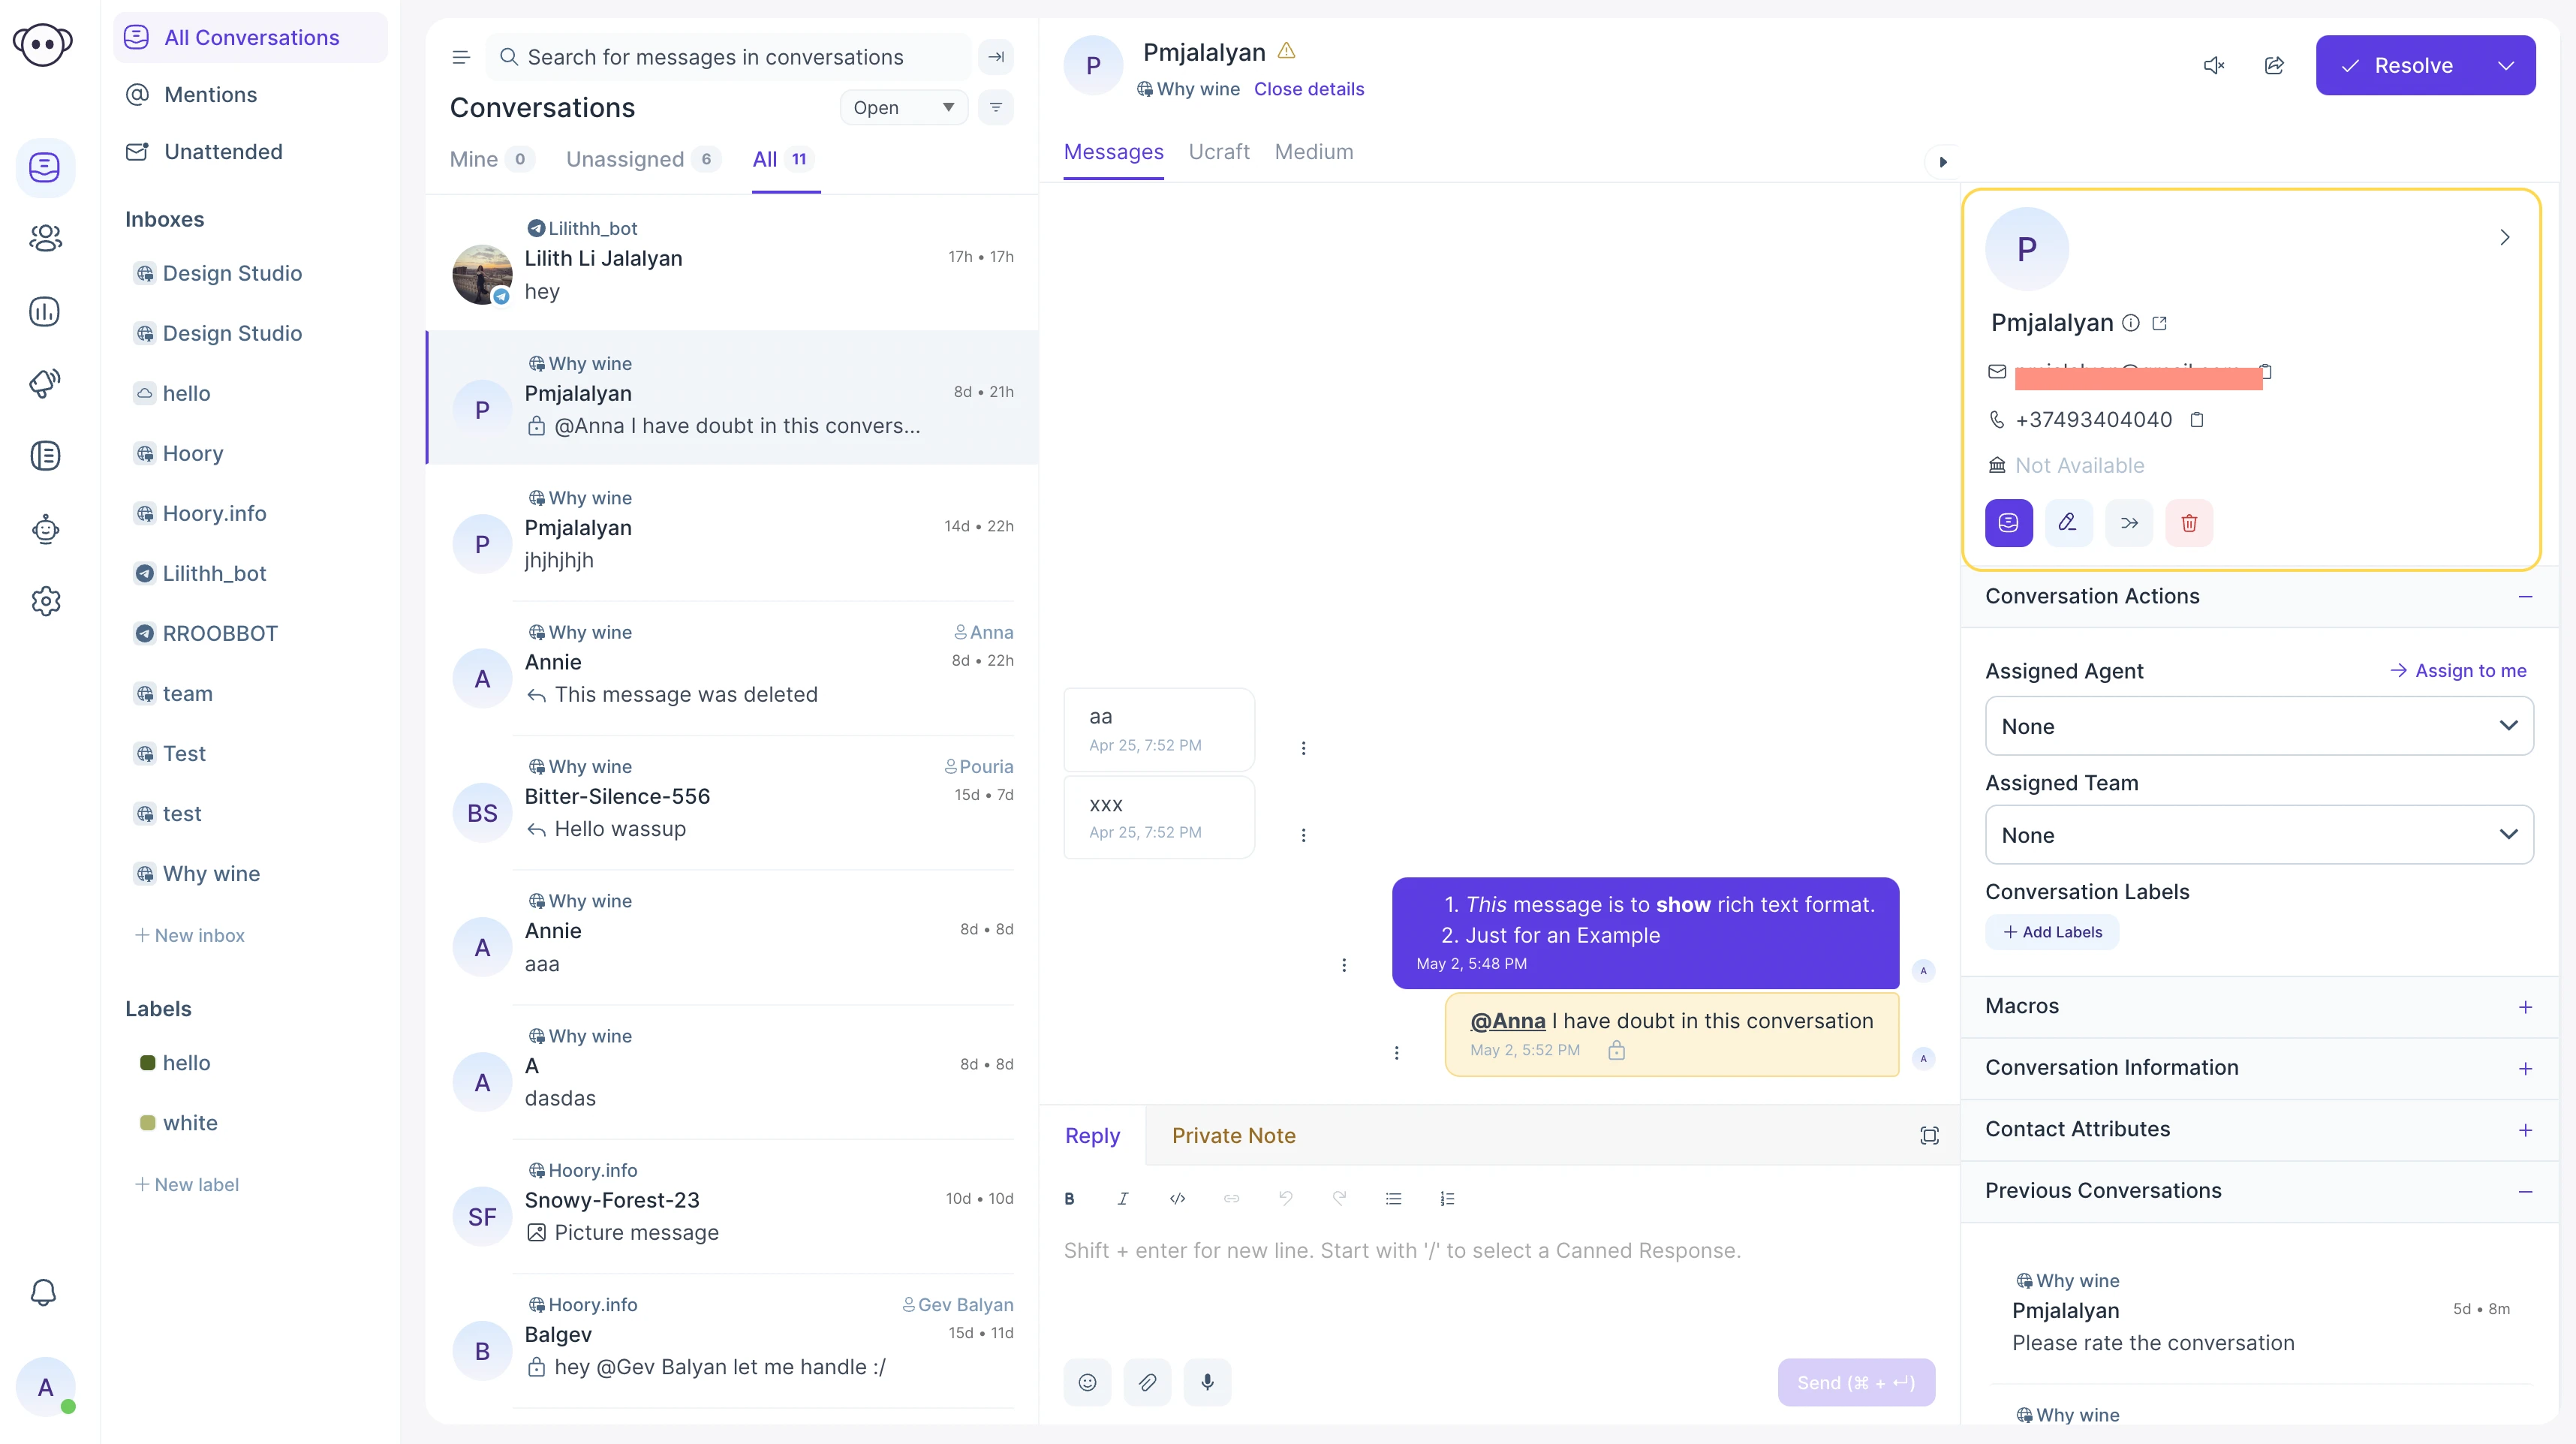
Sending Emails
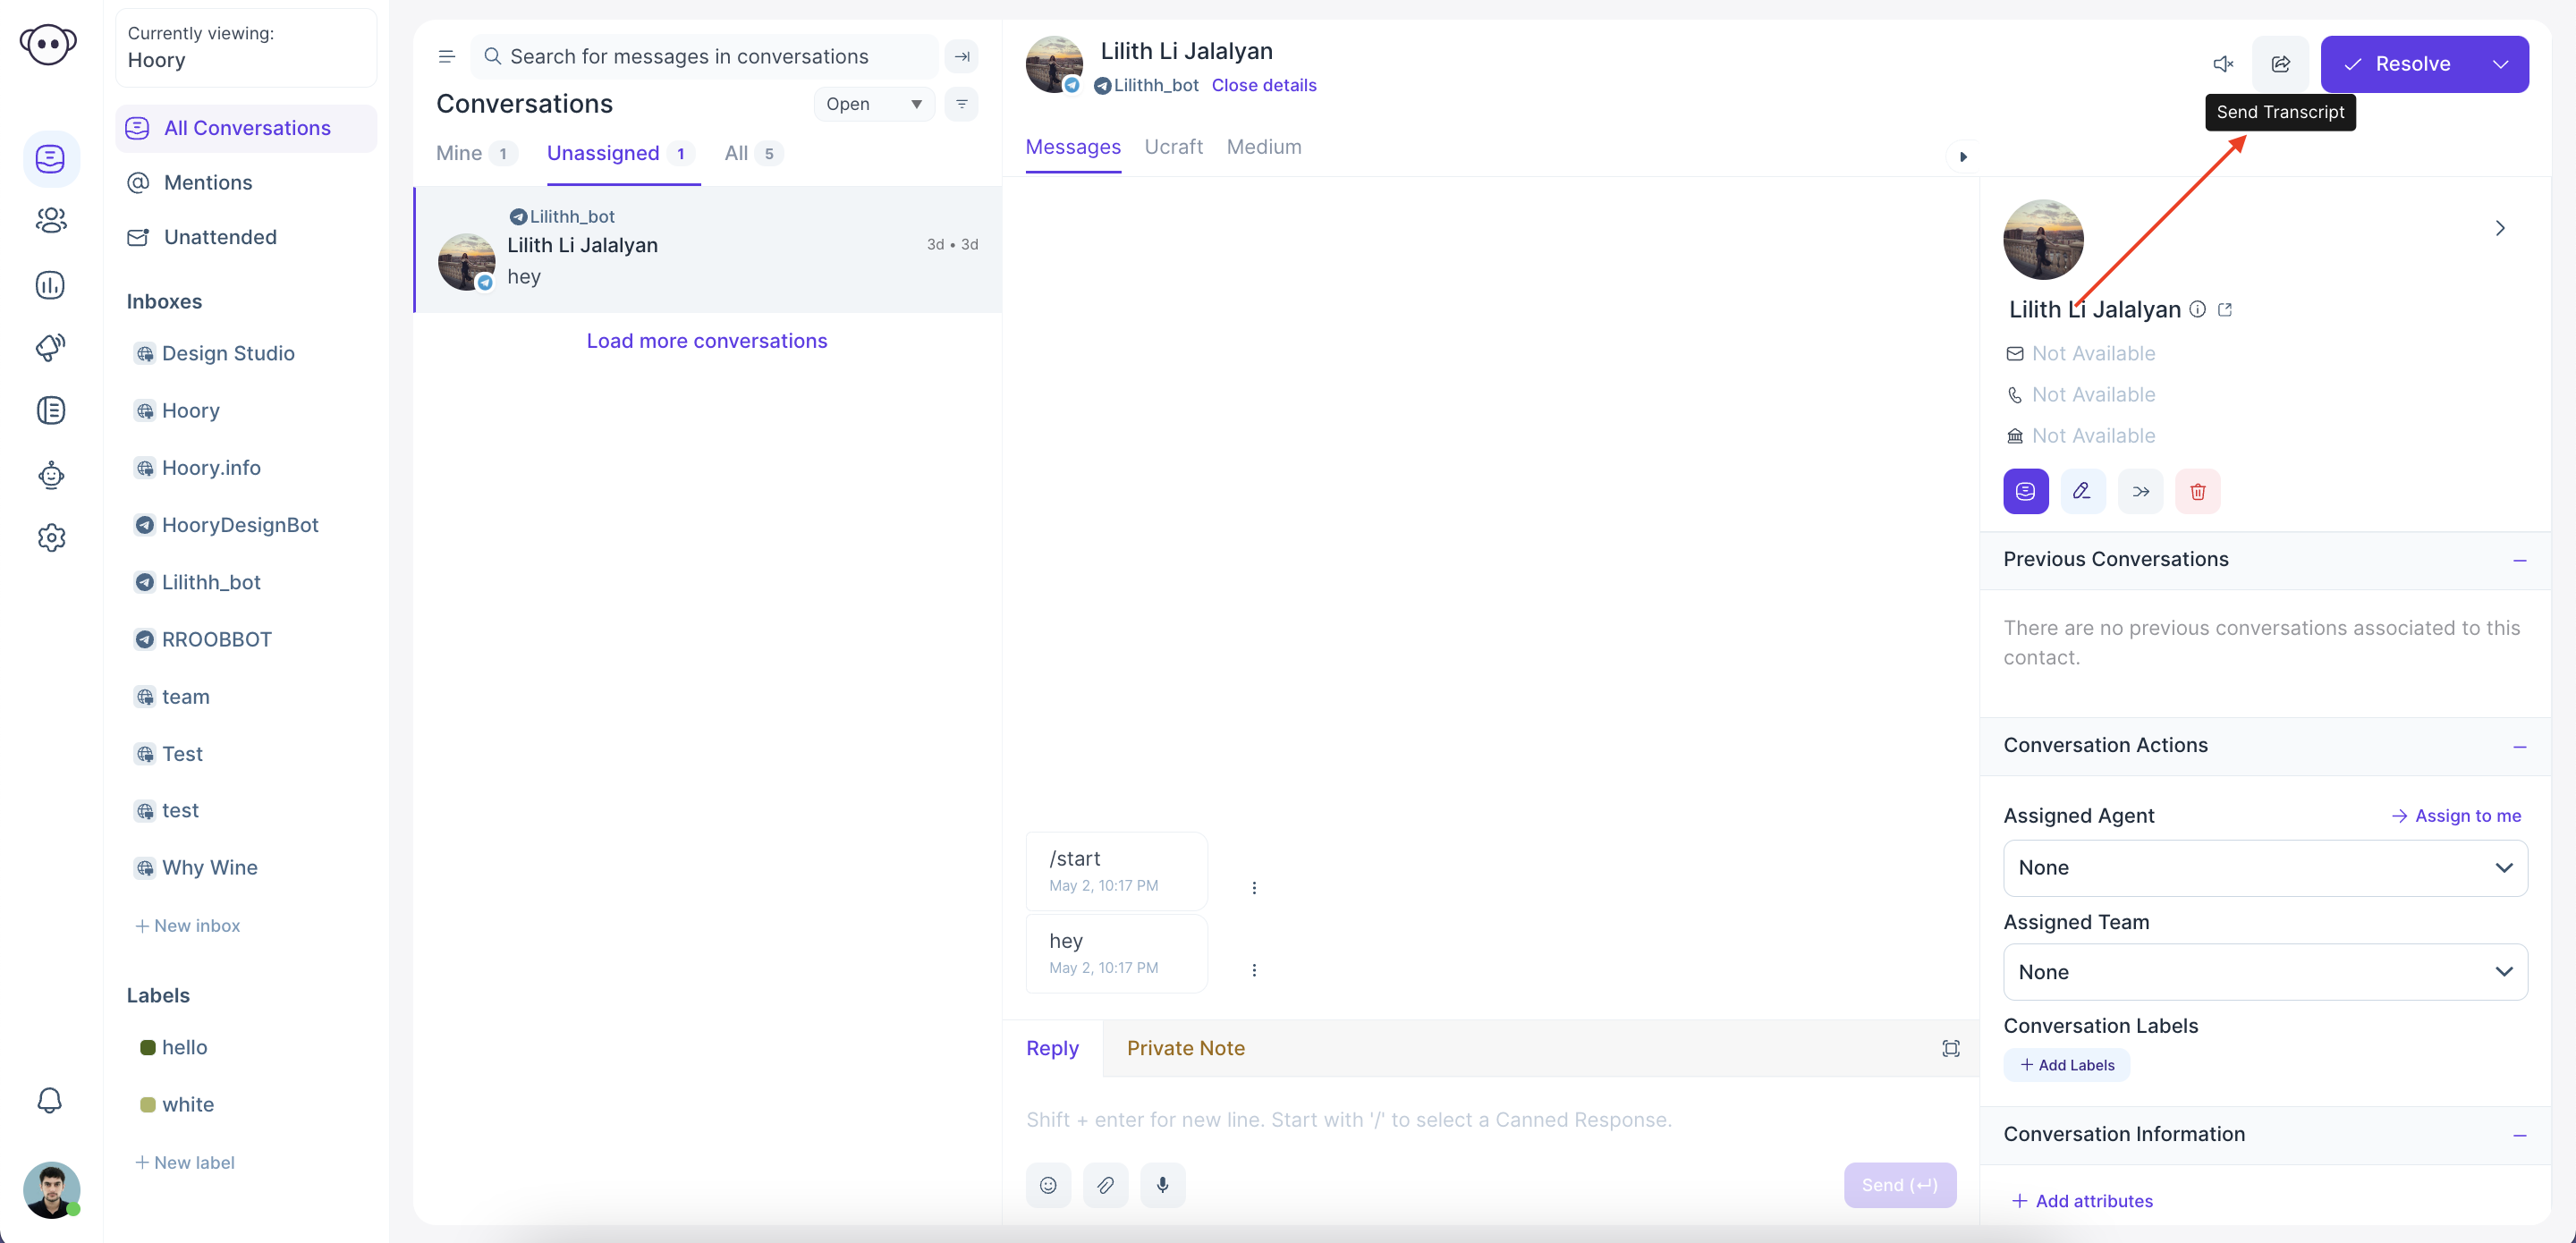
Once the end user has provided their email ID through the conversation, the agent can send email the chat conversation to the customer. The email ID will be listed in front of the customer's name in the details window. The email ID will automatically be added to the contacts, as well.
Click the 3 dots on the top right-hand side of the screen. There is an option to send transcript.
A screen opens up with the first option as 'Send the transcript to assinged agent' and the second option as 'Send the transcript to another email address'.
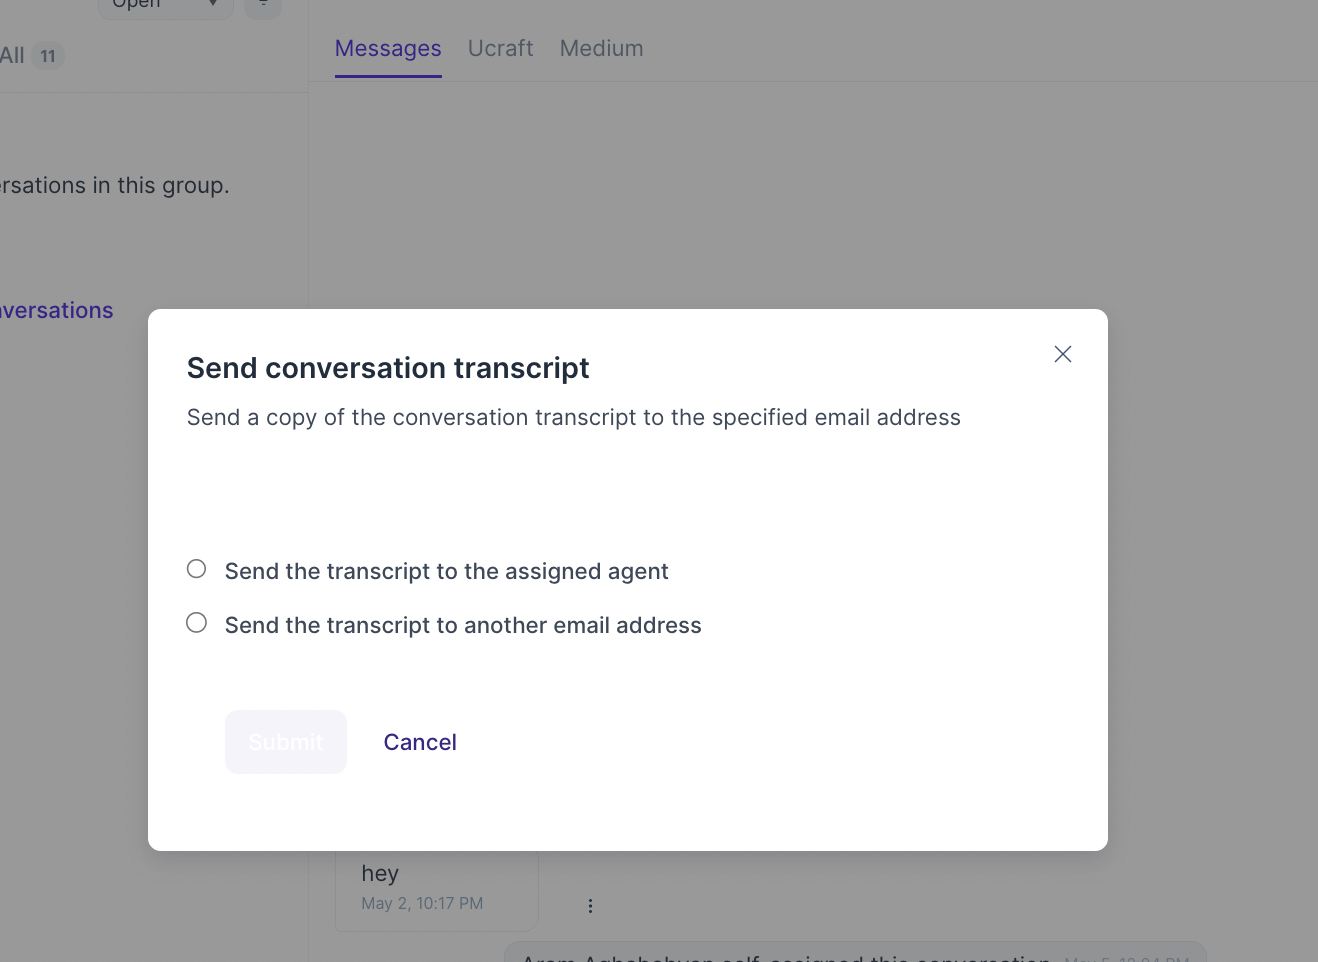
An email can be sent to the agents in the team by selecting the first option. By selecting the second option, and giving the email ID of the end user, the chat transcript can be sent to the customer.
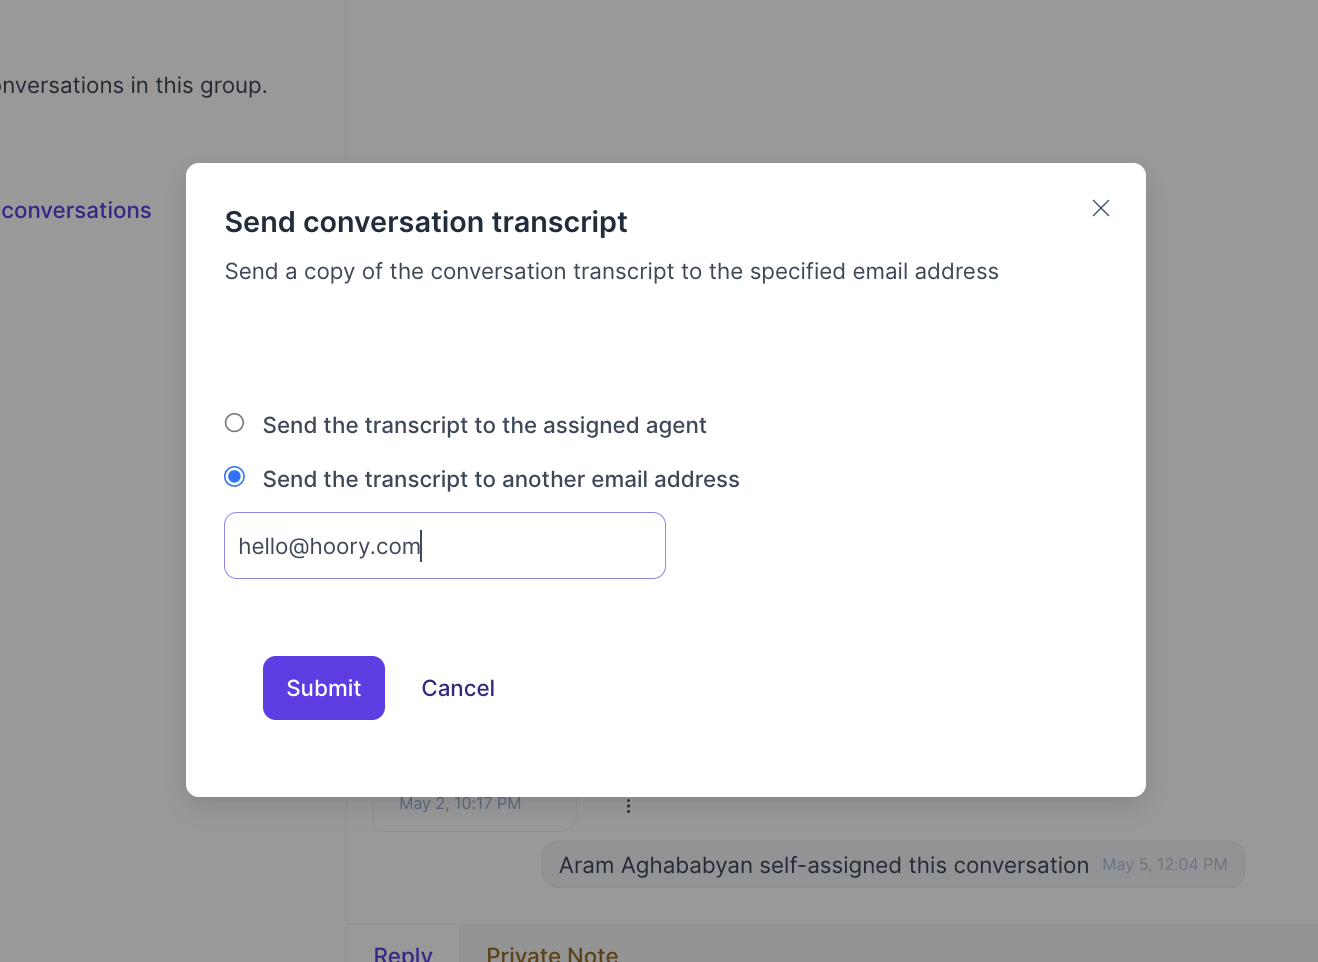
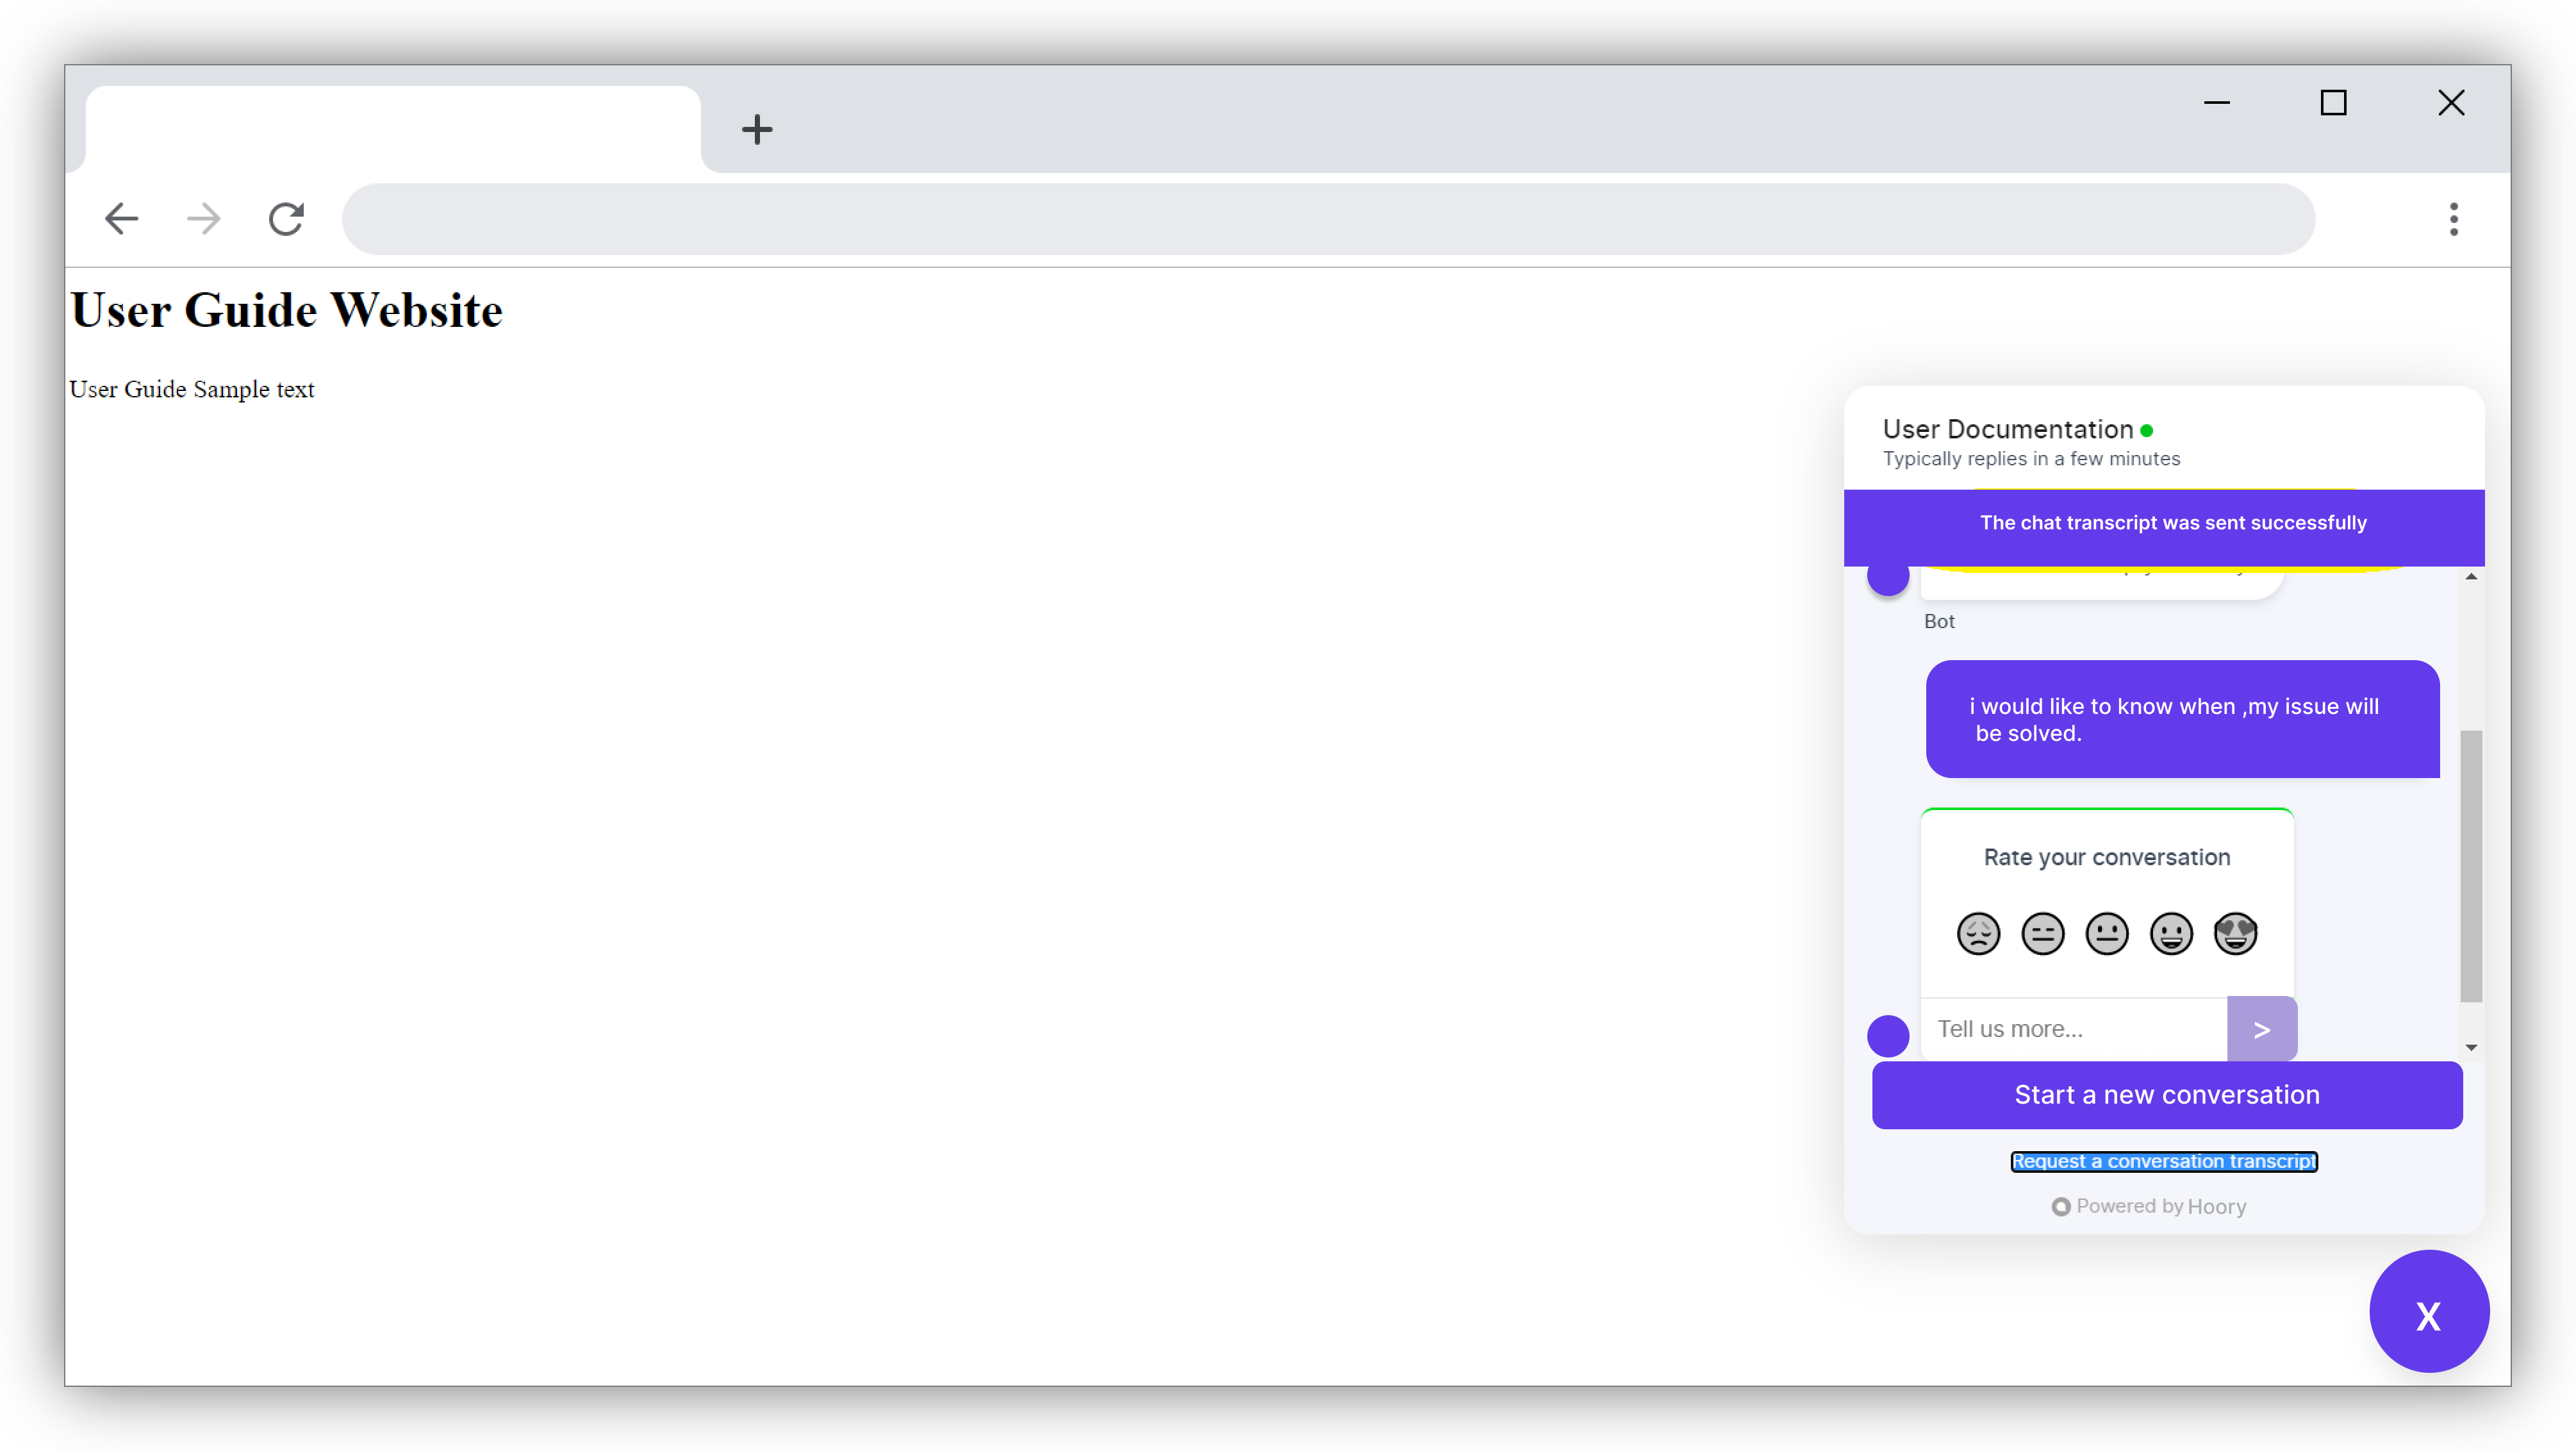
Click Submit. A message will be displayed "The chat transcript was successfully sent". The end user will recieve the chat transcript in his email channel.
Sending Emails from Widget
Once the conversation has been marked as 'Resolved' by the agent, an option will appear on the Hoory AI Widget as 'Request a conversation transcript'. Customer can click it and record the conversation in email.
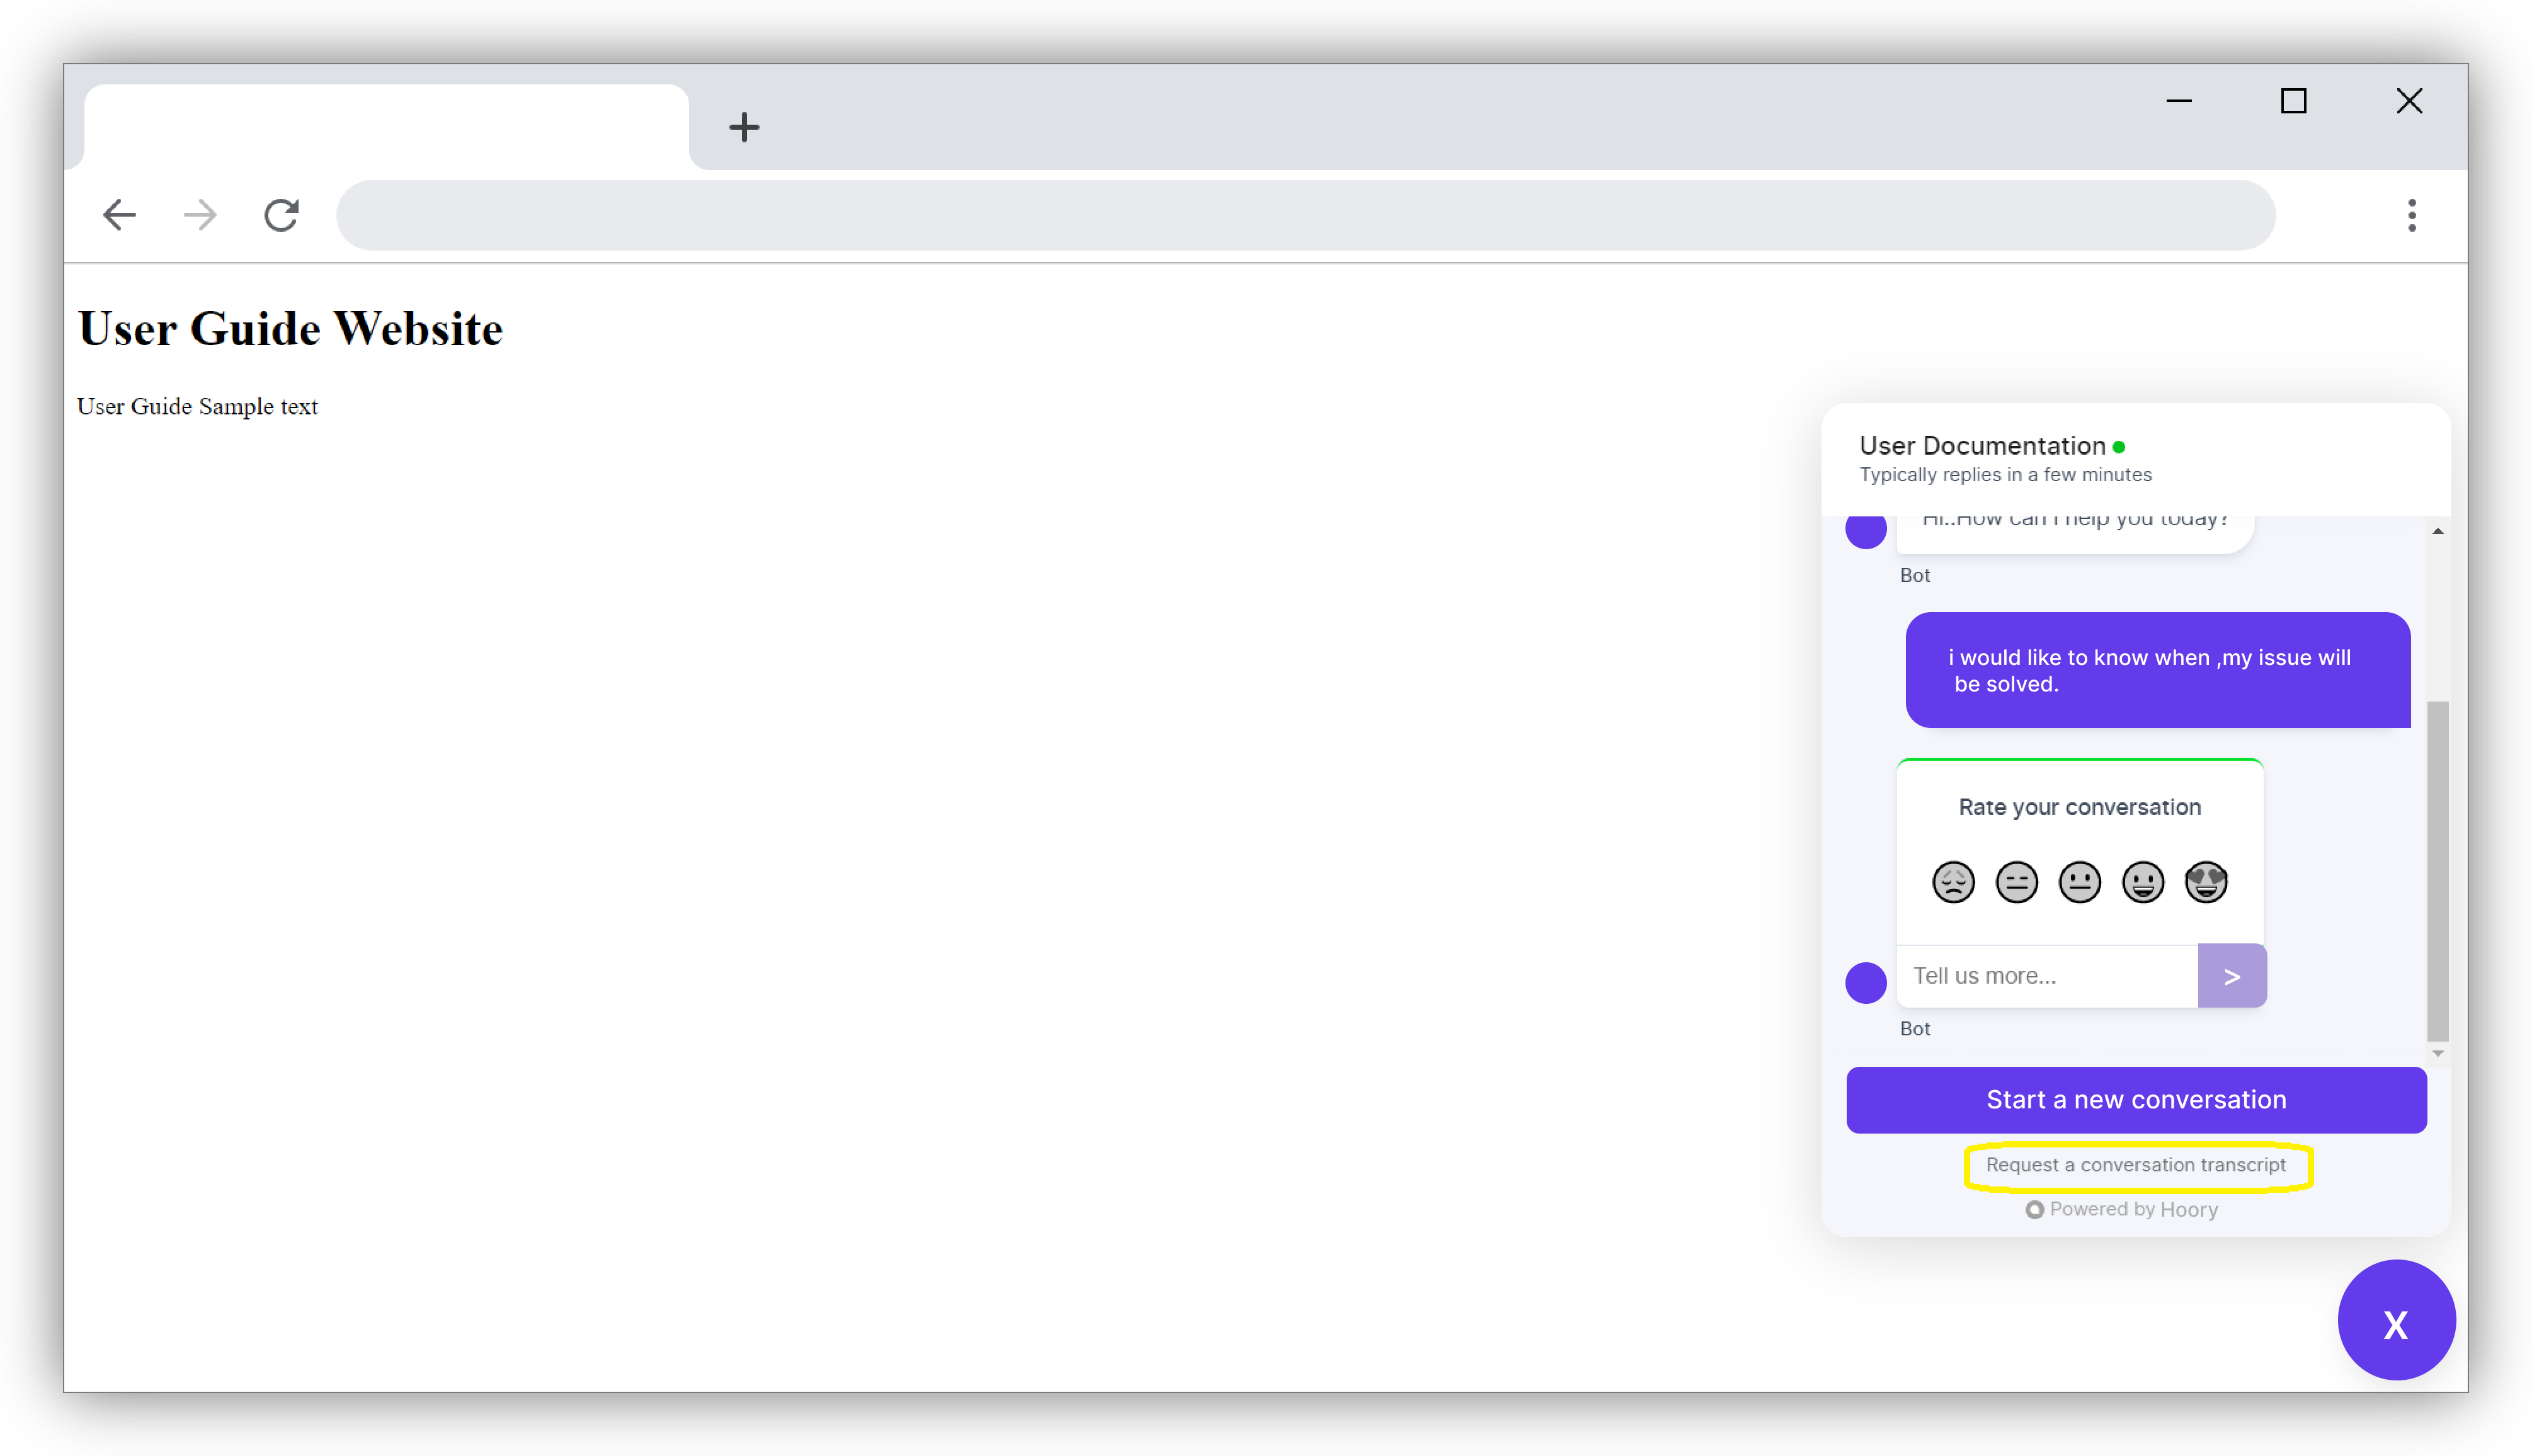
If the customer clicks it, an email will be sent to them and a message will be displayed on top of the widget as 'The chat transcript was successfully sent'
Transfering Agents
You can transfer the ticket/issue to another agent by selecting a different agent from Assign Agent option. The whole conversation will be visible to the newly selected agent.
Changing Conversation Status or Setting Reminders
Conversation Statuses
Hoory AI conversations can be toggled into the following statuses:
Pending : The pending status is used by bot integrations in Hoory AI to keep the conversations in a temporary state before the agent takes a look at it. Once the bot finishes triaging the conversation, it toggles the status into open. The agent can toggle back the conversation into this state if they want the conversation to be handled by the bot again. This status is useful when your Hoory AI instance has an AI assistant.
Open : The default conversation status in Hoory AI for a new conversation unless a Bot Integration has been enabled. These are conversations from customers waiting on a reply from the agent.
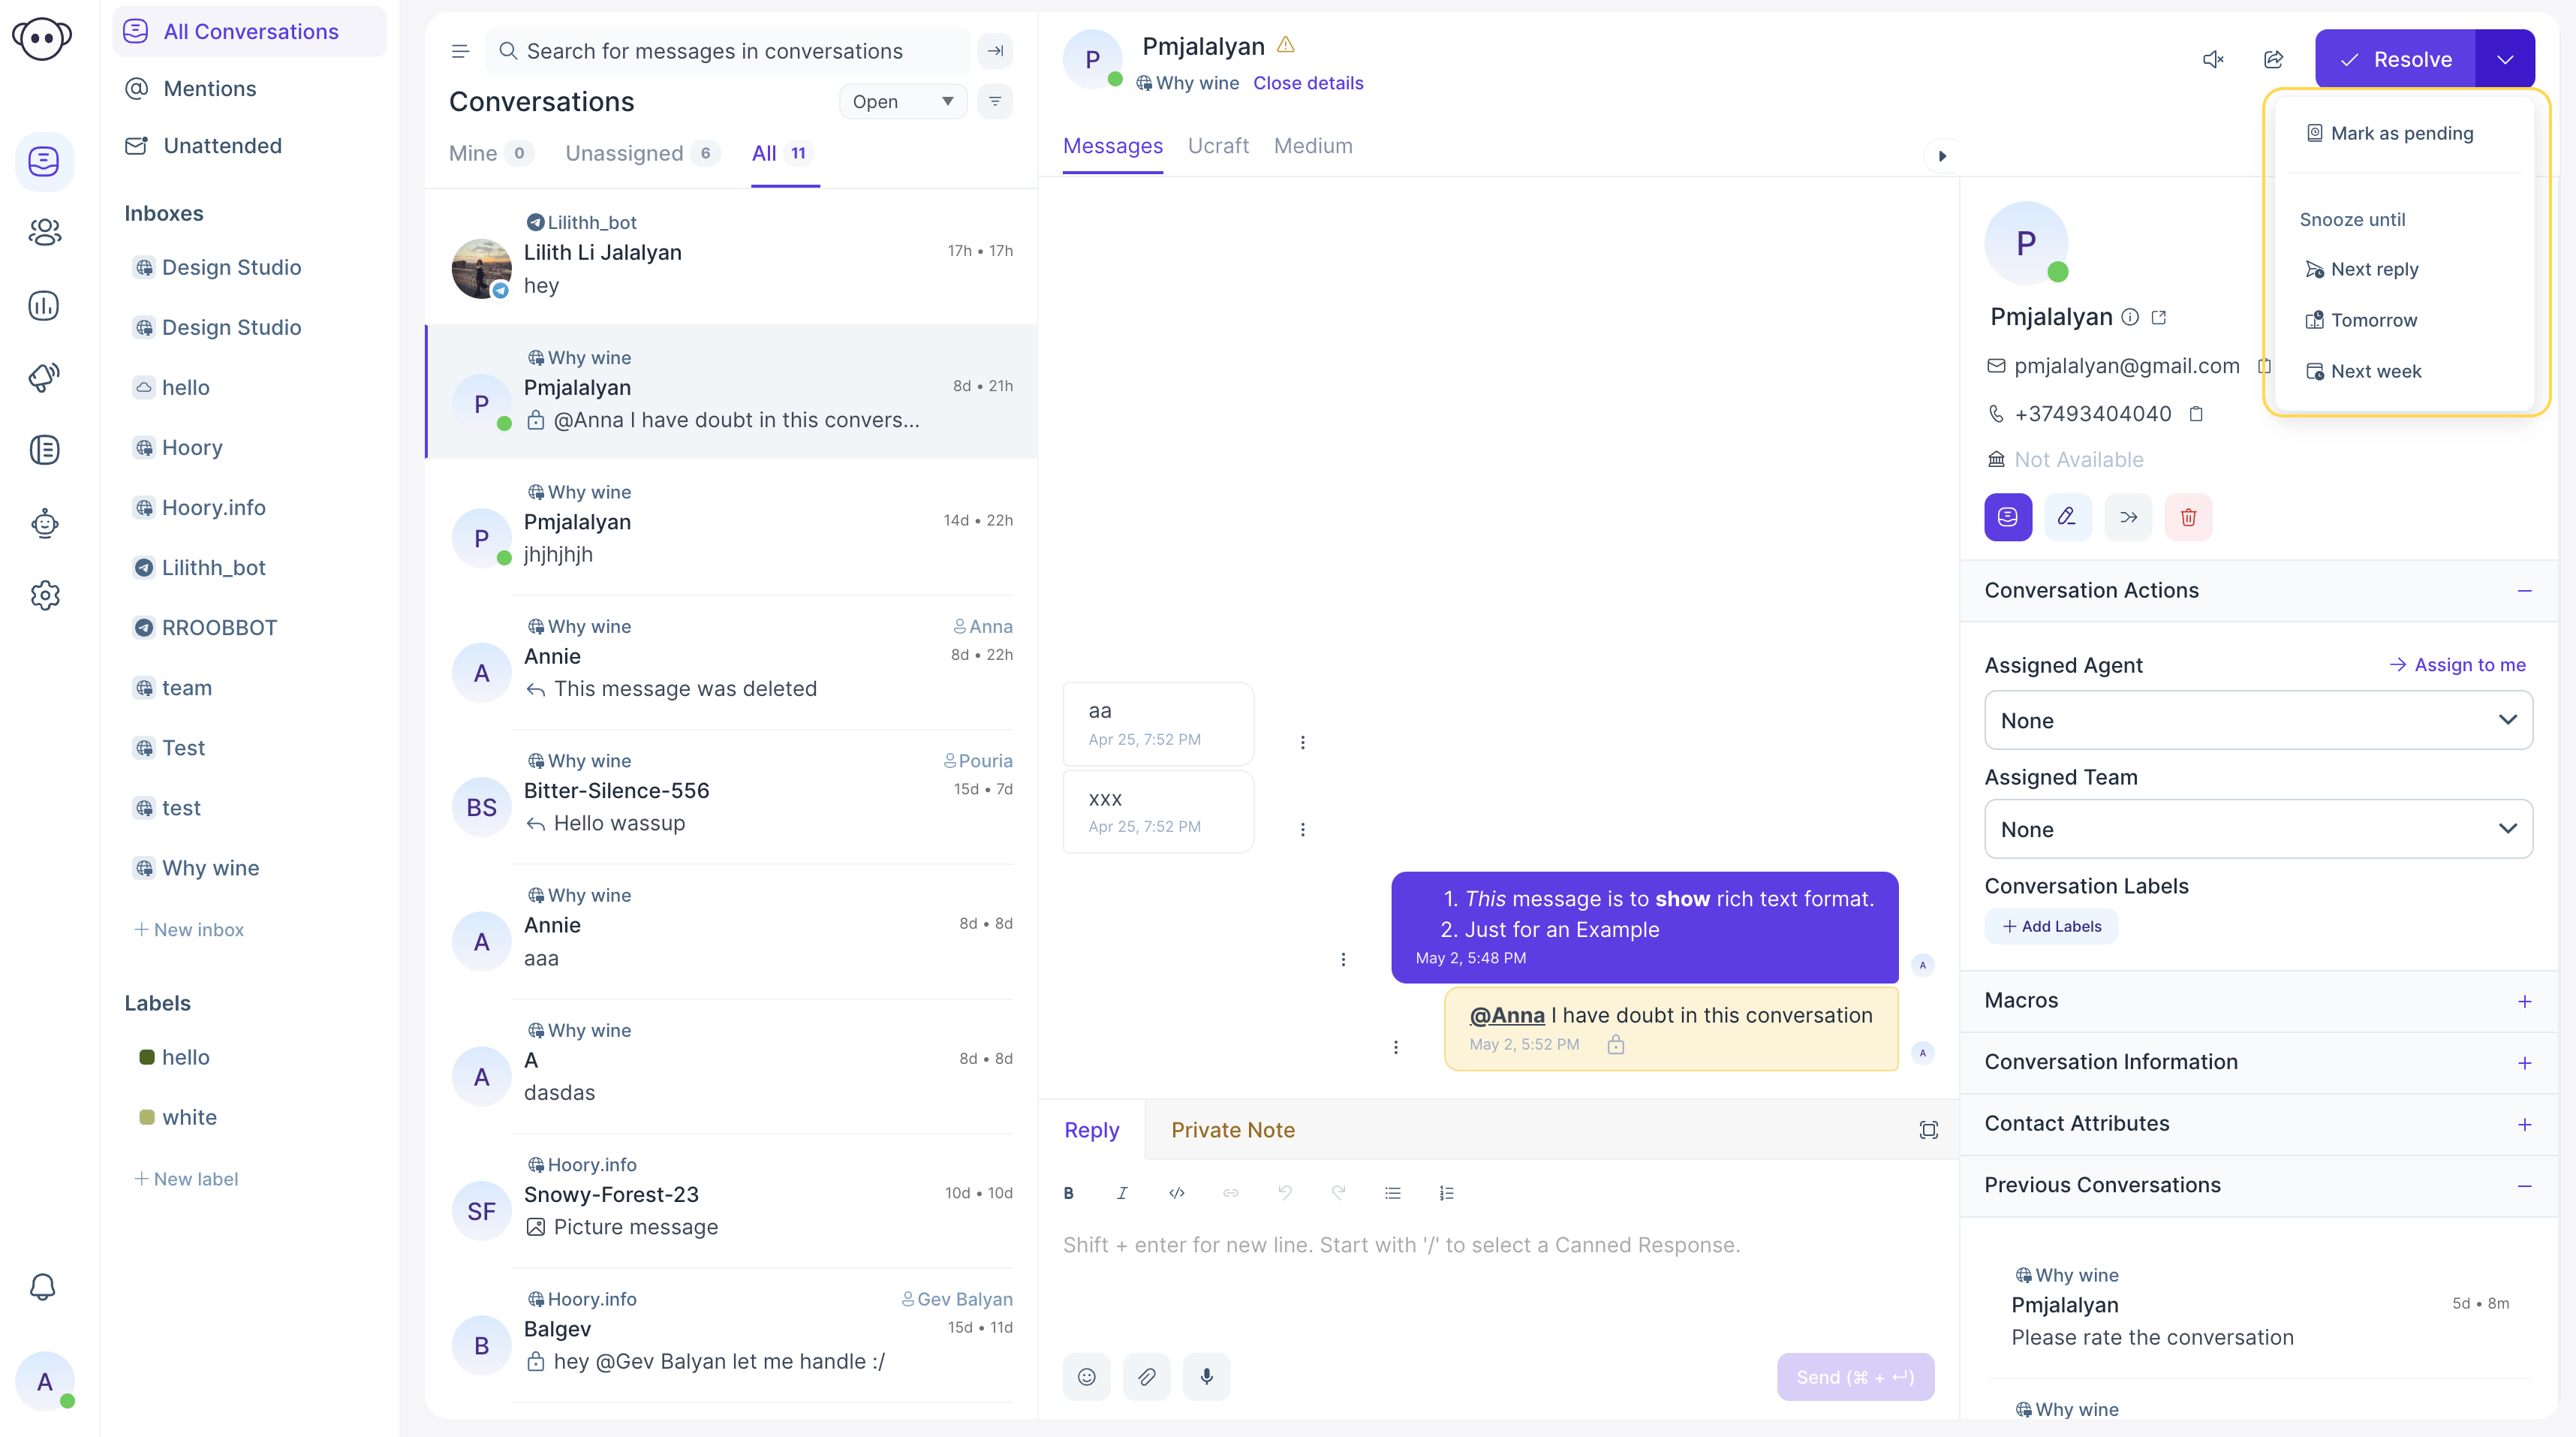
Snoozed : If you don't have the full information to resolve a conversation and you are expecting further replies, you can toggle the conversation as snoozed. This status is also helpful in cases where you need extra time to investigate the issue and you want to move the conversation away from your primary support queue. Snoozed status is also a helpful way to set reminders on a conversation that you want to come back to later.
The followed options are supported for Snoozed status:
- Snooze until next reply
- Snooze until tomorrow
- Snooze until next week
Resolved : These are conversations which have already been addressed and require no further communication. The Resolved status is equivalent to closing the customer support ticket.
Archiving Conversations in Hoory AI
Overview
The archived conversations feature in Hoory AI allows admin/agent users to efficiently organize and manage their chat history. This feature ensures that resolved conversations are automatically archived after a defined period, making it easier for users to access and filter through past interactions. This document outlines the functionality, settings, and specifications for the archived conversations feature.
Acceptance Criteria
Access and Navigation
- Archive Functionality Access: Admin/agent users can access the archive functionality within the Hoory AI platform by clicking the "Archived" subsection in the "Conversations" tab of the left menu bar.
Archiving Process
- Automatic Archiving:
- Resolved conversations are automatically moved to the Archived section after a specified number of days.
- By default, conversations are archived after 5 days, but this period can be adjusted in the account settings.
- Settings for Archiving:
- Account owners can define the number of days a resolved conversation should be auto-archived.
- The default value is set to 5 days, adjustable to a maximum of 365 days.
Viewing Archived Conversations
-
Default View: All archived conversations are displayed by default when you enter the Archived section.
-
Filtering:
- Users can filter archived conversations to view those assigned to them (using the "Mine" filter).
- Users can filter to see unassigned archived conversations (using the "Unassigned" filter).
Archiving Behavior
- Automatic Update: Resolved conversations are moved to the Archived section without requiring a manual page refresh. However, if any action is taken in the resolved conversation, such as changing the assignee or adding a label, the archived days will be counted from the date of the last activity.
- Integrity and Completeness: Archived conversations retain original content, including messages, timestamps, and any attached files or media.
Search and Sort Functionality
- Search: Users can search for specific keywords or phrases within the archived conversations.
- Sort: Users can sort archived conversations by various criteria to manage their history effectively.
Performance
- Scalability: The archive functionality supports a large number of archived conversations without affecting the platform's performance or speed.
Reopening Restrictions
-
Limited Actions: The archive functionality supports a large number of archived conversations without affecting the platform's performance or speed.
- Status changing CTA
- Snooze until
- Mark as pending
- Reply text input
-
Private Note Tab: The Private Note tab remains available in archived conversations.
Previous Conversation Section
- Display: Archived conversations are displayed in the "Previous Conversation" section of a single conversation view with a badge indicating their status.
Reporting and Analytics
- Visibility: Archived conversations remain visible in reports to maintain comprehensive analytics.
Cold Storage Consideration
- Long-Term Archiving: Consider implementing a second layer of archiving (cold storage) where conversations older than one year are moved to cold storage.
Workflow
The agent can choose the appropriate conversation status once the solution is conveyed to the customer.
The allowed options are given below:
| Options | Actions |
|---|---|
| Mark as Pending | Change the issue to Pending status |
| Resolve | Change the issue to Close status |
| Reopen | Change the issue to Open status |
| Open | Change the pending issue to Open status |
| Snooze Until Next Reply | The issue will be set aside for now and status will change to open on next reply from customer |
| Snooze Until Tomorrow | The issue will be set aside for now and status will change to open on next day |
| Snooze Until Next Week | The issue will be set aside for now and status will change to open on next week |
The Conversations can be selected and viewed as per their status on the Conversation section, as shown below.
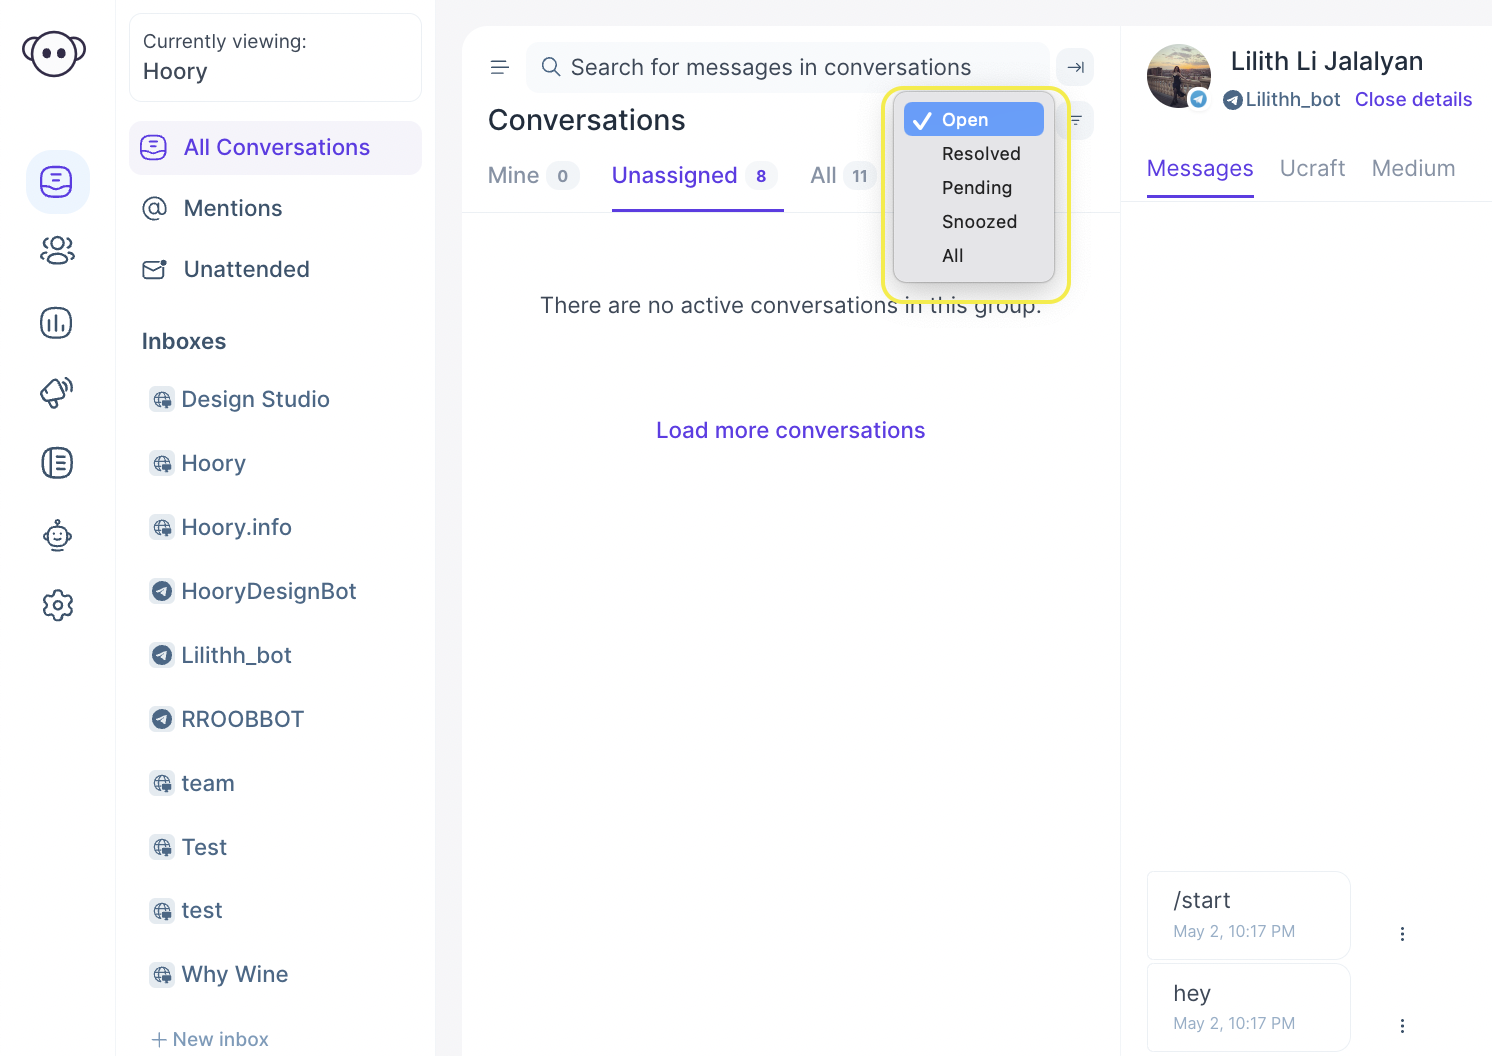
Note: When an agent changes the conversation status to Open, the conversation will automatically be assigned to that agent.
CSAT
Once the ticket or conversation is marked as 'Resolved', if the CSAT option is enabled, a survey will be sent to the customer in the widget.
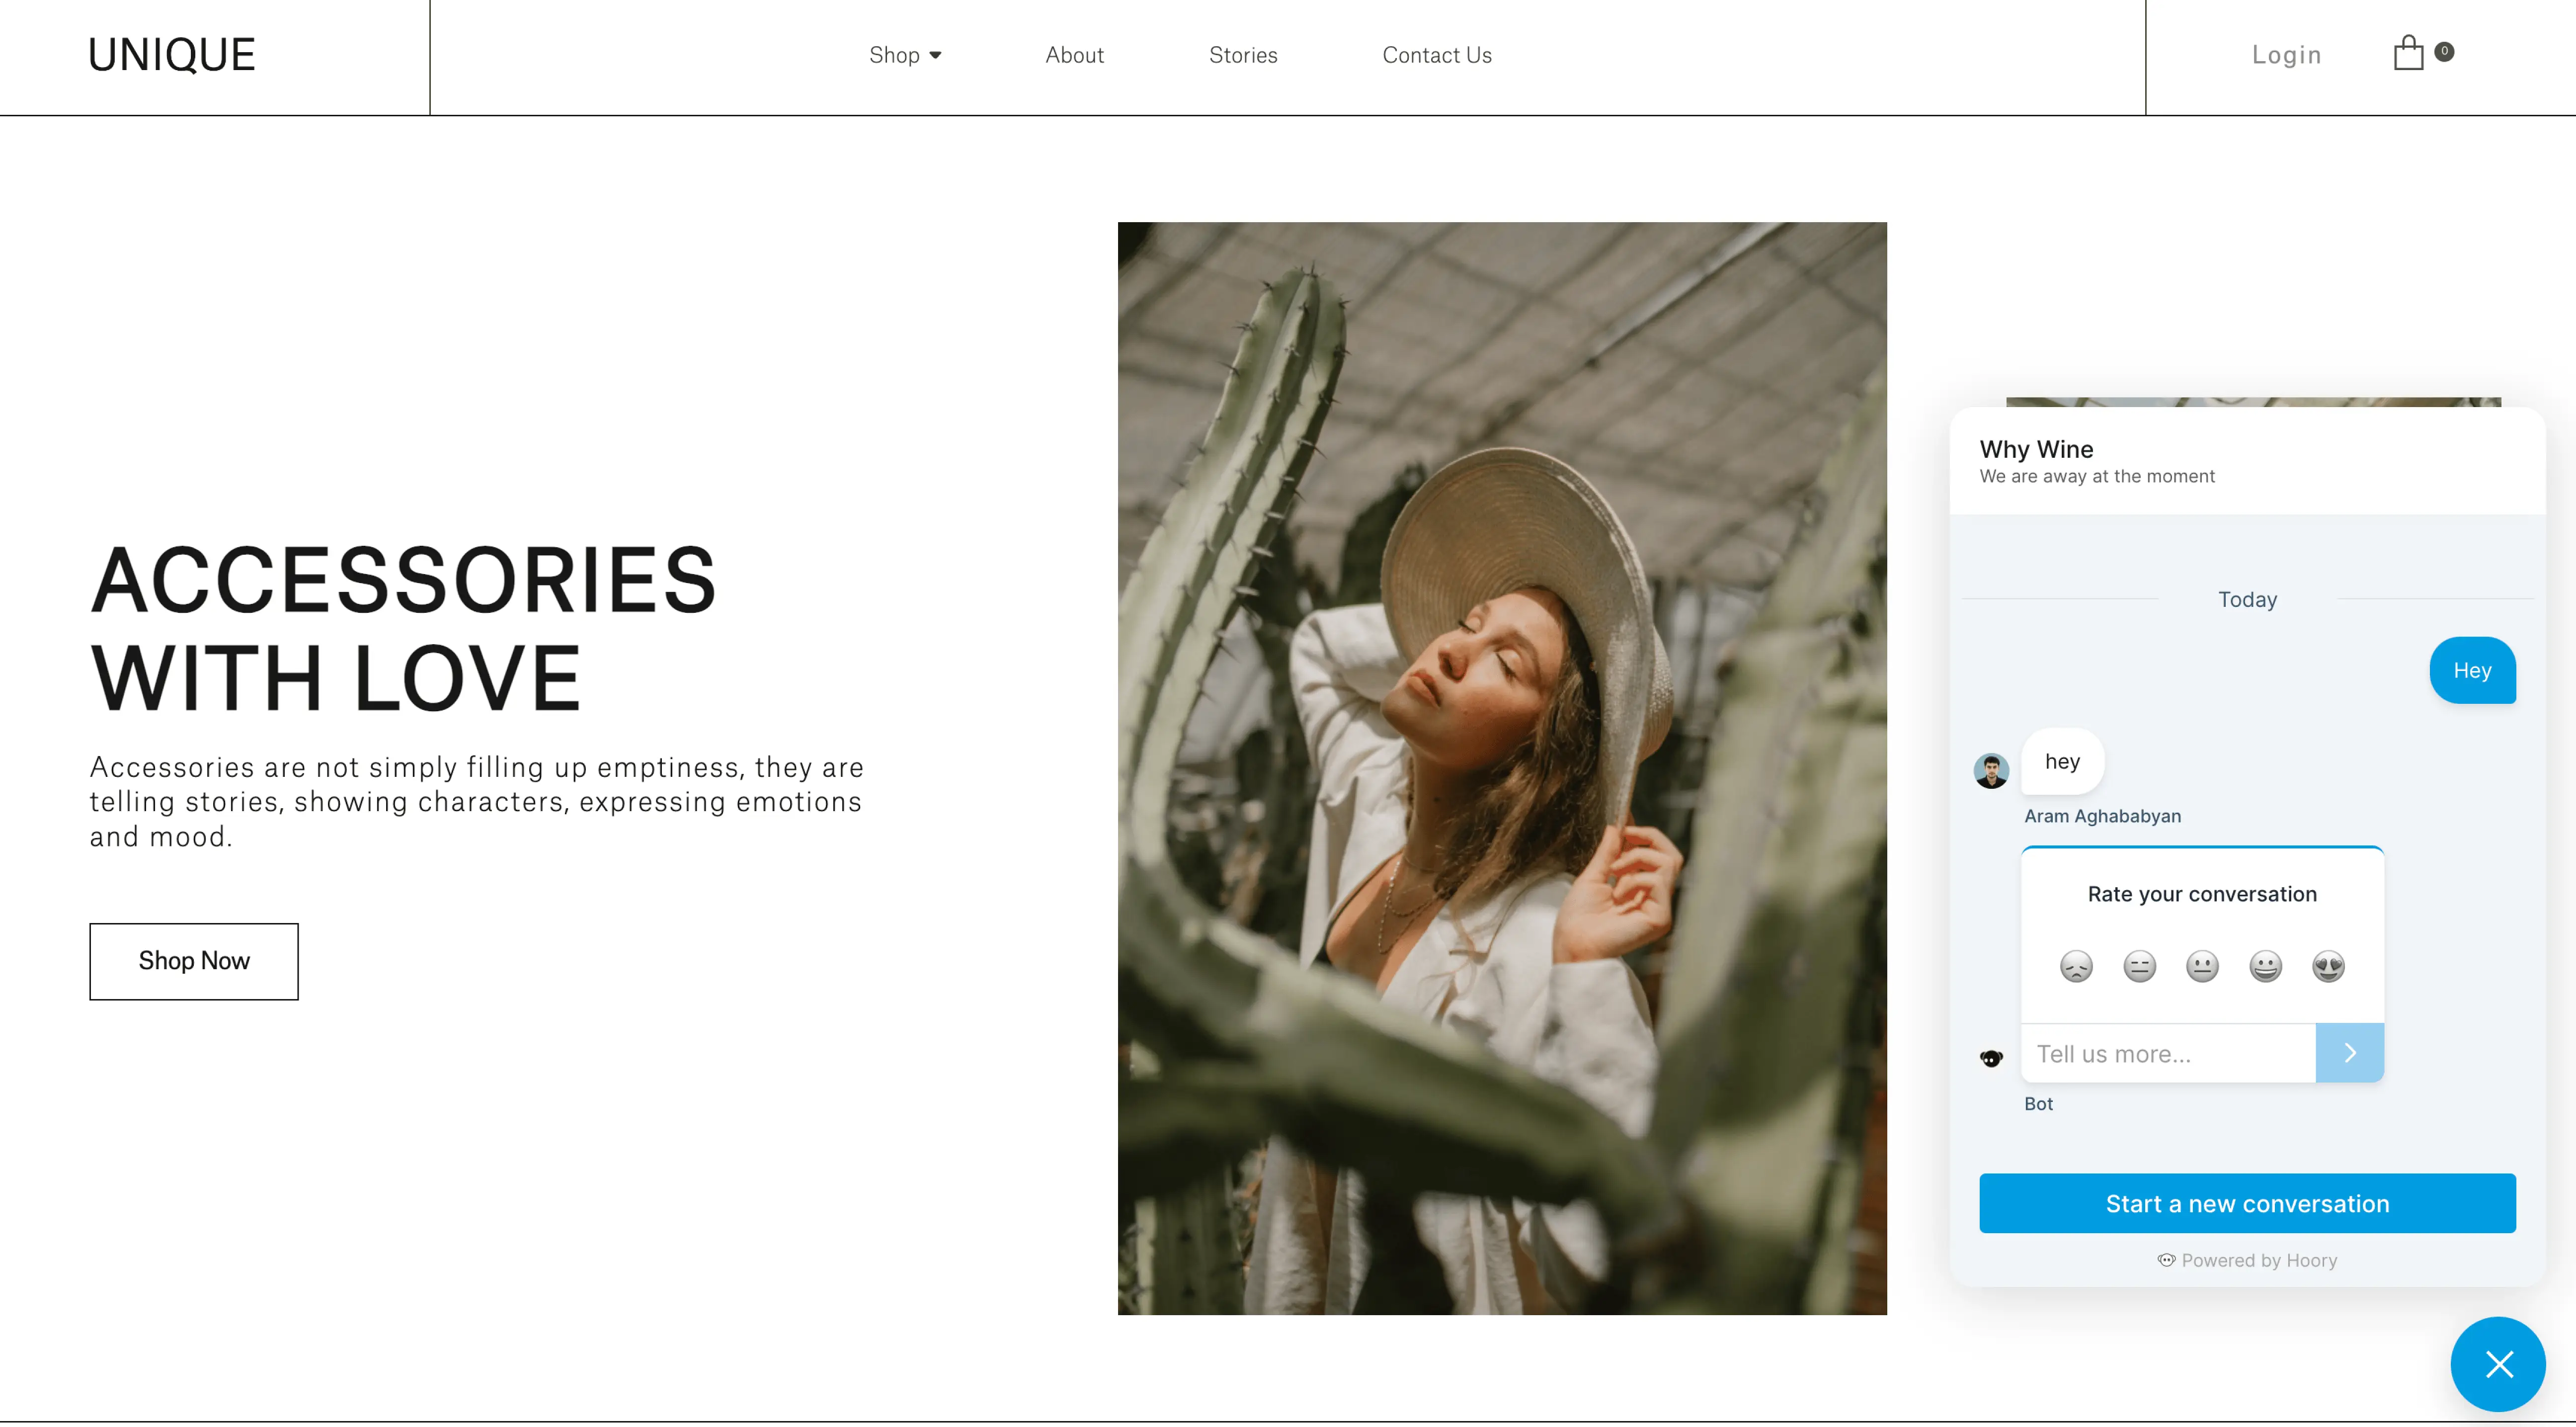
The response from the customer can be viewed in CSAT section in Reports.
Previous Conversations
Once the conversation has been marked as resolved and CSAT has already been obtained, next time the same customer starts a new conversation, the previous conversation associated with that customer will be shown on the screen. It will help the agent to understand the history of the customer's issue.
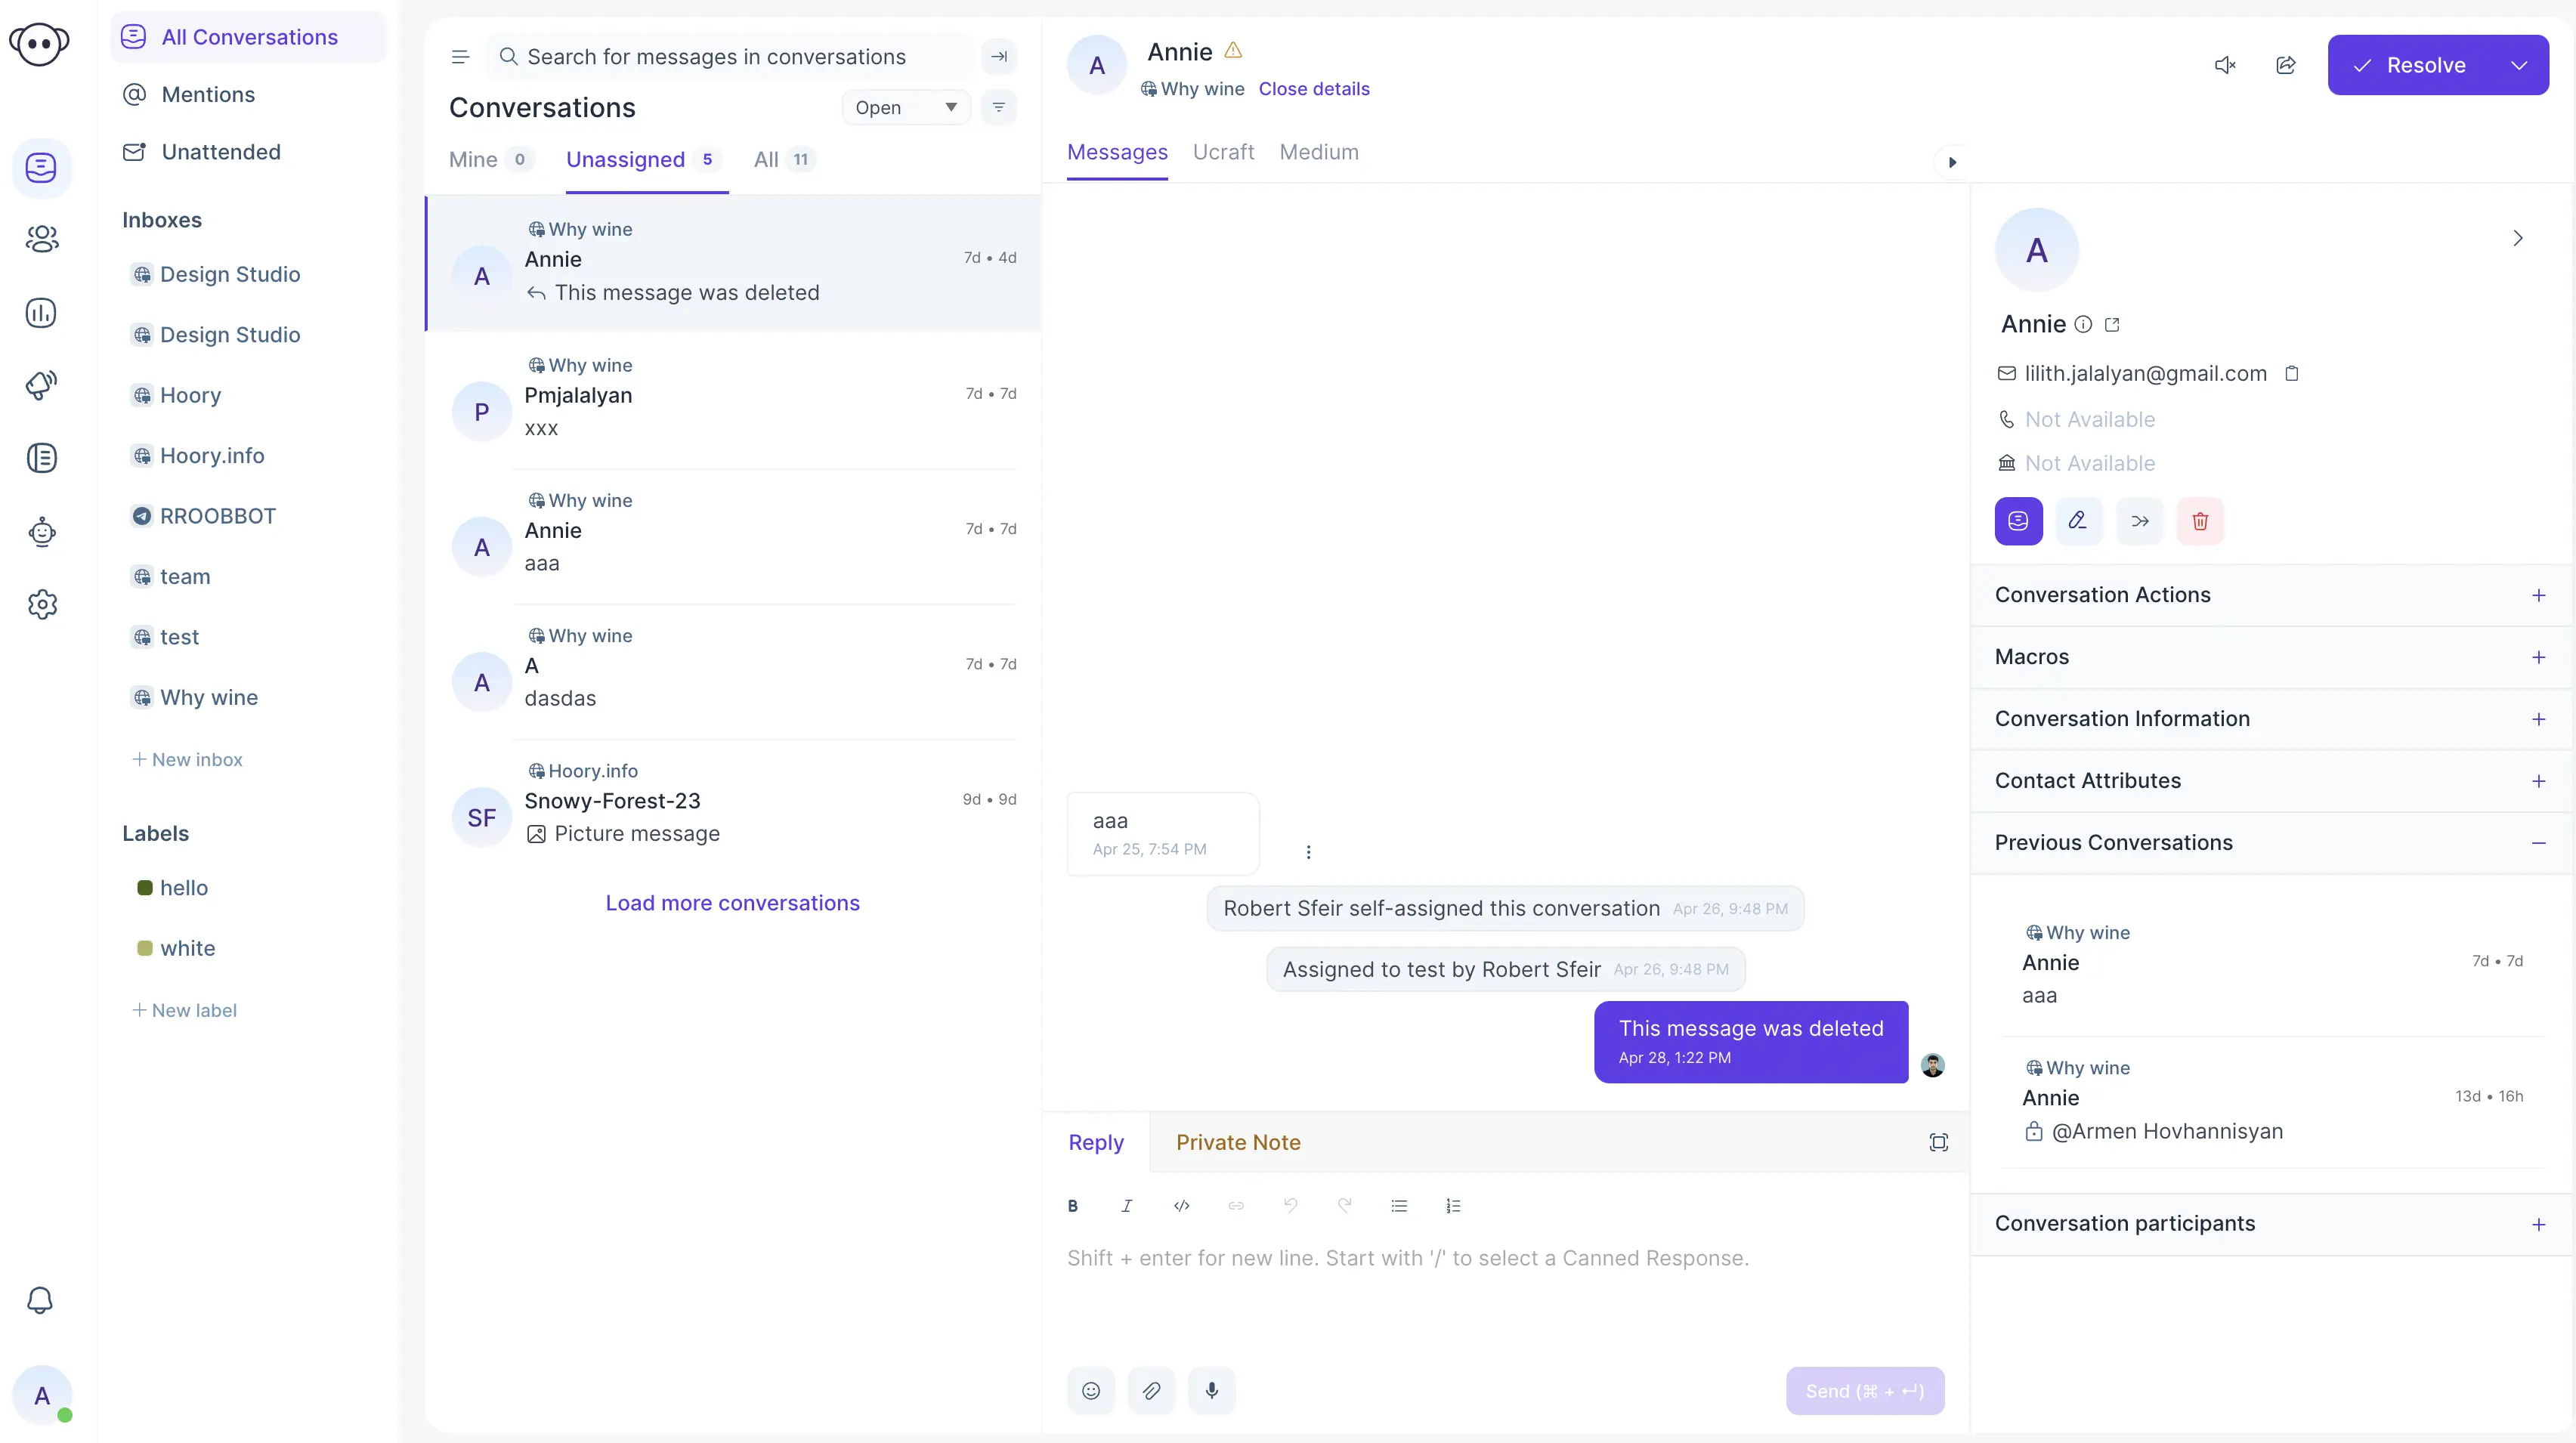
Click the name below the Previous Conversation and the details of the past conversation will open up and it can be used as reference for the agent.
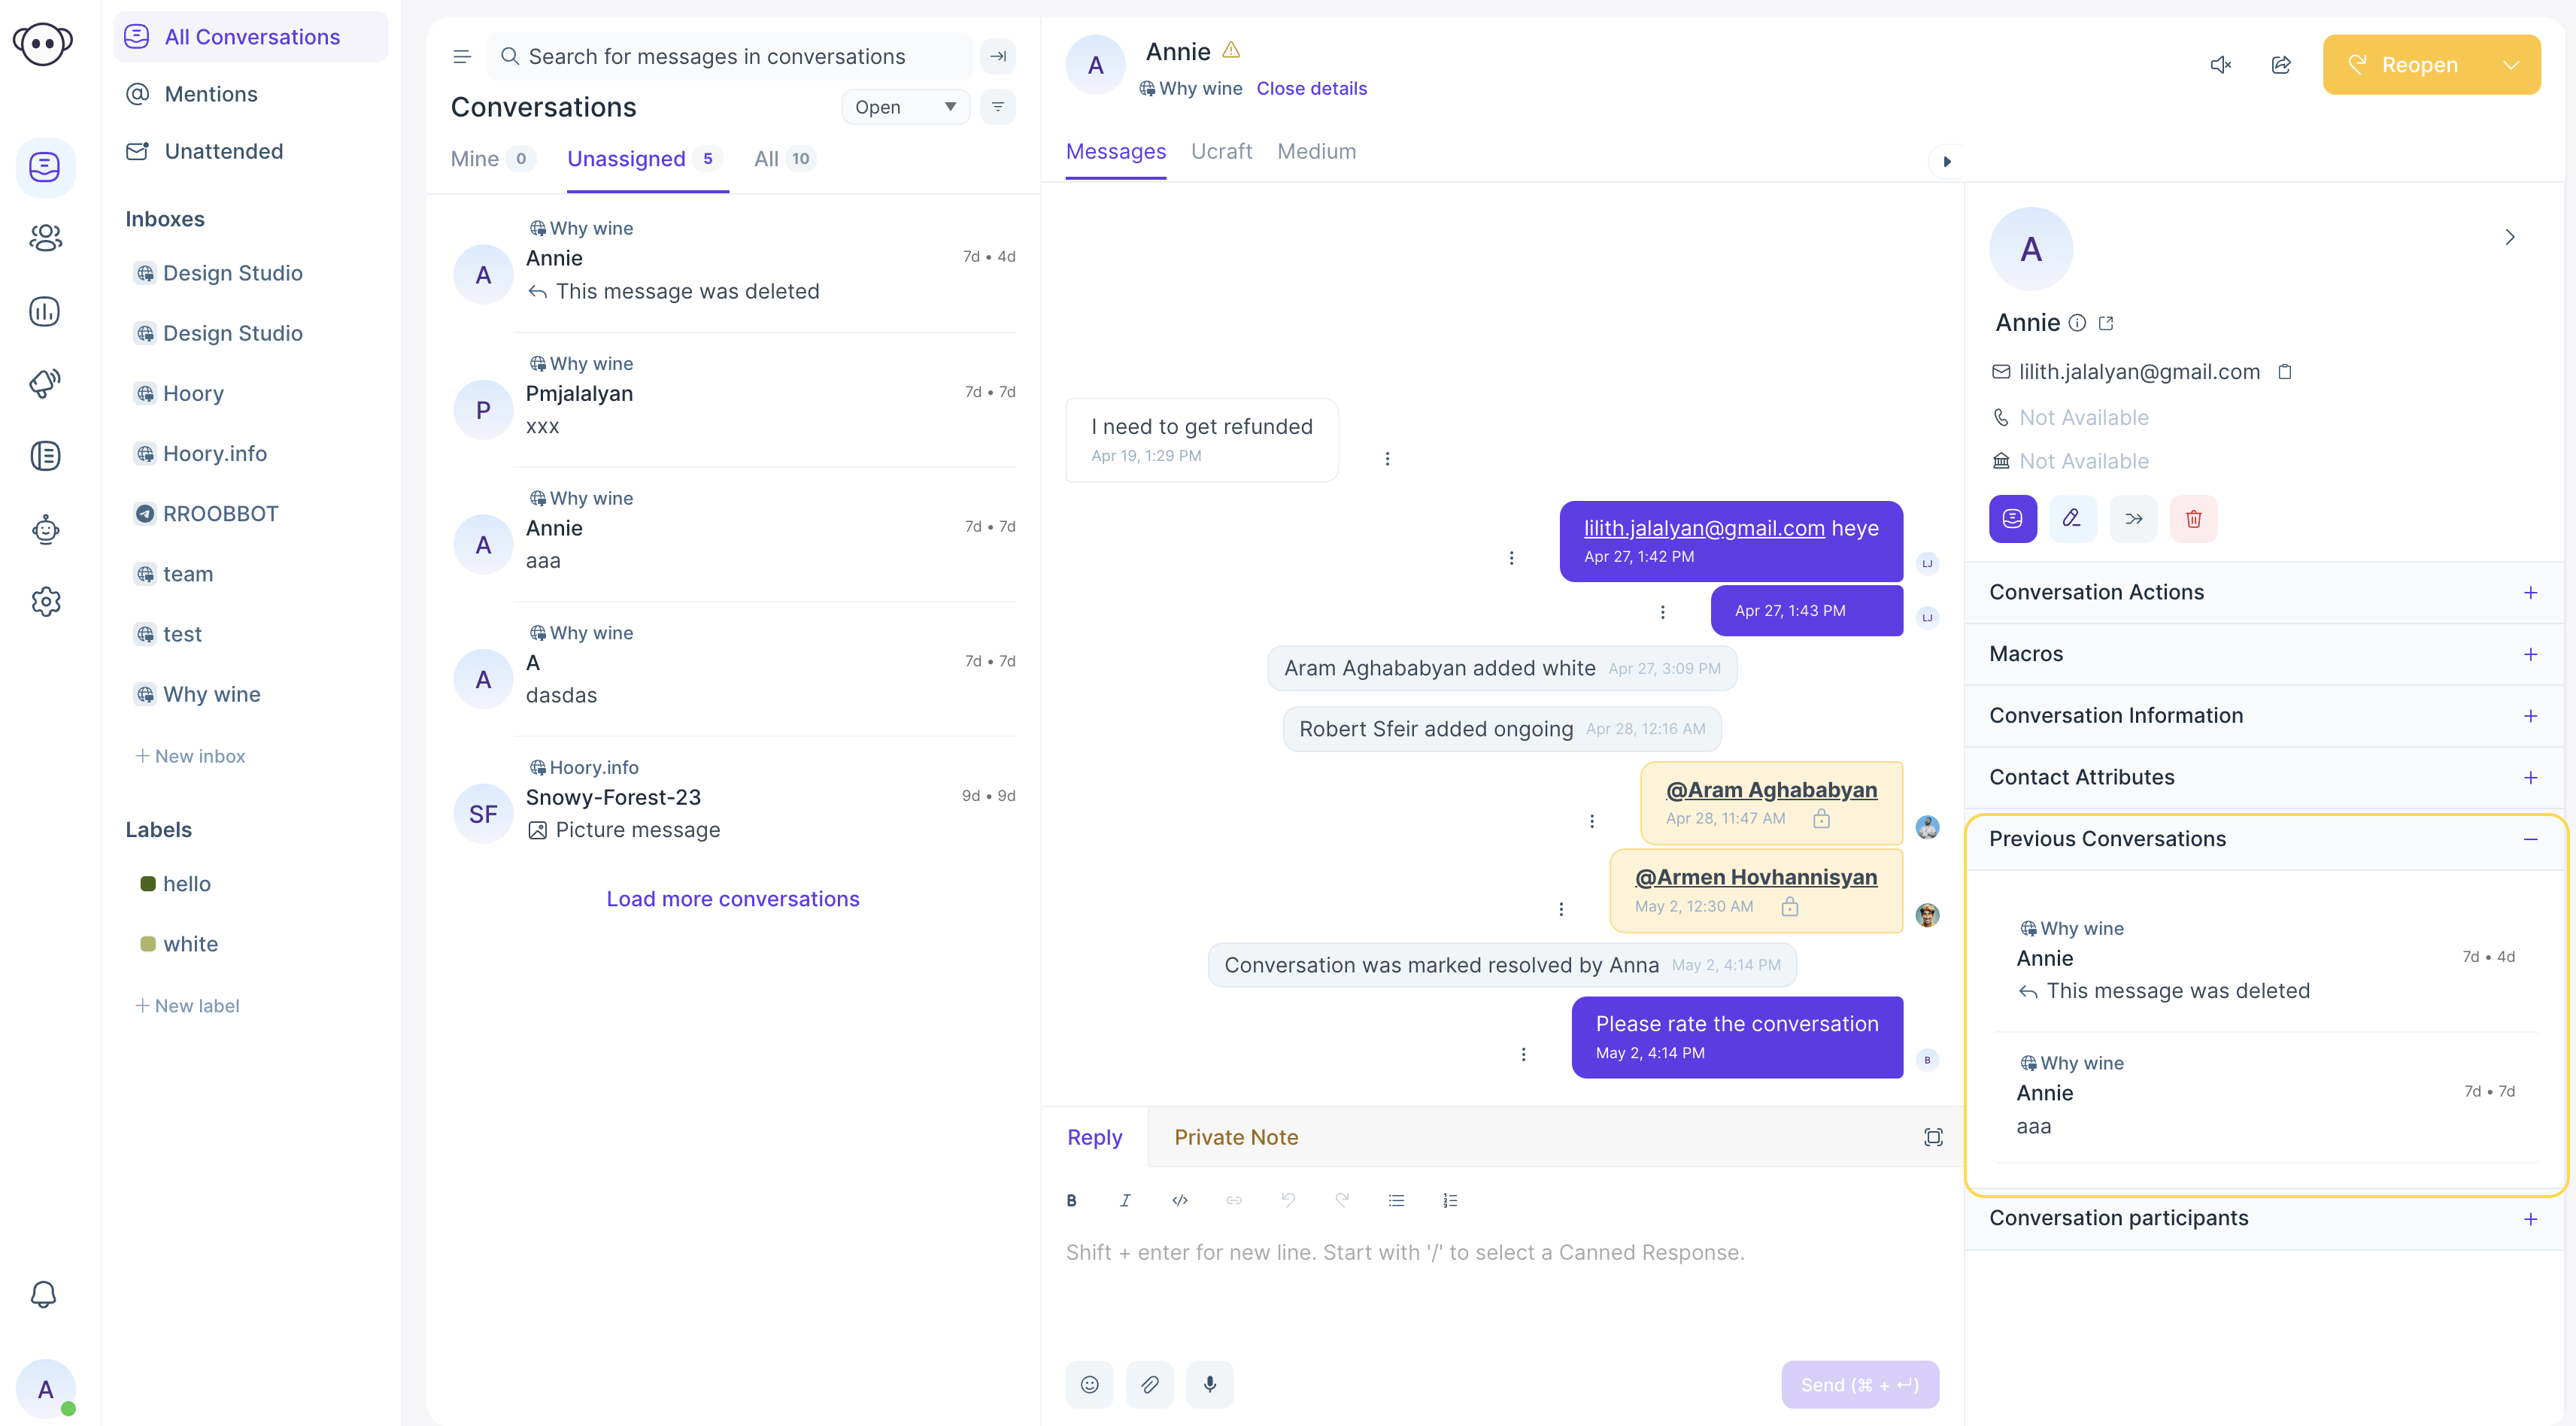
If there has been more than one conversation from the same customer, allof them will be listed under Previous Conversations and the agent can select which ones to view.