Add and Configure Your Website Channel
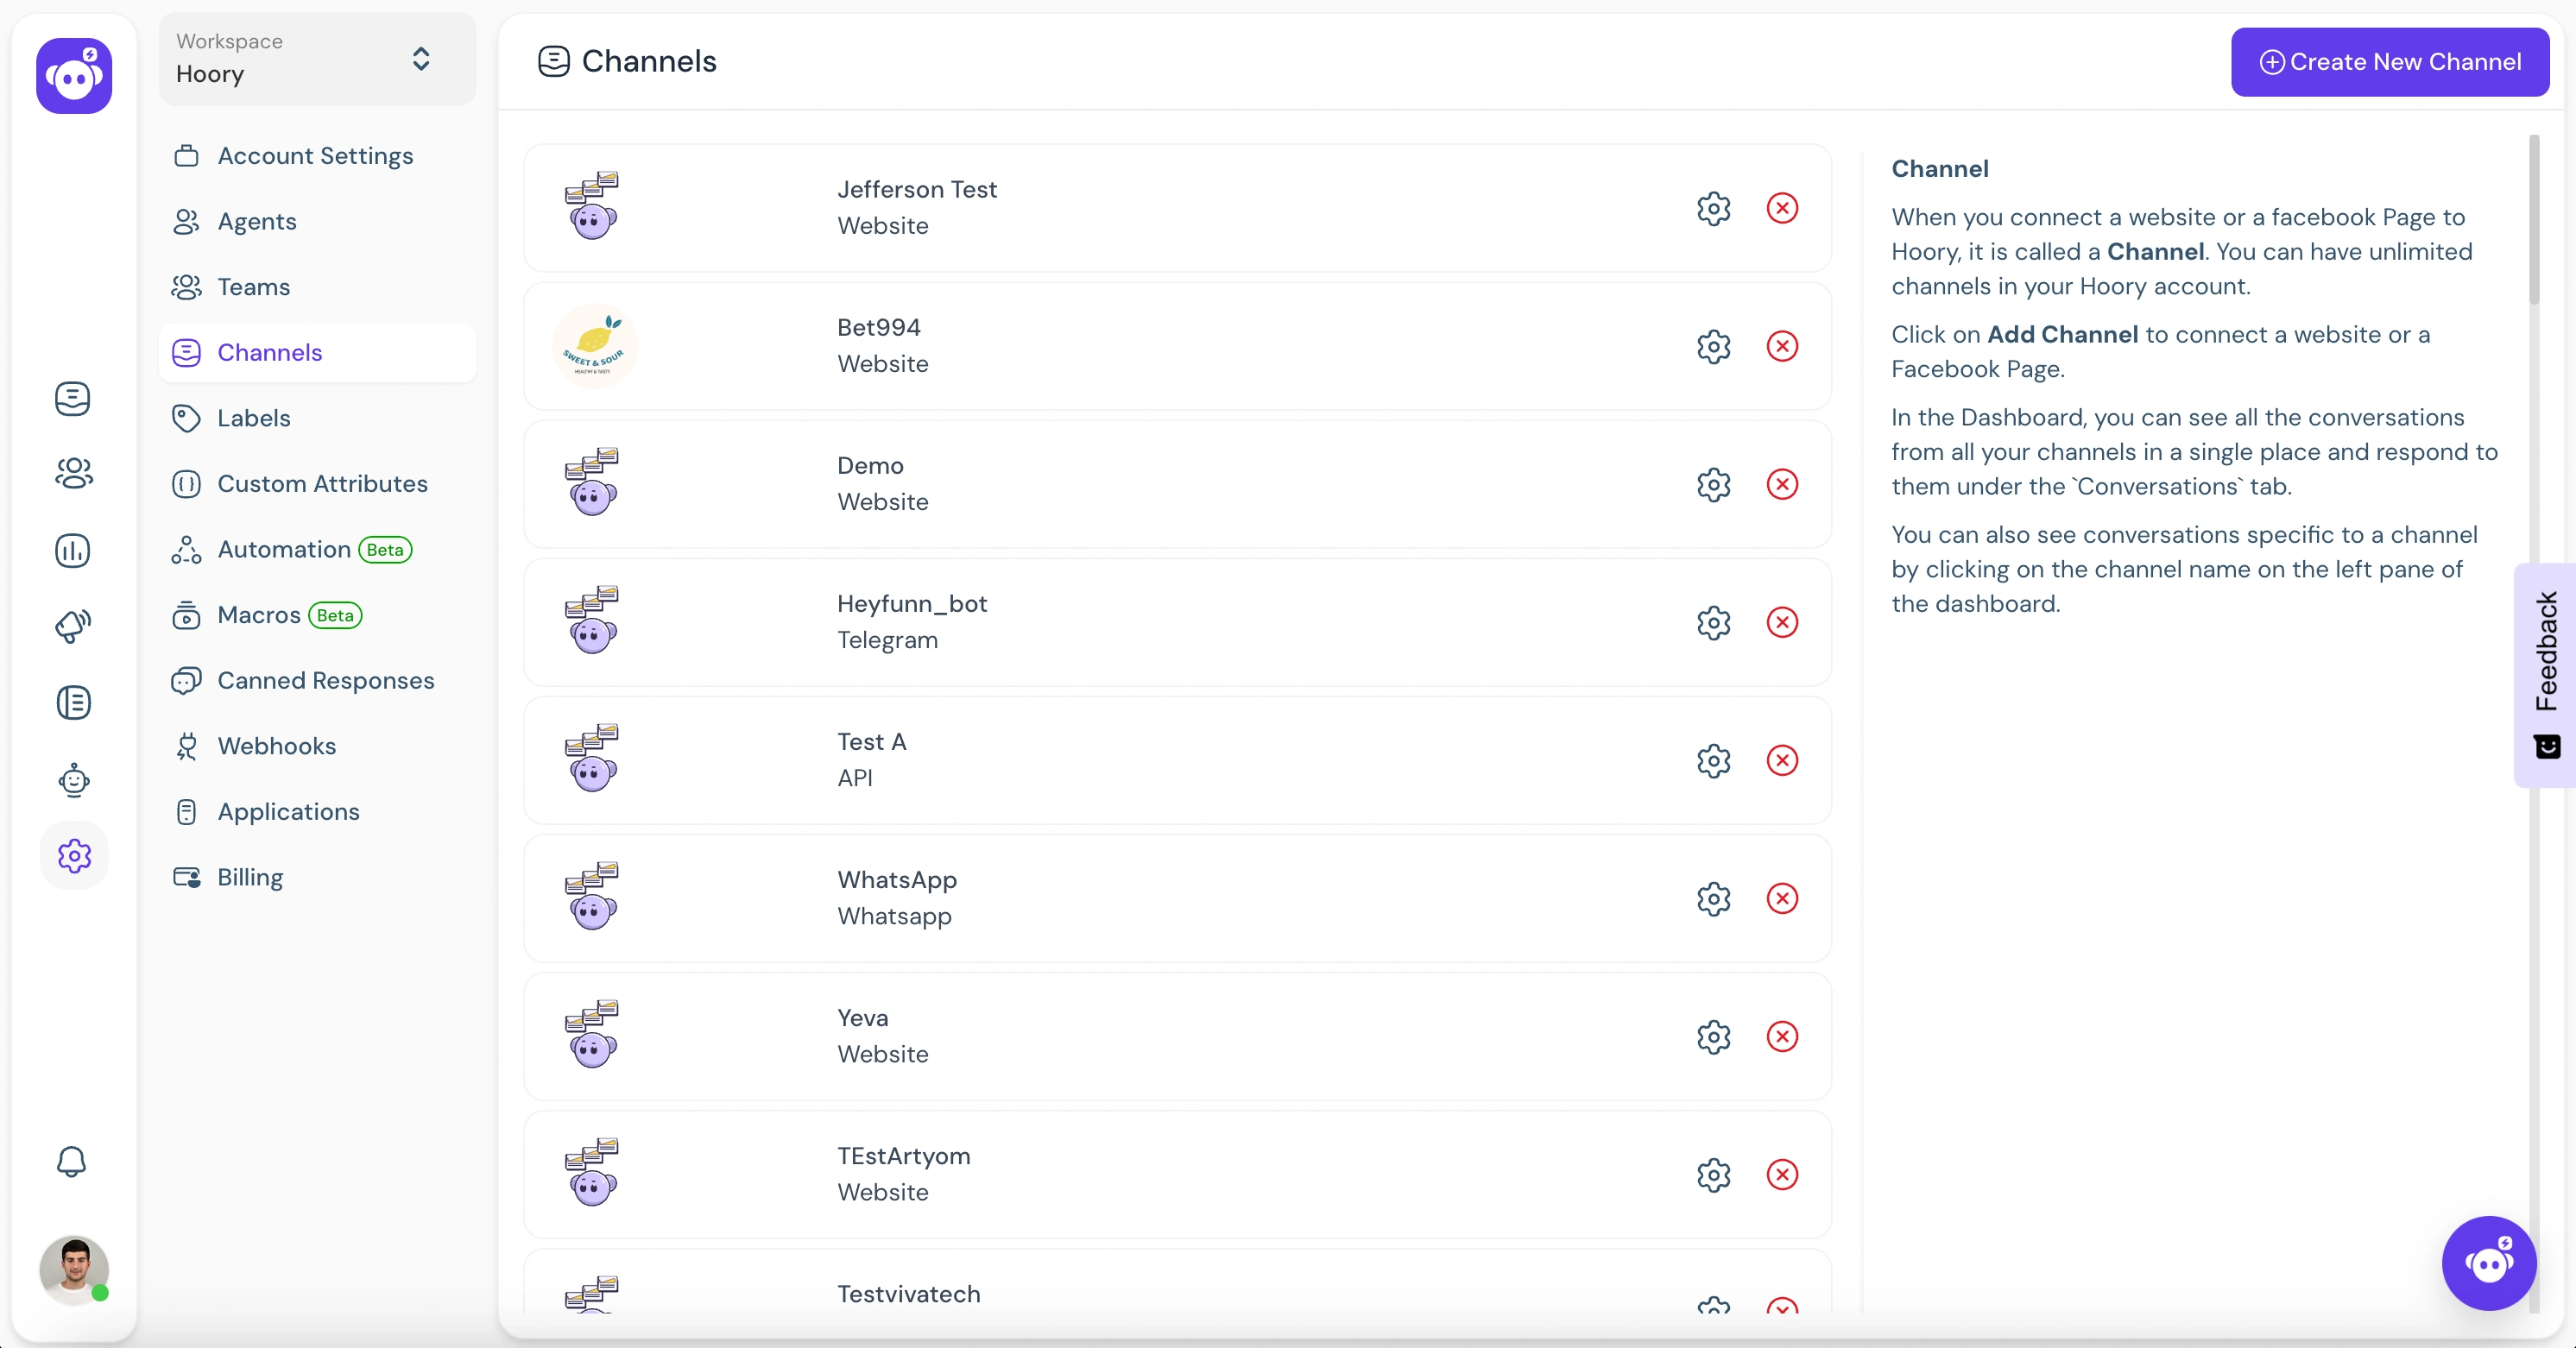
Step 1. Go to the Channels page. Go to Settings → Channels → "Add Channel" button.
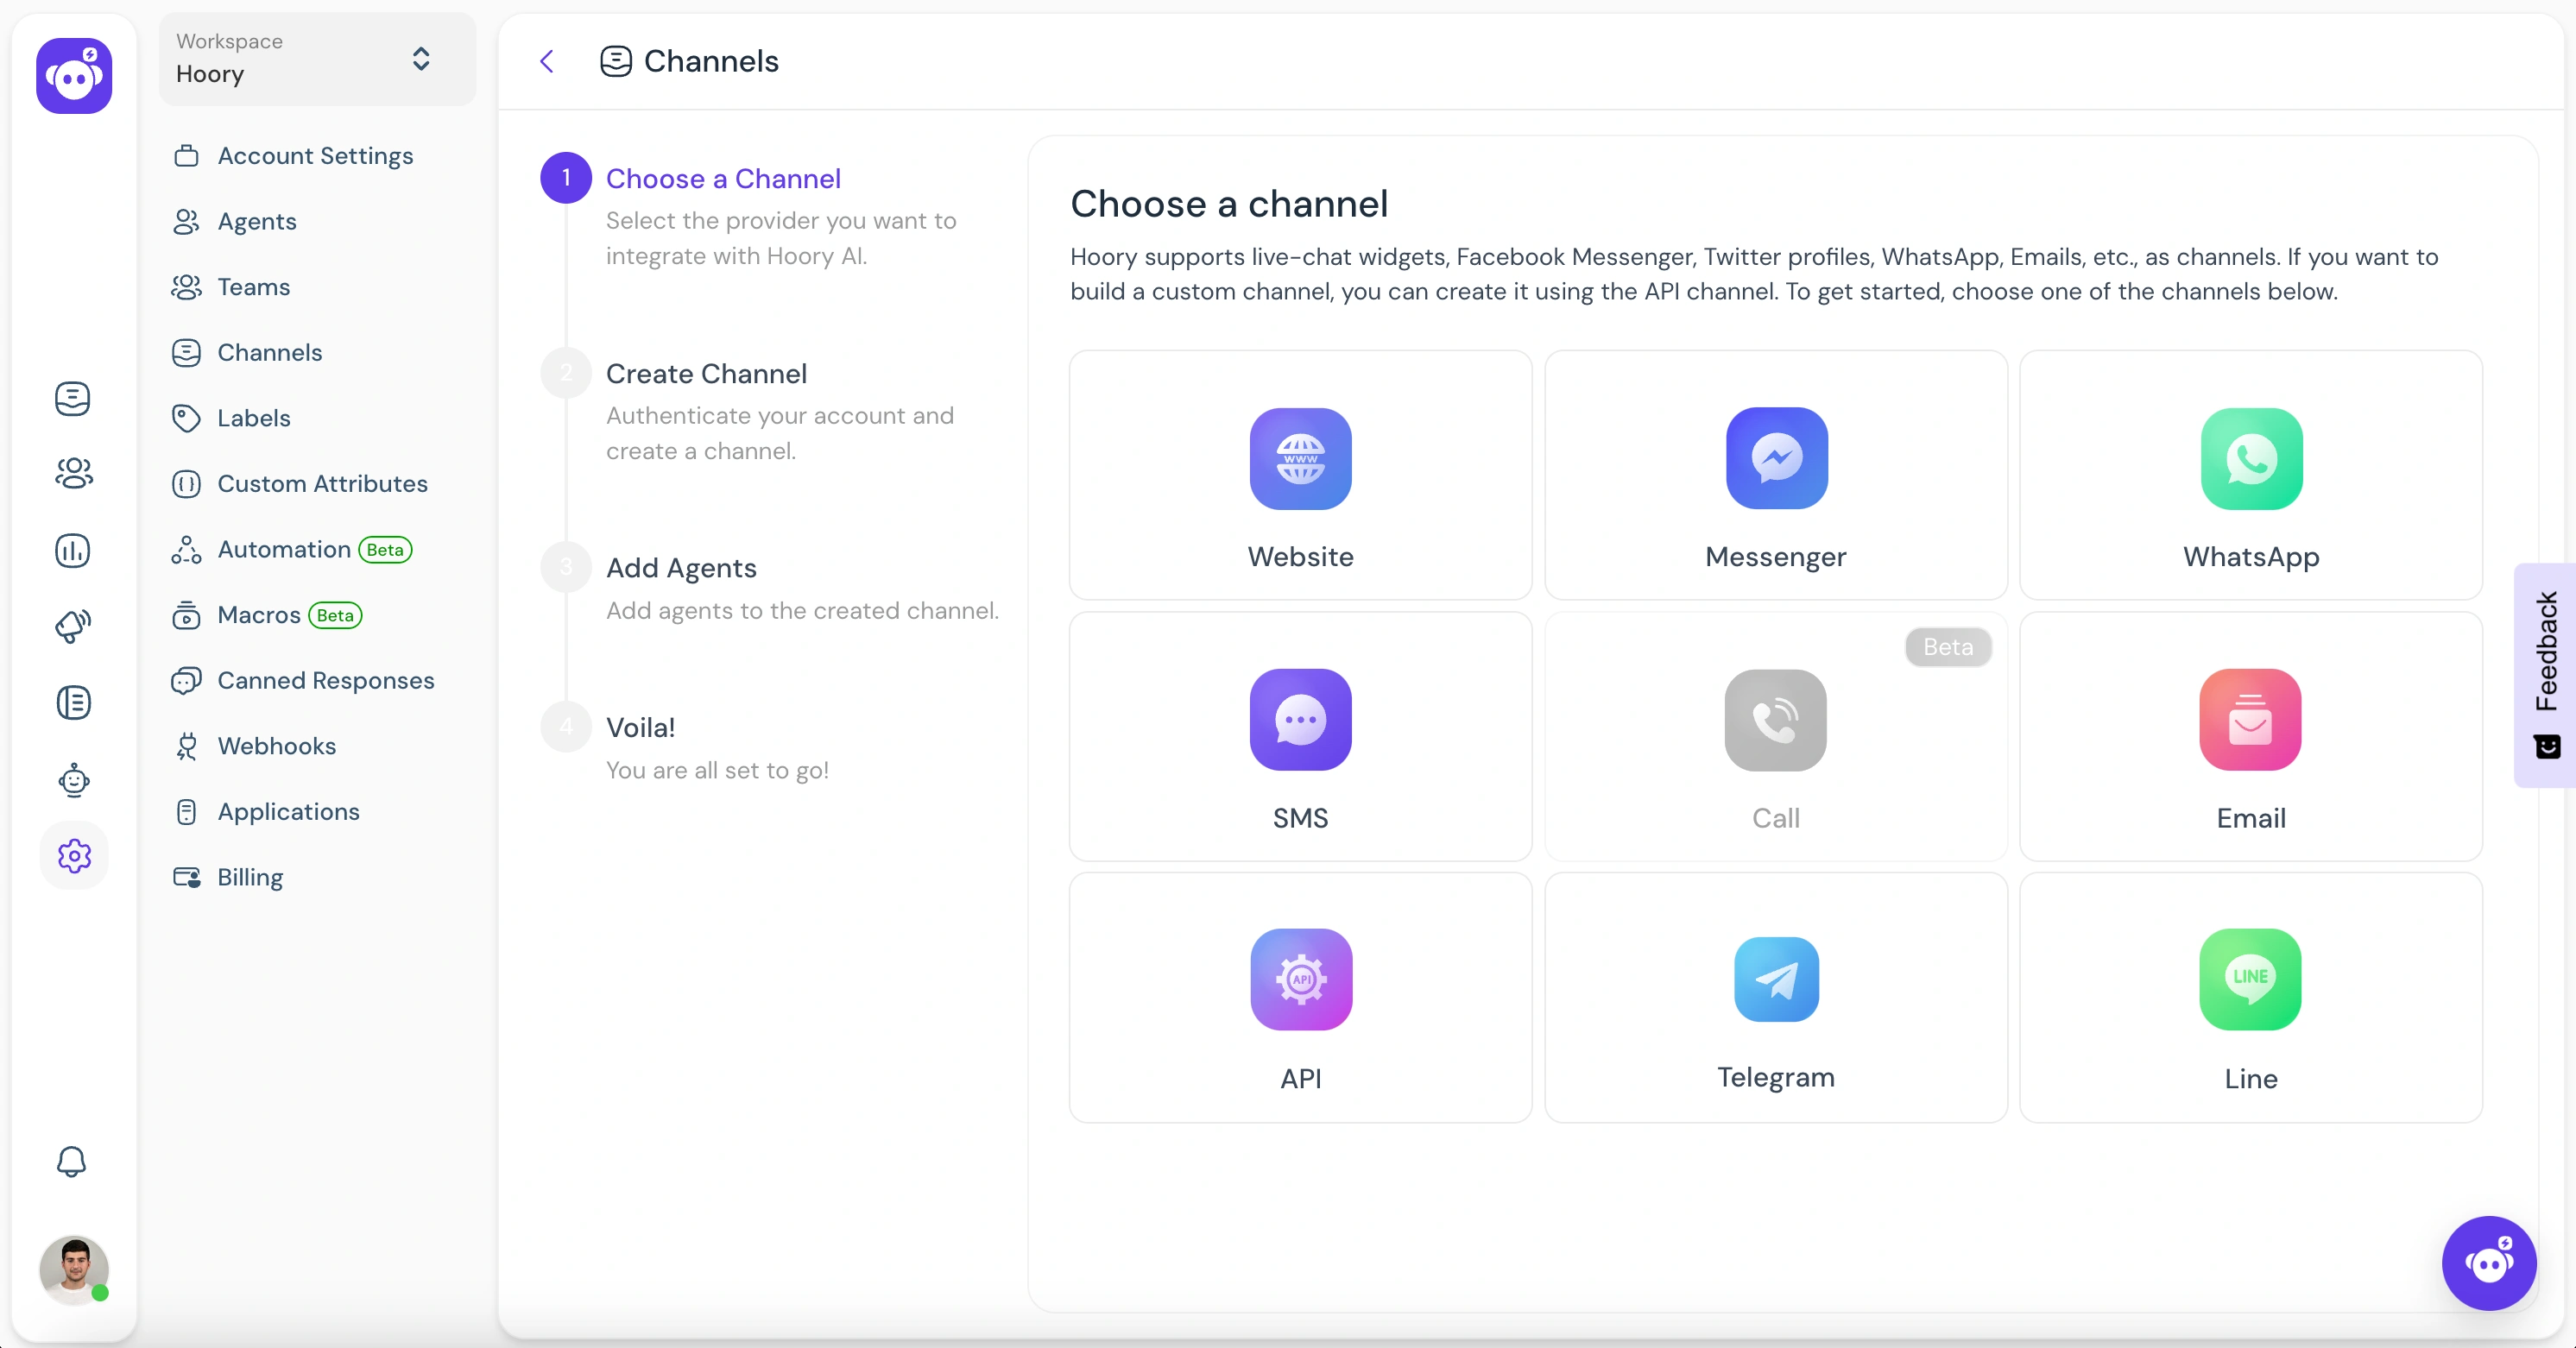
Step 2. Click the "Website" icon.
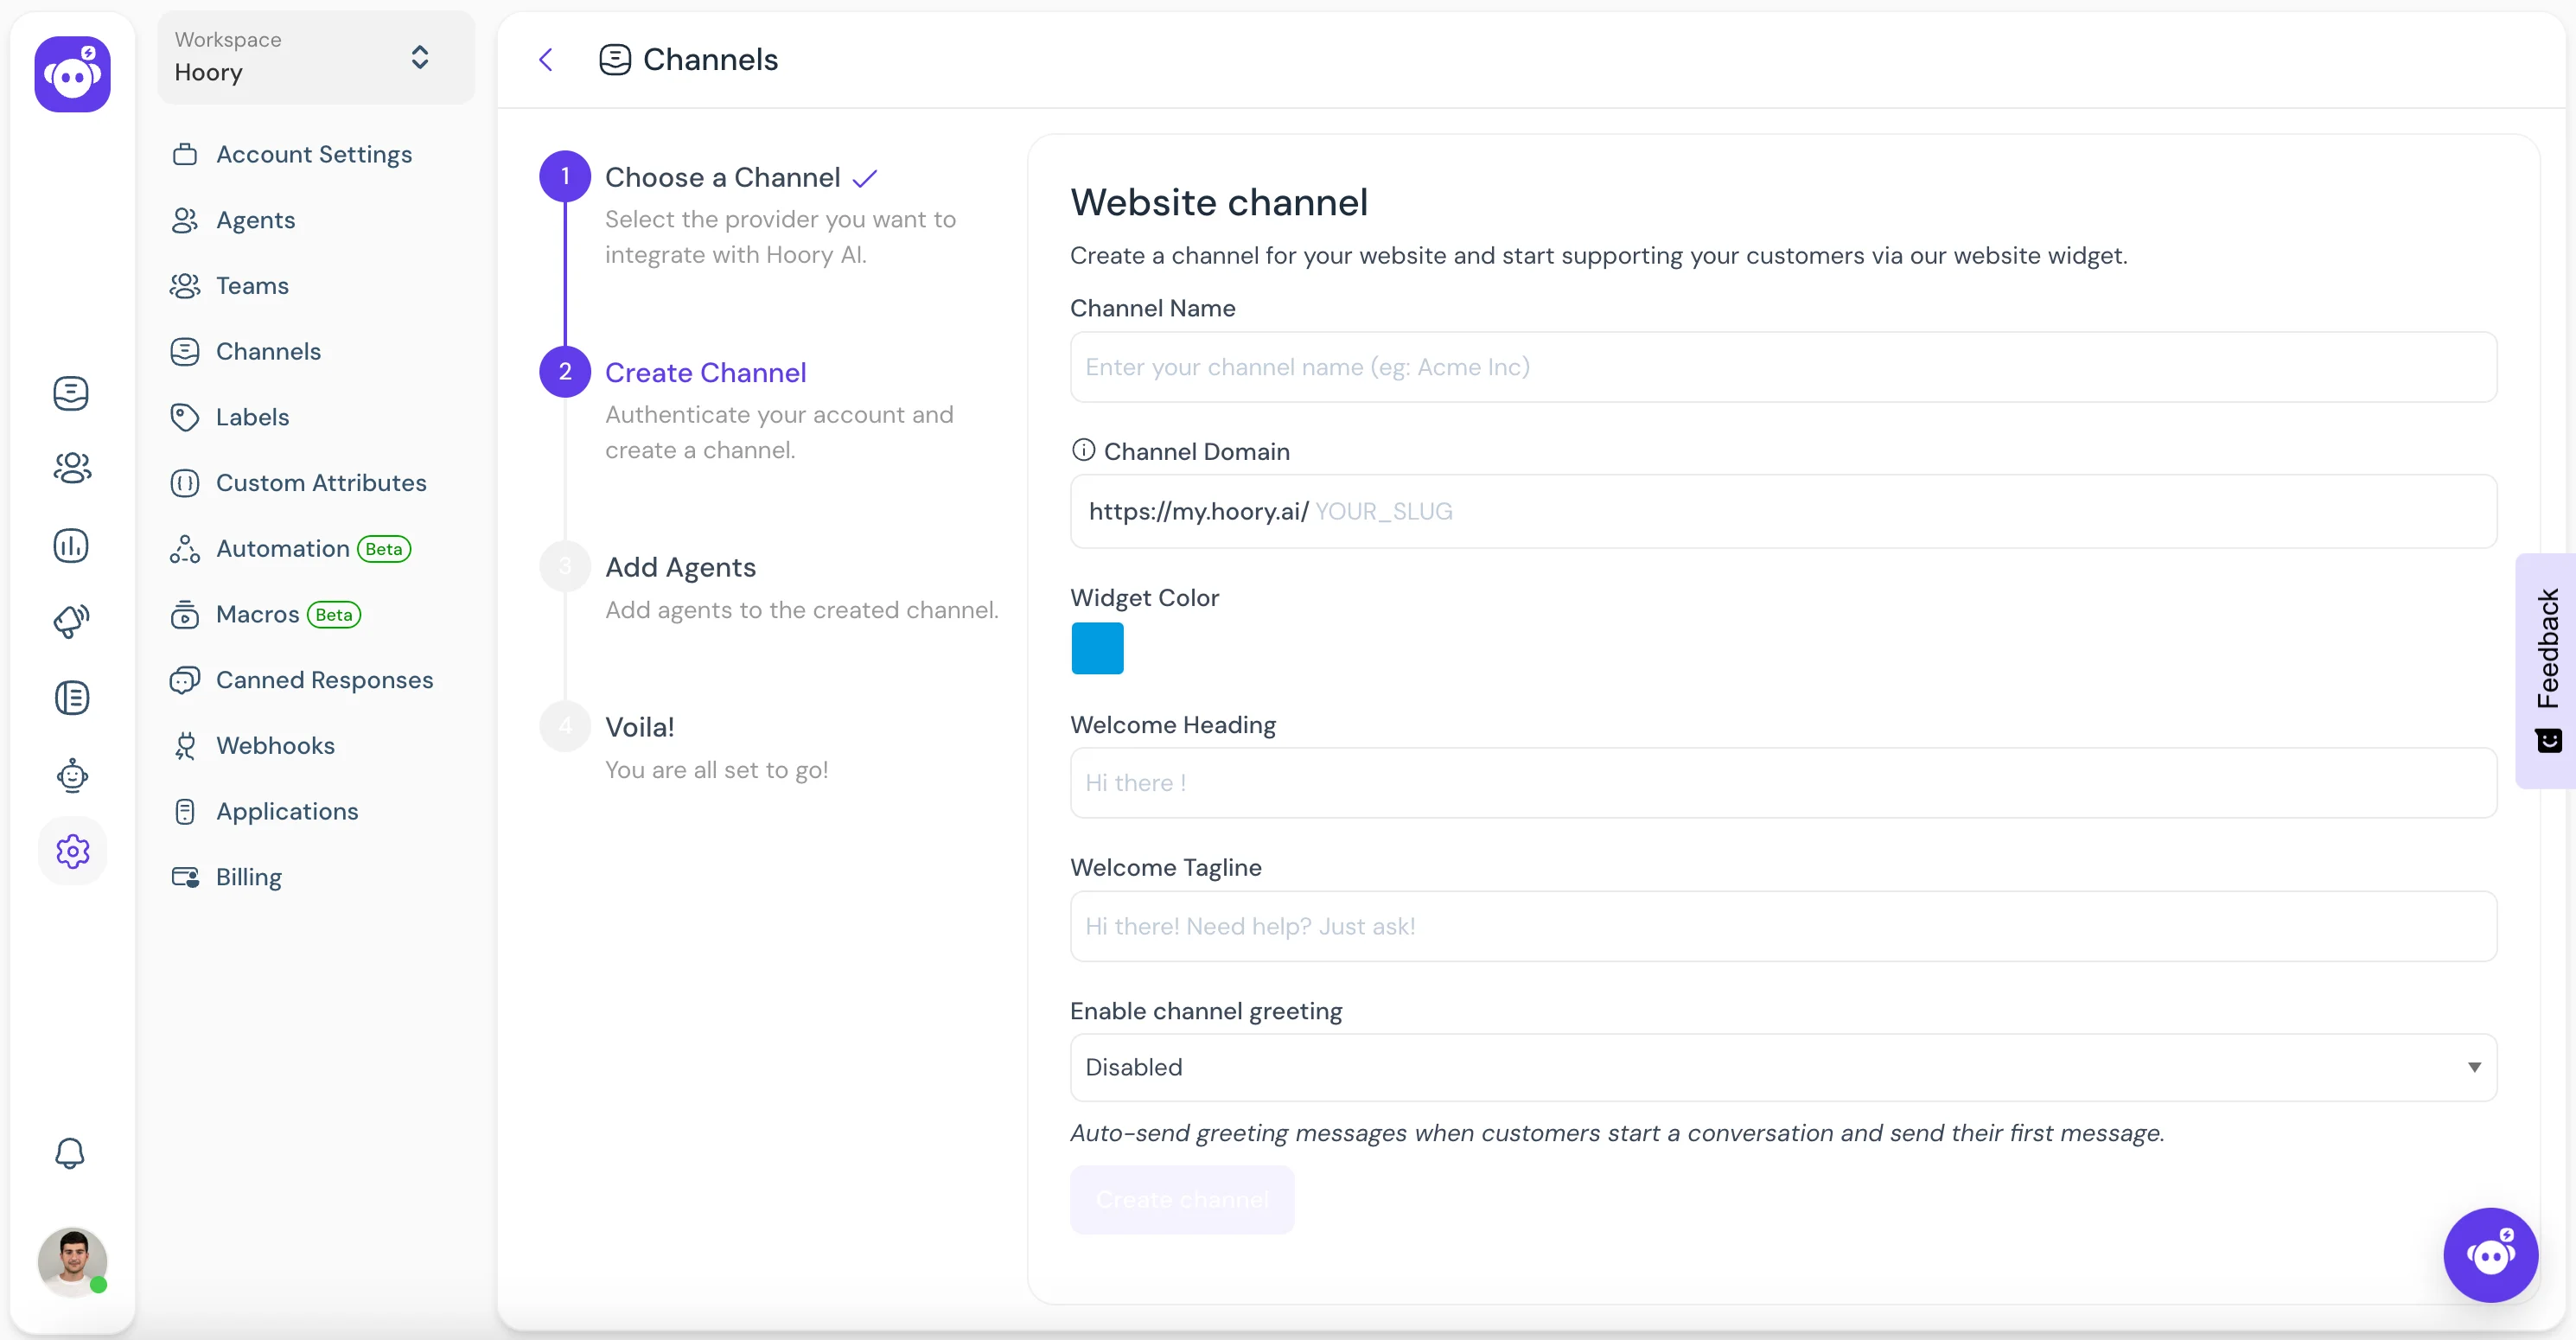
Step 3. Enter your website name, URL, and other details as described below.
| Field Name | Value | Remarks |
|---|---|---|
| Website Name | Enter the name of your wWbsite. | e.g. Example Inc. |
| Website Domain | Enter the link to your Website. | e.g. www.example.com |
| Widget Color | Select the color by clicking the palette. | |
| Welcome Heading | Give a greeting with which you would like to address the customer. | e.g. Welcome! |
| Welcome Tagline | Give a tagline representing your company. | e.g. Welcome to Example ! We are at your service 24/7. |
| Enable Channel Greeting | Select enabled or disabled. | Enable to send a greeting message when customer starts conversation |
| Channel Greeting Message | Give a greeting which you would like to start the conversation with. | e.g. Hi. How can we help you? |
Once all details are entered, click the “Create Channel” button.
Step 4. "Add agents" to your website channel.
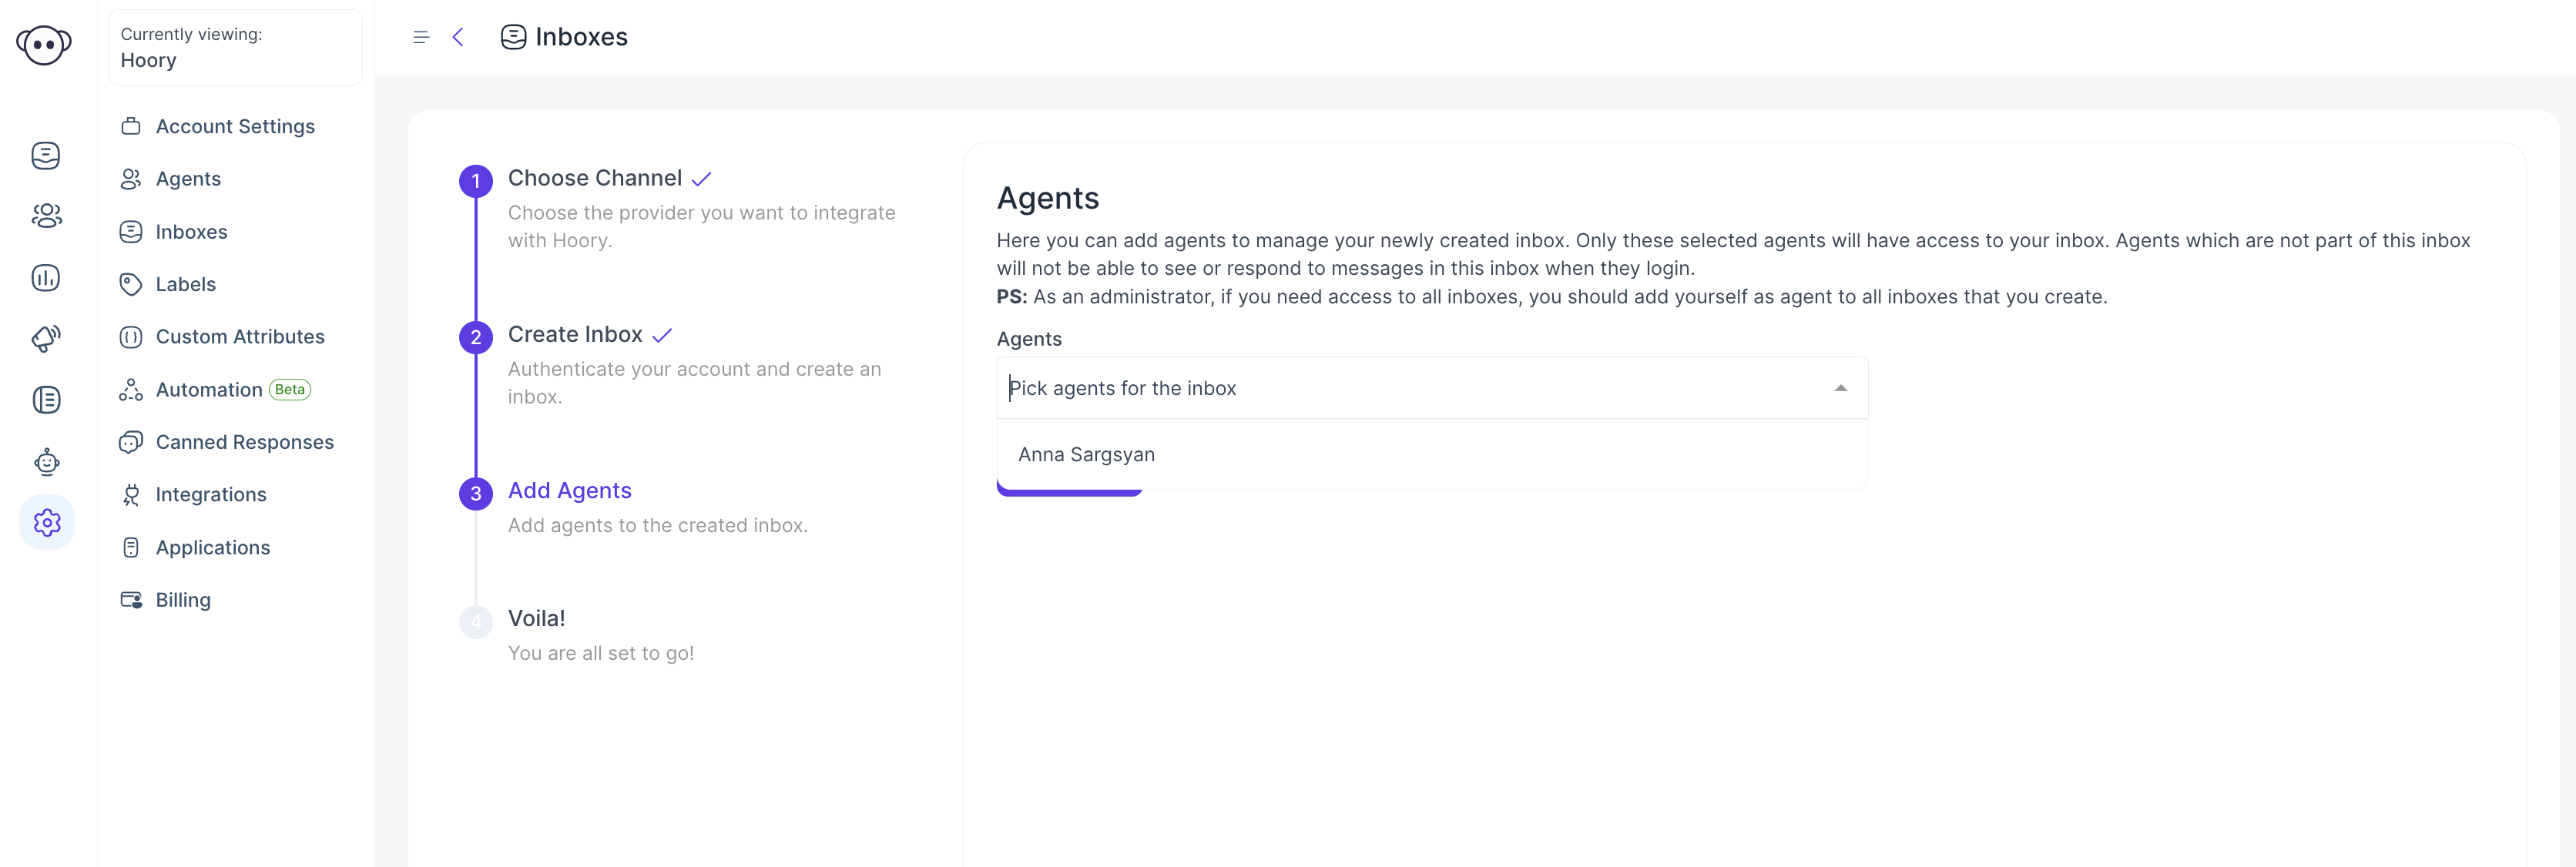
The conversations will be routed to agents only if they are associated with the channel. Even if you are an Administrator, you need to add yourself as an agent to the channel to be able to see the channel on your screen.
Select the agents from the drop-down and click Add agents. If agents have not been added, follow the steps to add agents.
Step 5. Hooray! You have successfully created a website channel. Now, add the widget to your website.
Copy and paste the code snippet shown on the page to your website and start supporting your customers. You can click the Copy button to copy and then paste in the root file of your website.
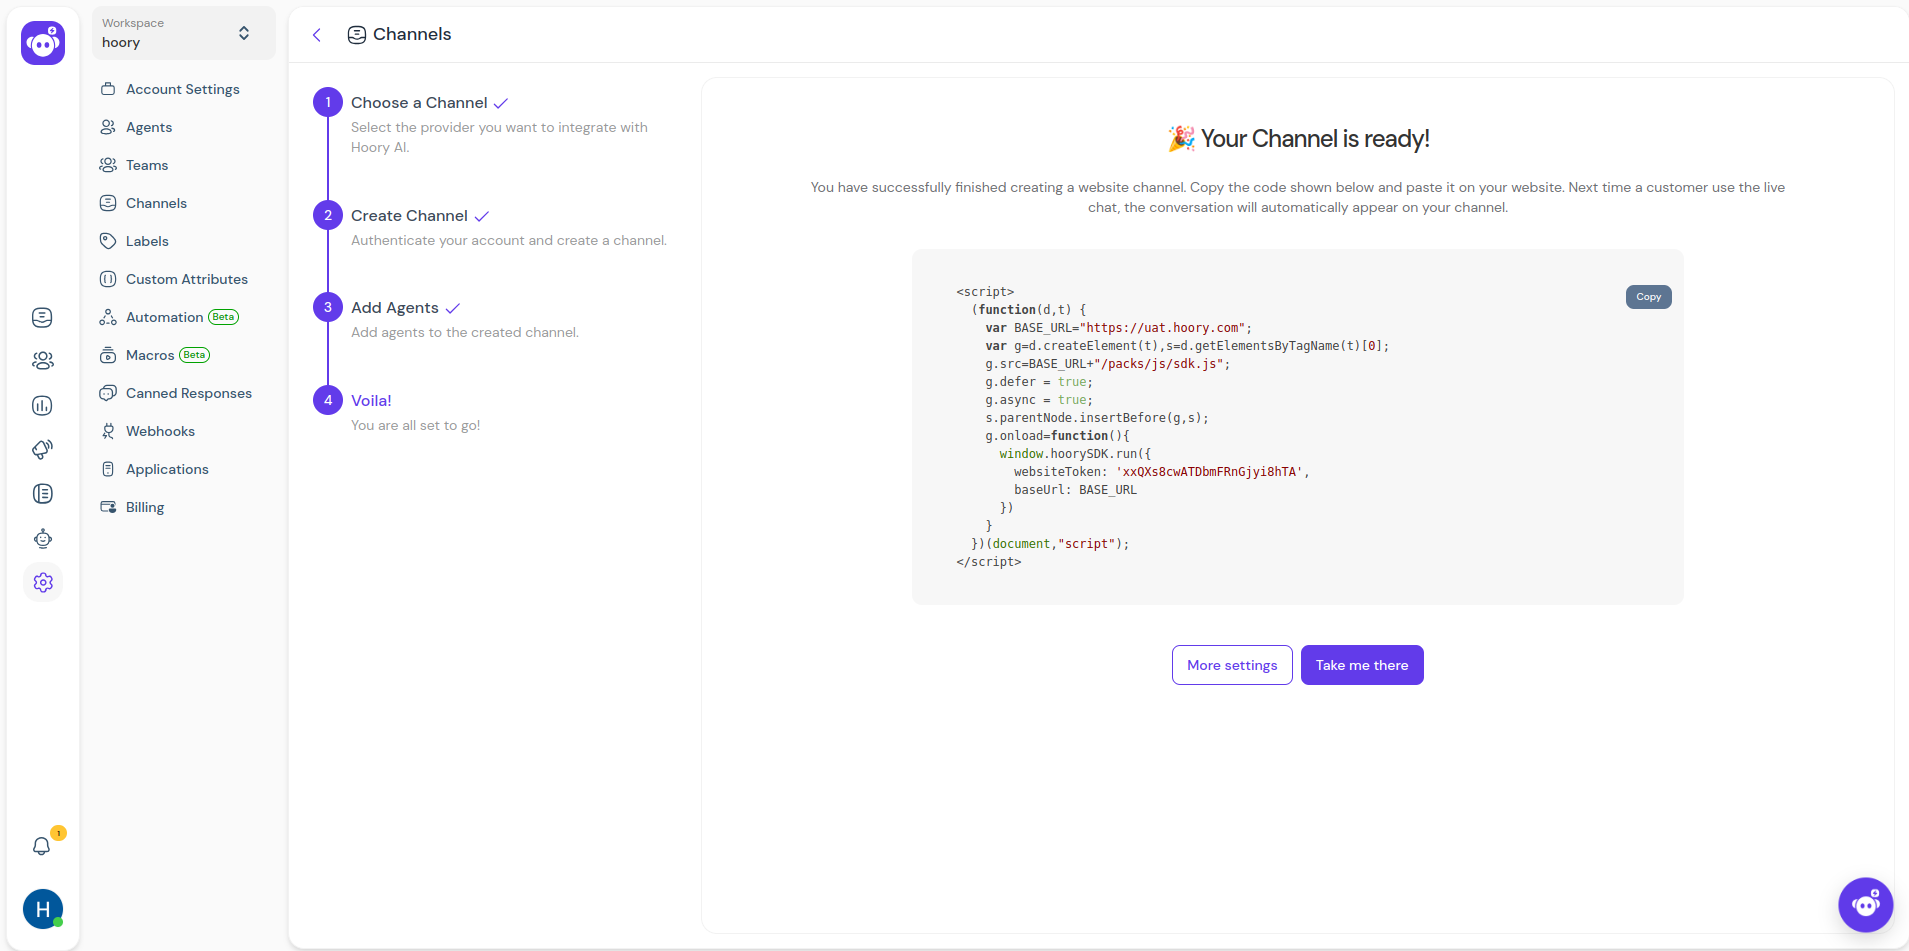
If you click the More settings button, you will be taken to the Additional Settings for channel. If you click the Take me there button, you will be taken to the newly created channel directly.
Additional Channel Settings
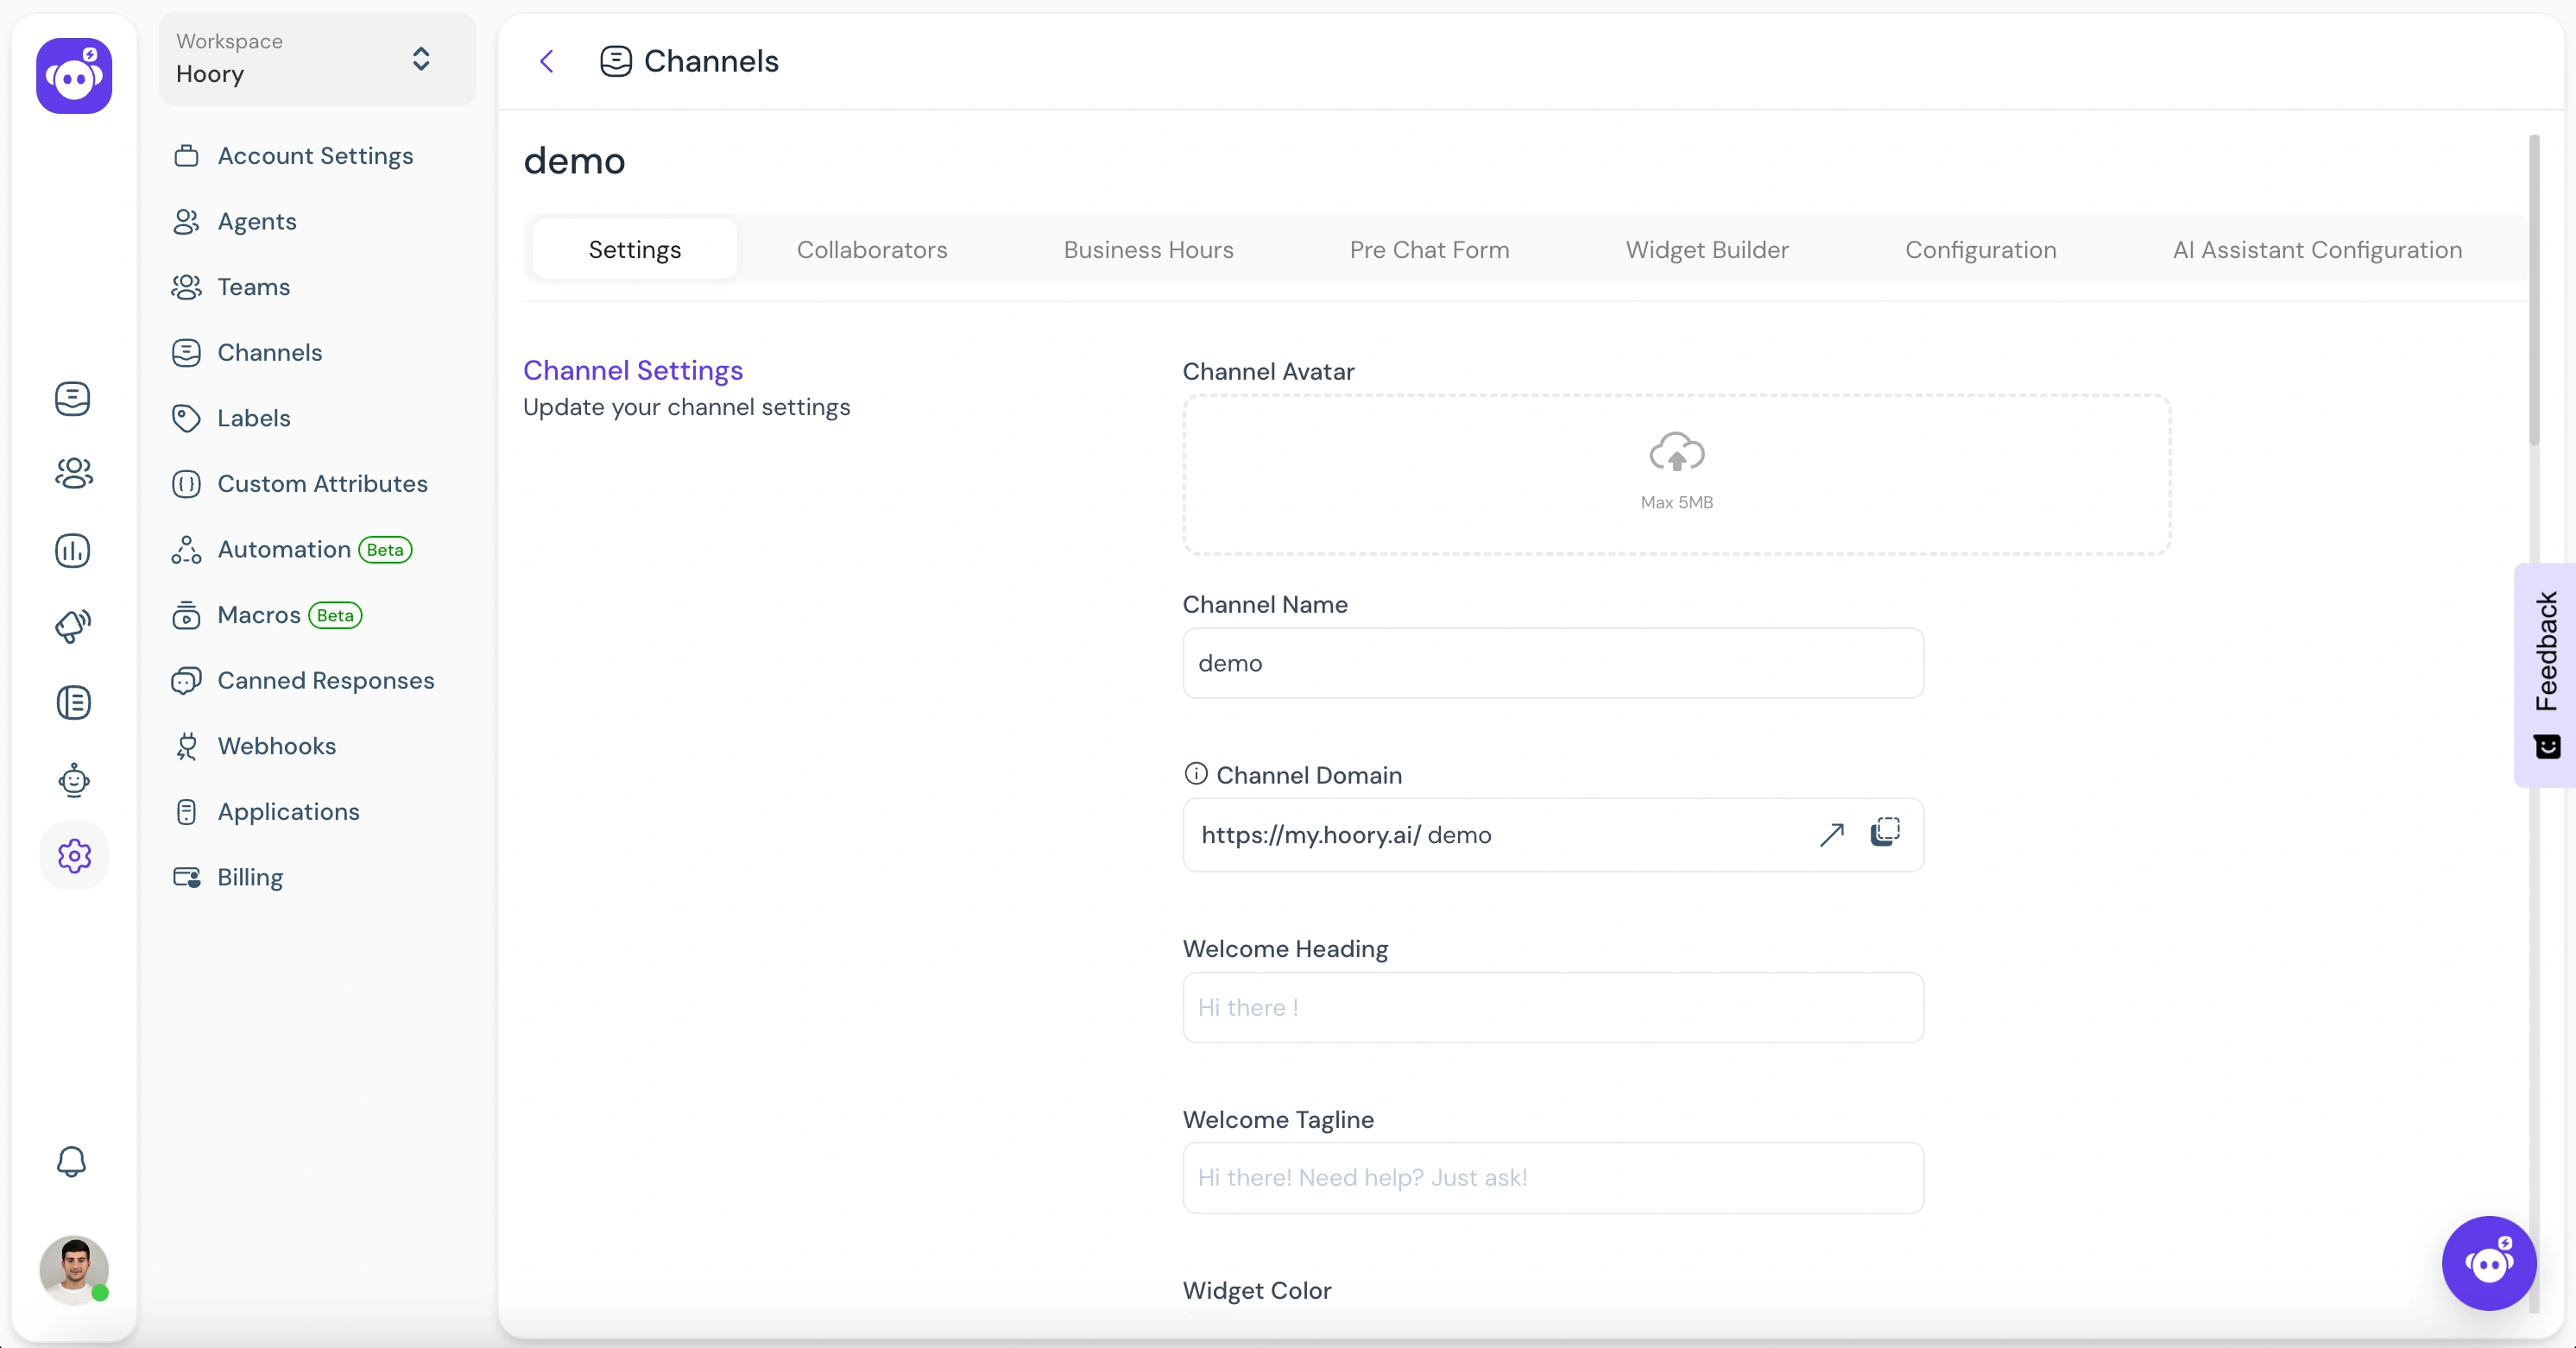
On your channels screen, click the gear icon to reach the Settings page. You will see the following screen:
Settings Tab
Scroll down to see more settings, where you can set up the various notifications you would like to receive when your website channel starts functioning.
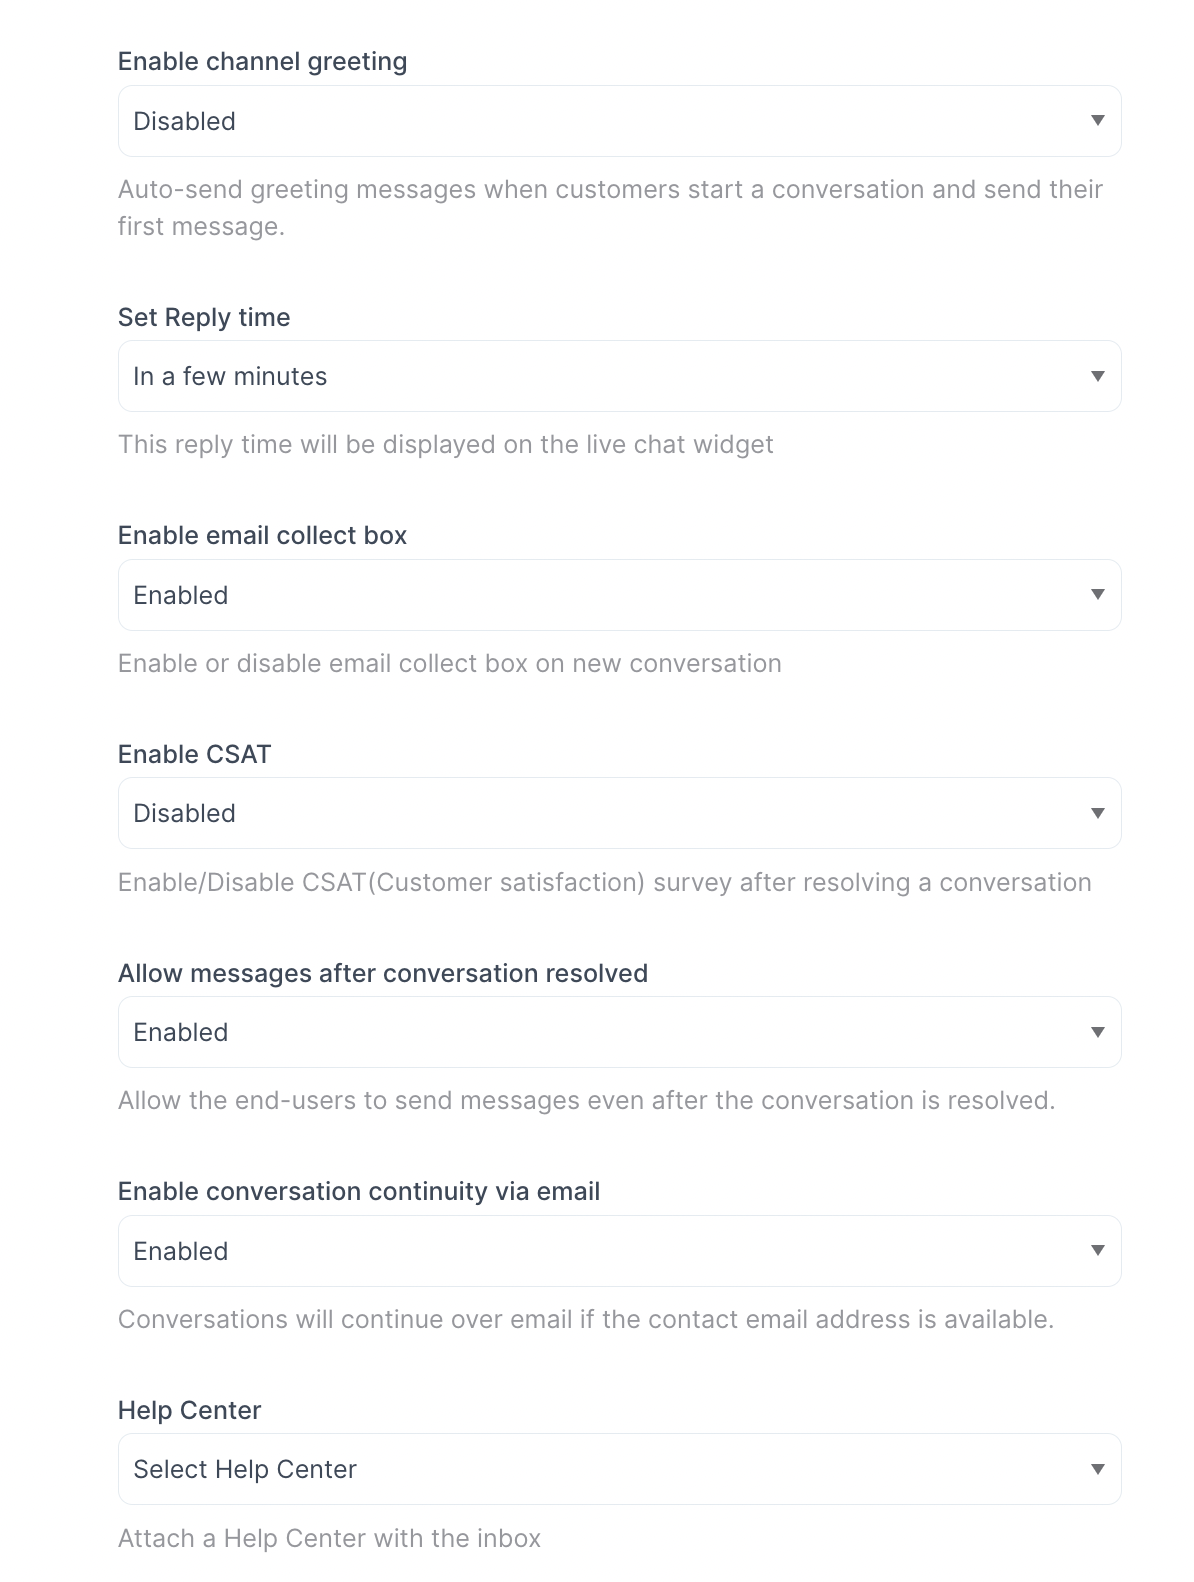
Here are a couple of examples for your understanding:
Enable email collect box is enabled by default. It means an automatic message to collect the e-mail ID will be displayed once the customer starts a conversation. The customer/end user will receive a prompt to enter an email ID.
Enable CSAT. Once you enable it, the customer satisfaction survey will be launched every time a ticket is resolved. The CSAT results can be viewed later in the Reports section.
Click the **Update** button to save the changes you have made.
Collaborators Tab
Click the Collaborators tab.
Here, you can add agents to the channel or delete agents who have been already added in the channel.
You can also enable or disable the automatic assignment of new conversations to the agents added to this channel.
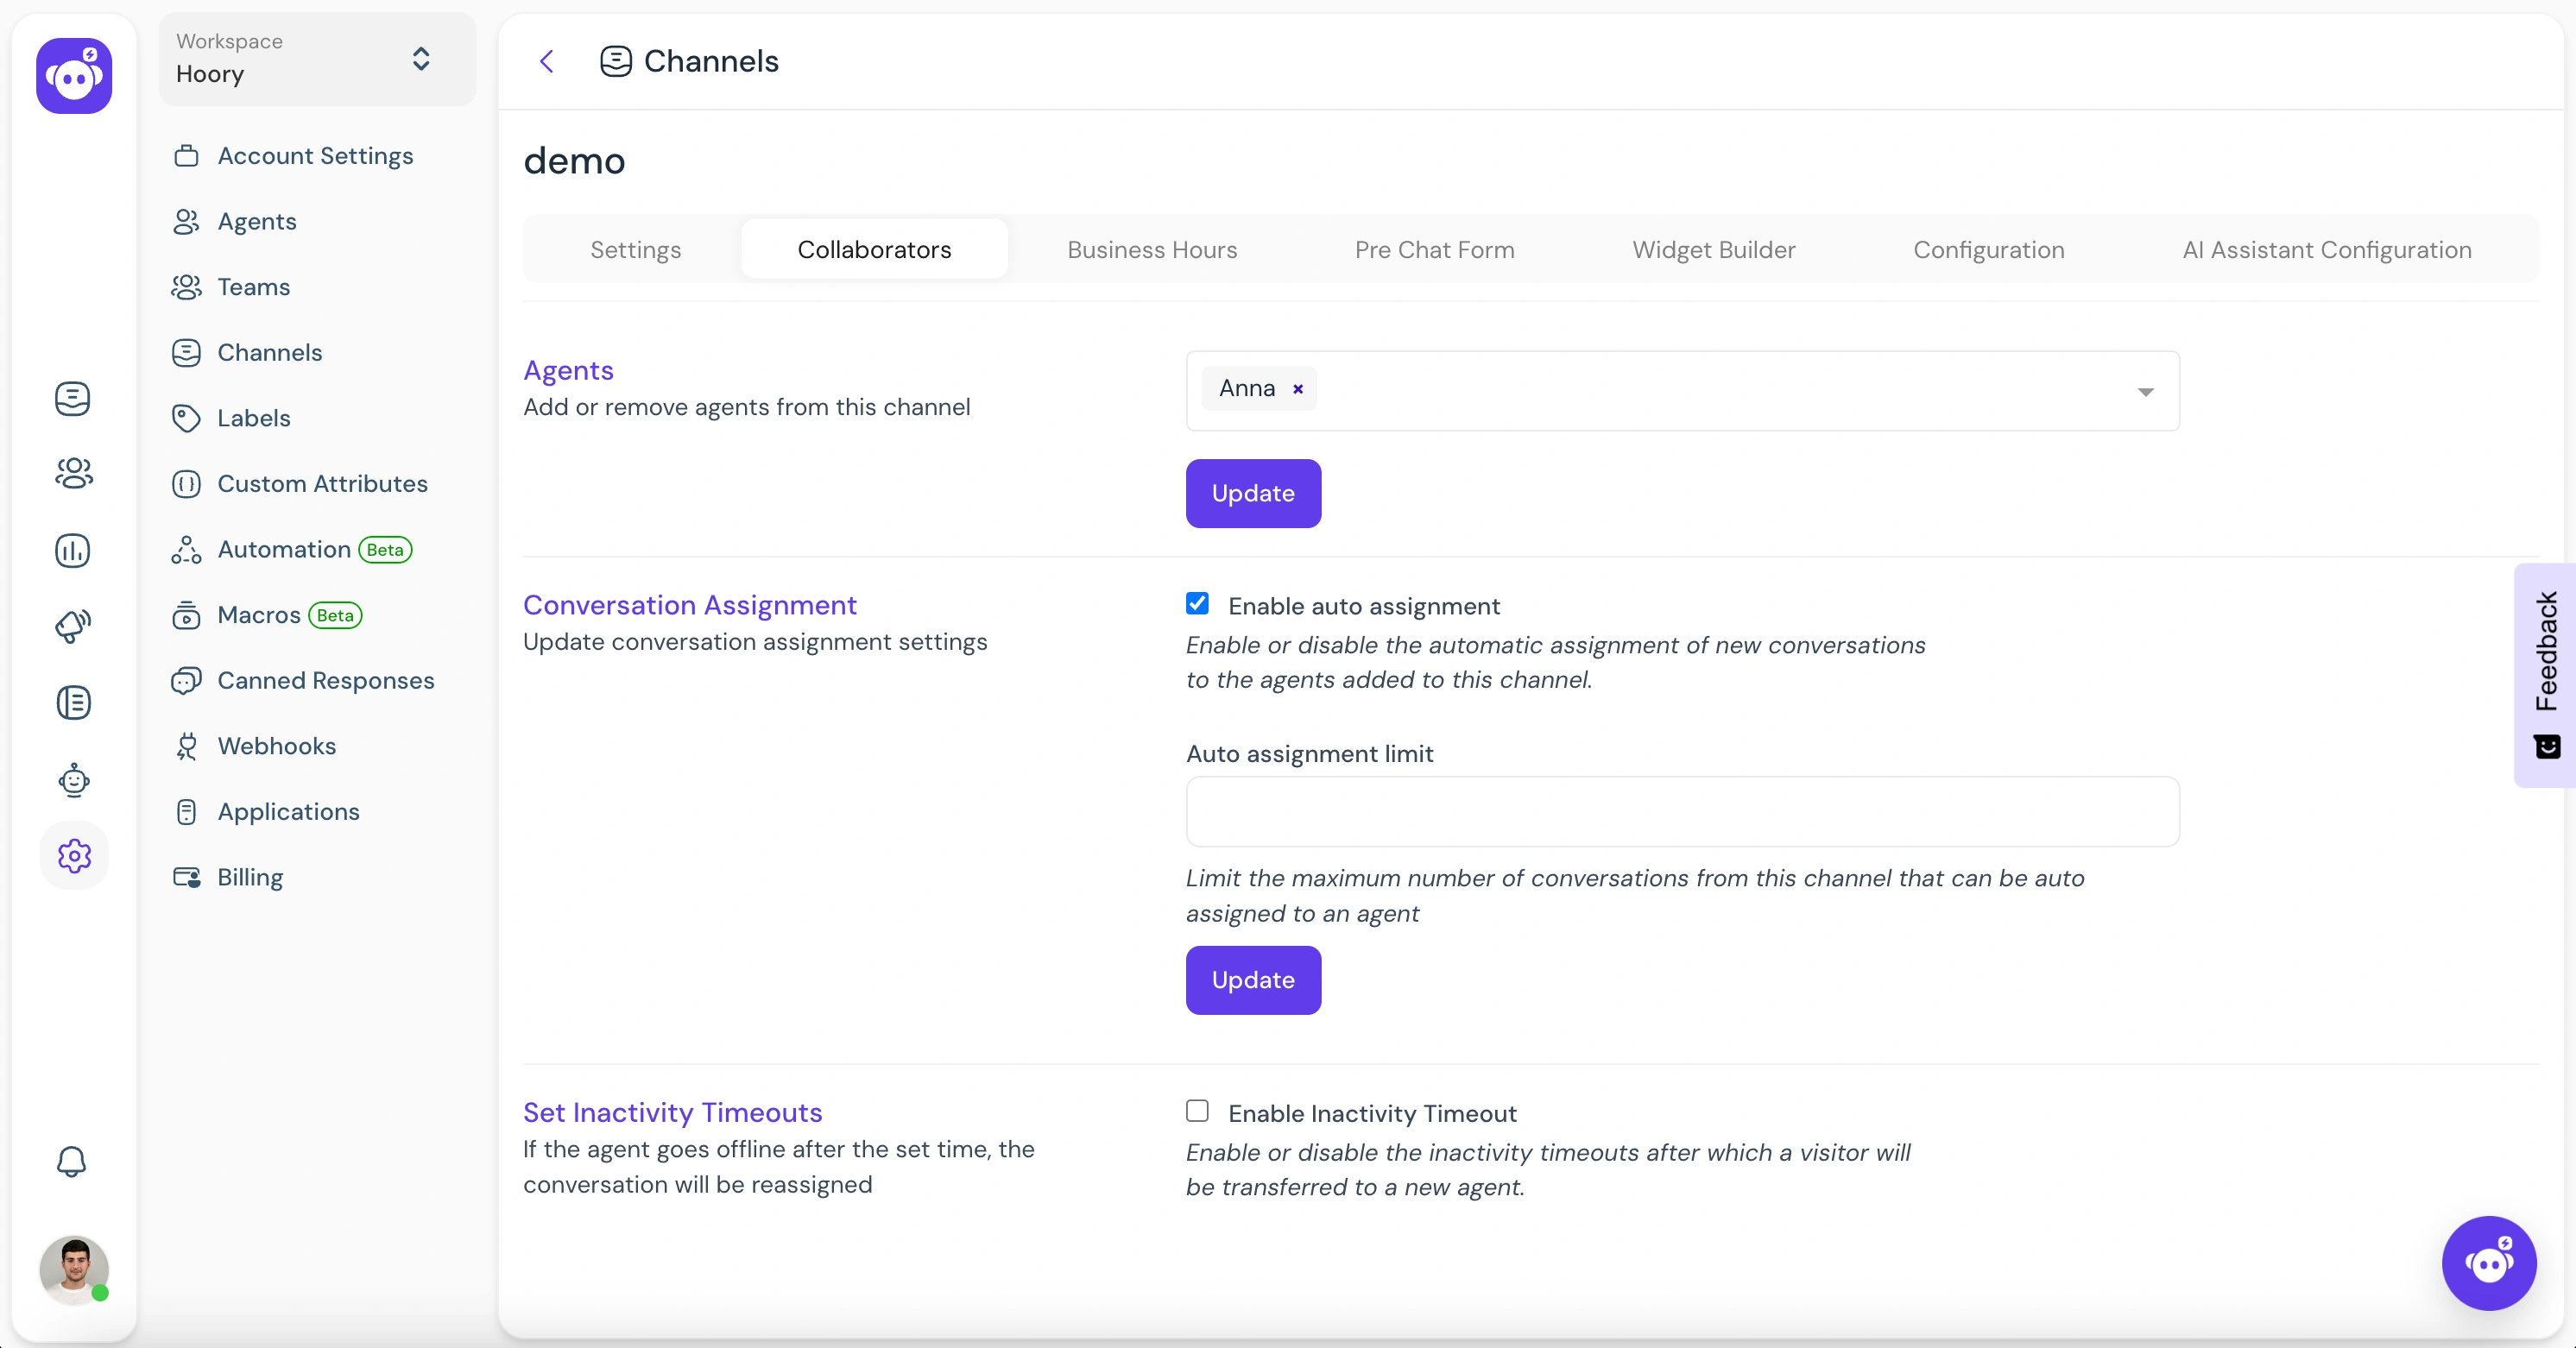
Click Update to save the changes.
Business Hours Tab
Click the Business Hours tab. In this section, you can set the working hours of your team.

Click the checkbox for Enable business availability for this channel if you have well-defined business hours.
Once the checkbox is ticked, the below section opens up. You can write your message to be displayed to the customer outside business hours.
You can also select the available business hours for each day of the week, along with the proper timezone.
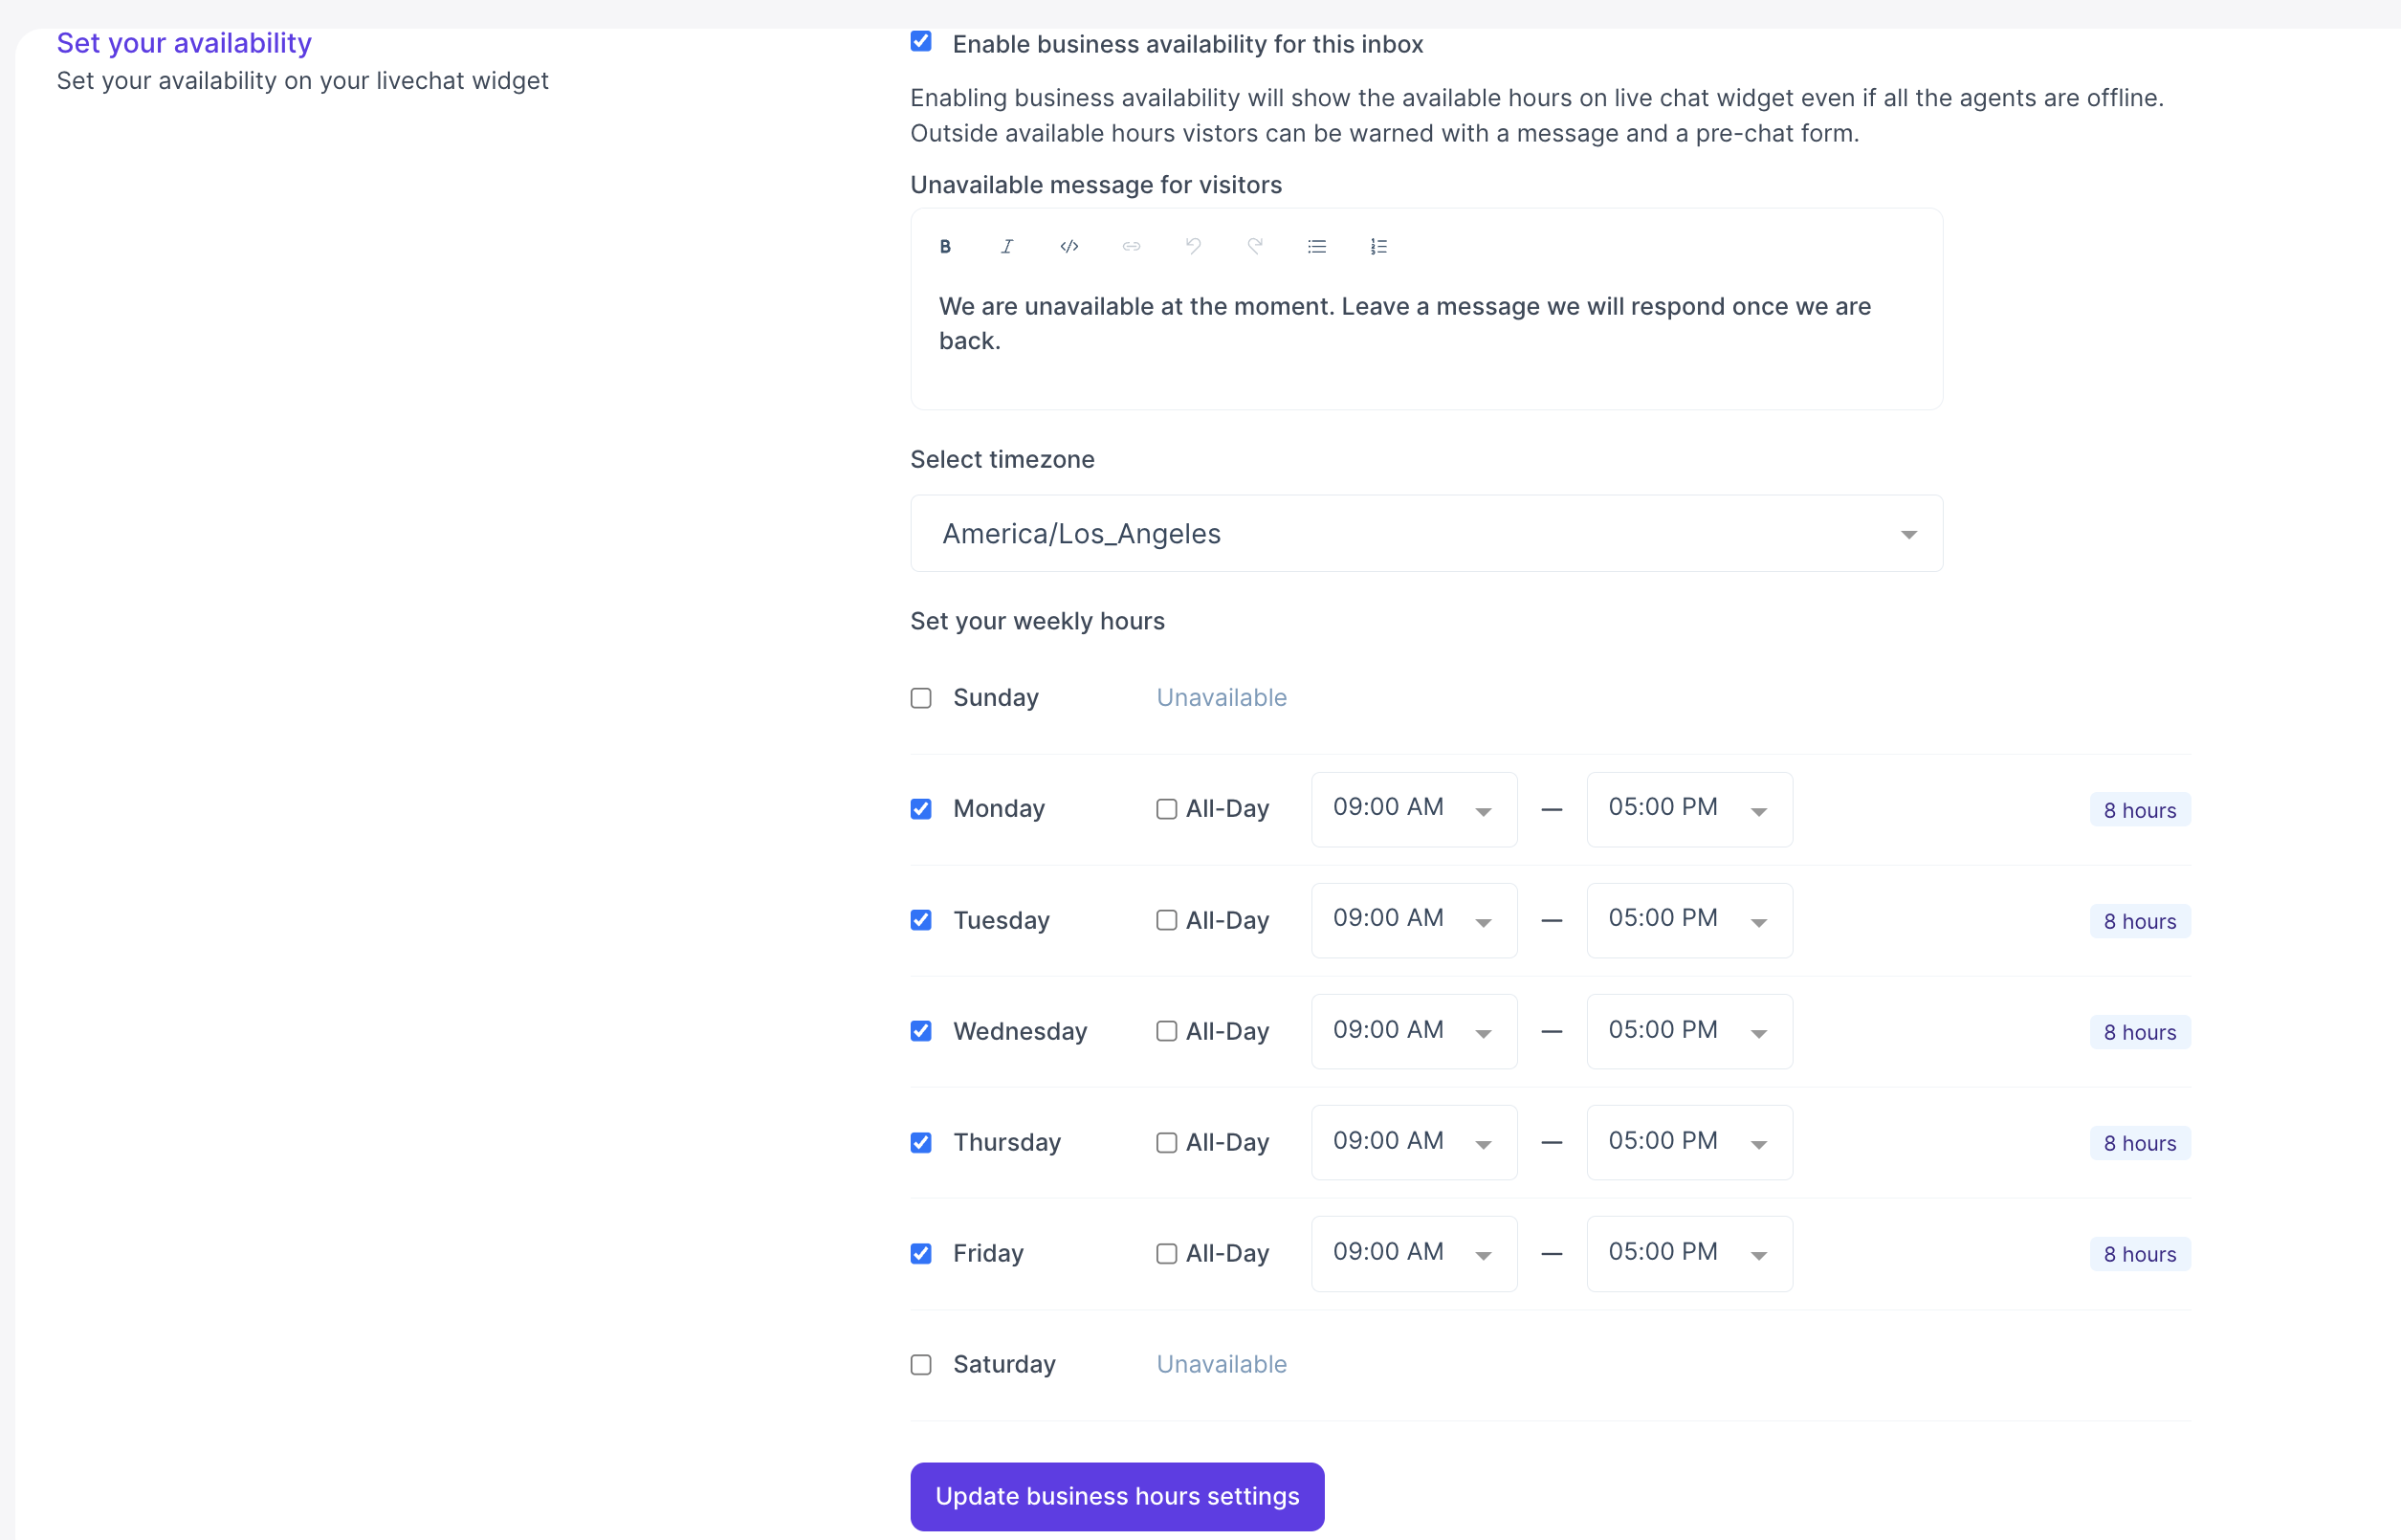
Click the Update Business Hour Setting button.
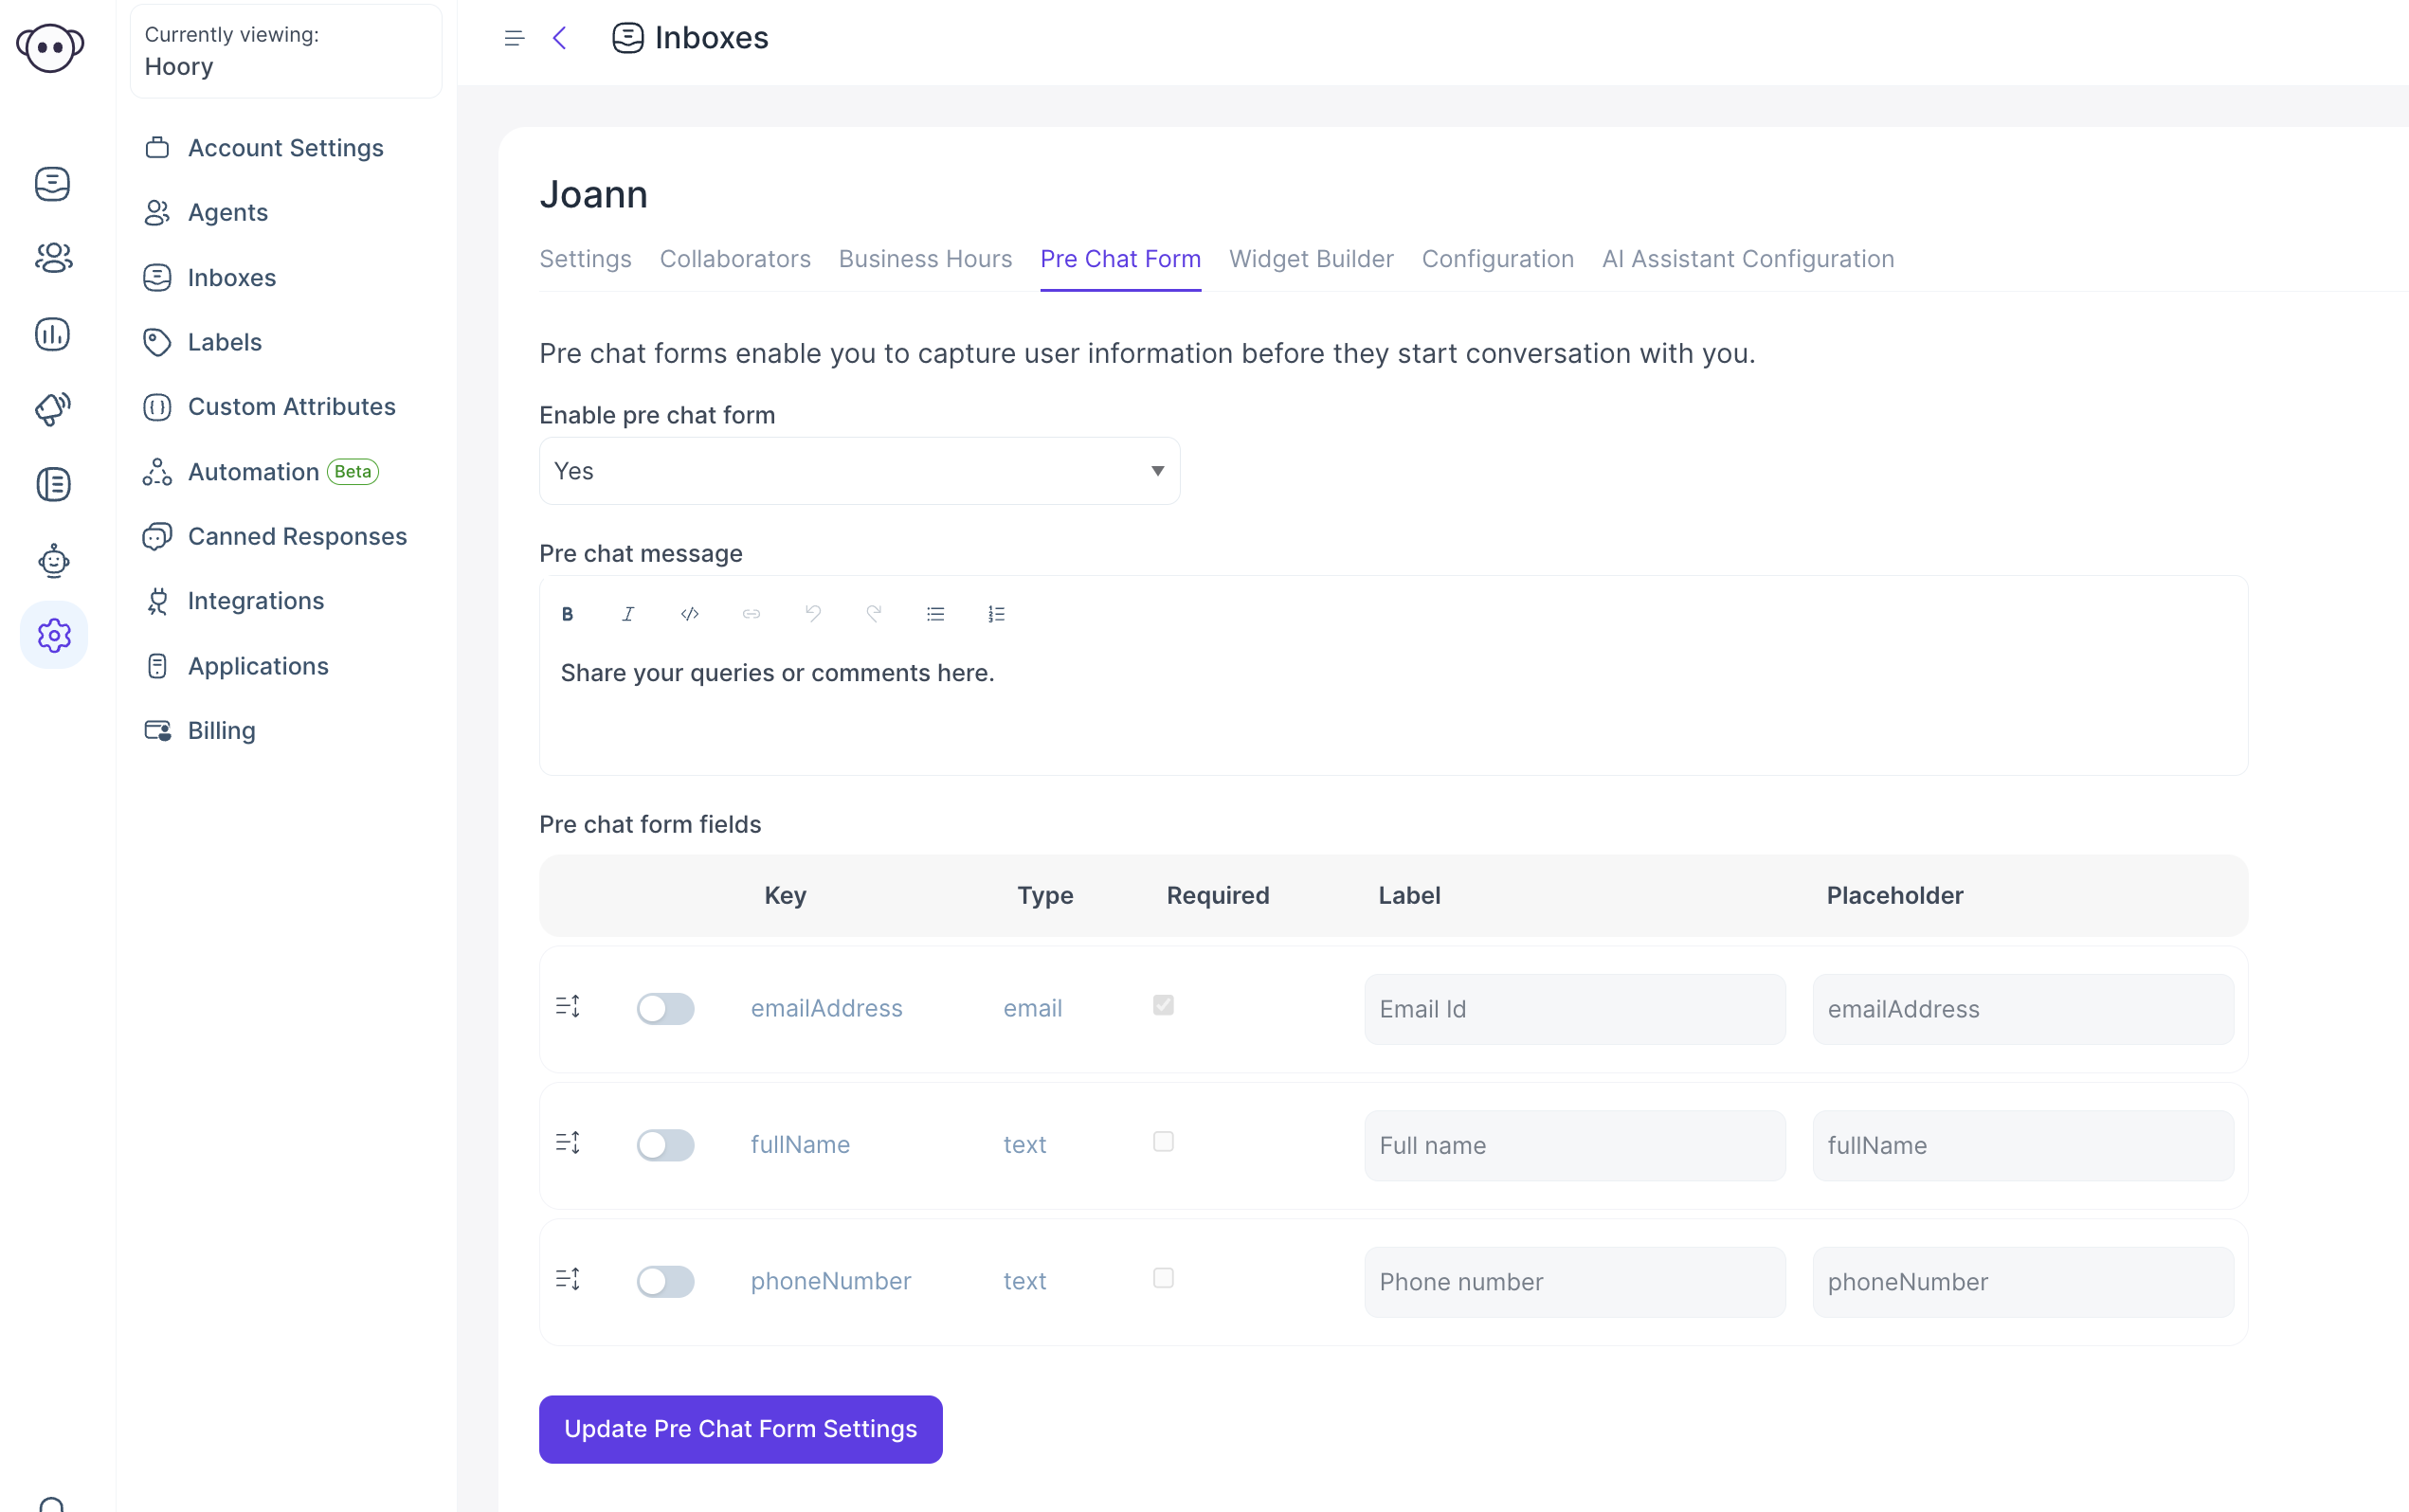
Pre-Chat Form Tab
Click the Pre Chat Form tab.
With this, you can collect information about your customers as soon as they enter your live-chat window/website widget. You can use this to collect customer info such as name and email address before beginning the chat.
| Field Name | Value | Remarks |
|---|---|---|
| Enable pre-chat form | Select yes or no. | Yes, if you want to use the pre-chat form. No, if you do not want to. |
| Pre-chat message | Give a message to start a conversation with the customer. | Hi, we need some information to serve you better. |
| Visitors should provide their name and email address before starting the chat. | Tick in the checkbox if you need the name and email address mandatorily. | This will help us maintain our contact list better. |
Click the Update button. The pre-hat form is enabled now.
Configuration Tab
Click the “Configuration” tab. You can find the code snippet to be copied to the website here.

You can click the Copy button to copy the code and paste it into the root file of your website.
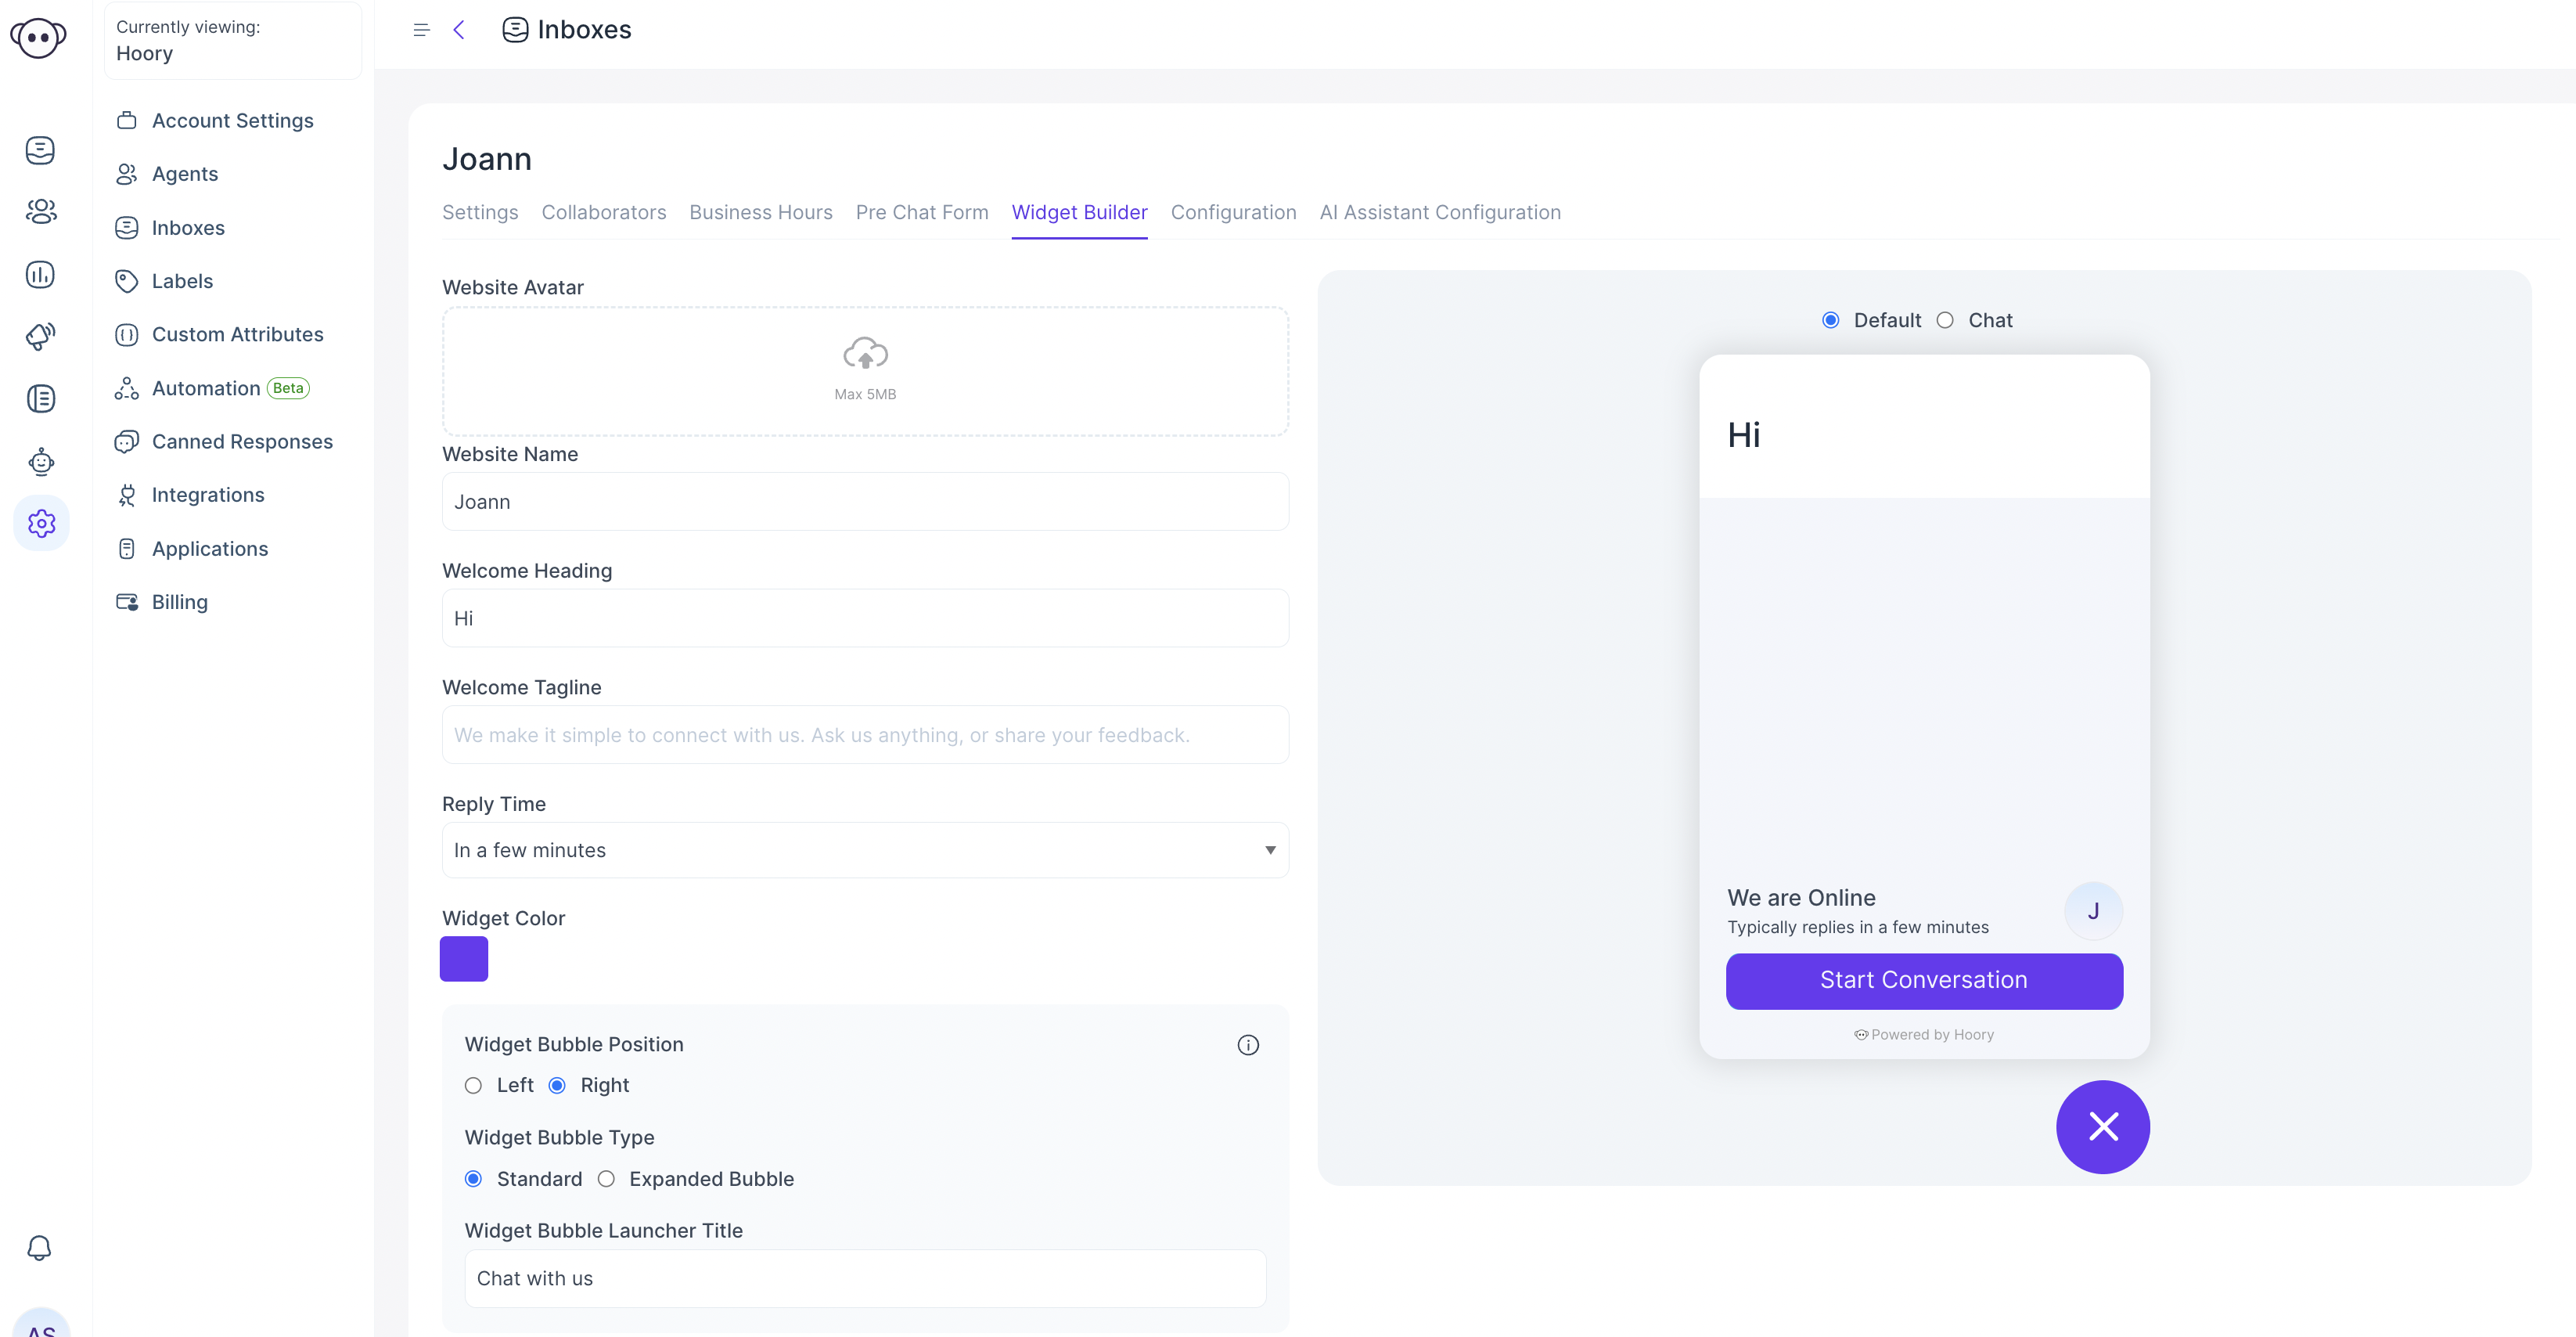
Widget Builder Tab
You can customize your web widget with simple settings given on this page. You will be able to see your changes live.
Next Steps
Find the detailed steps to configure each channel below:
➡️ SMS channel
➡️ Connect a channel using API
➡️ Line channel