Create Your Hoory AI Account
I am using the cloud version
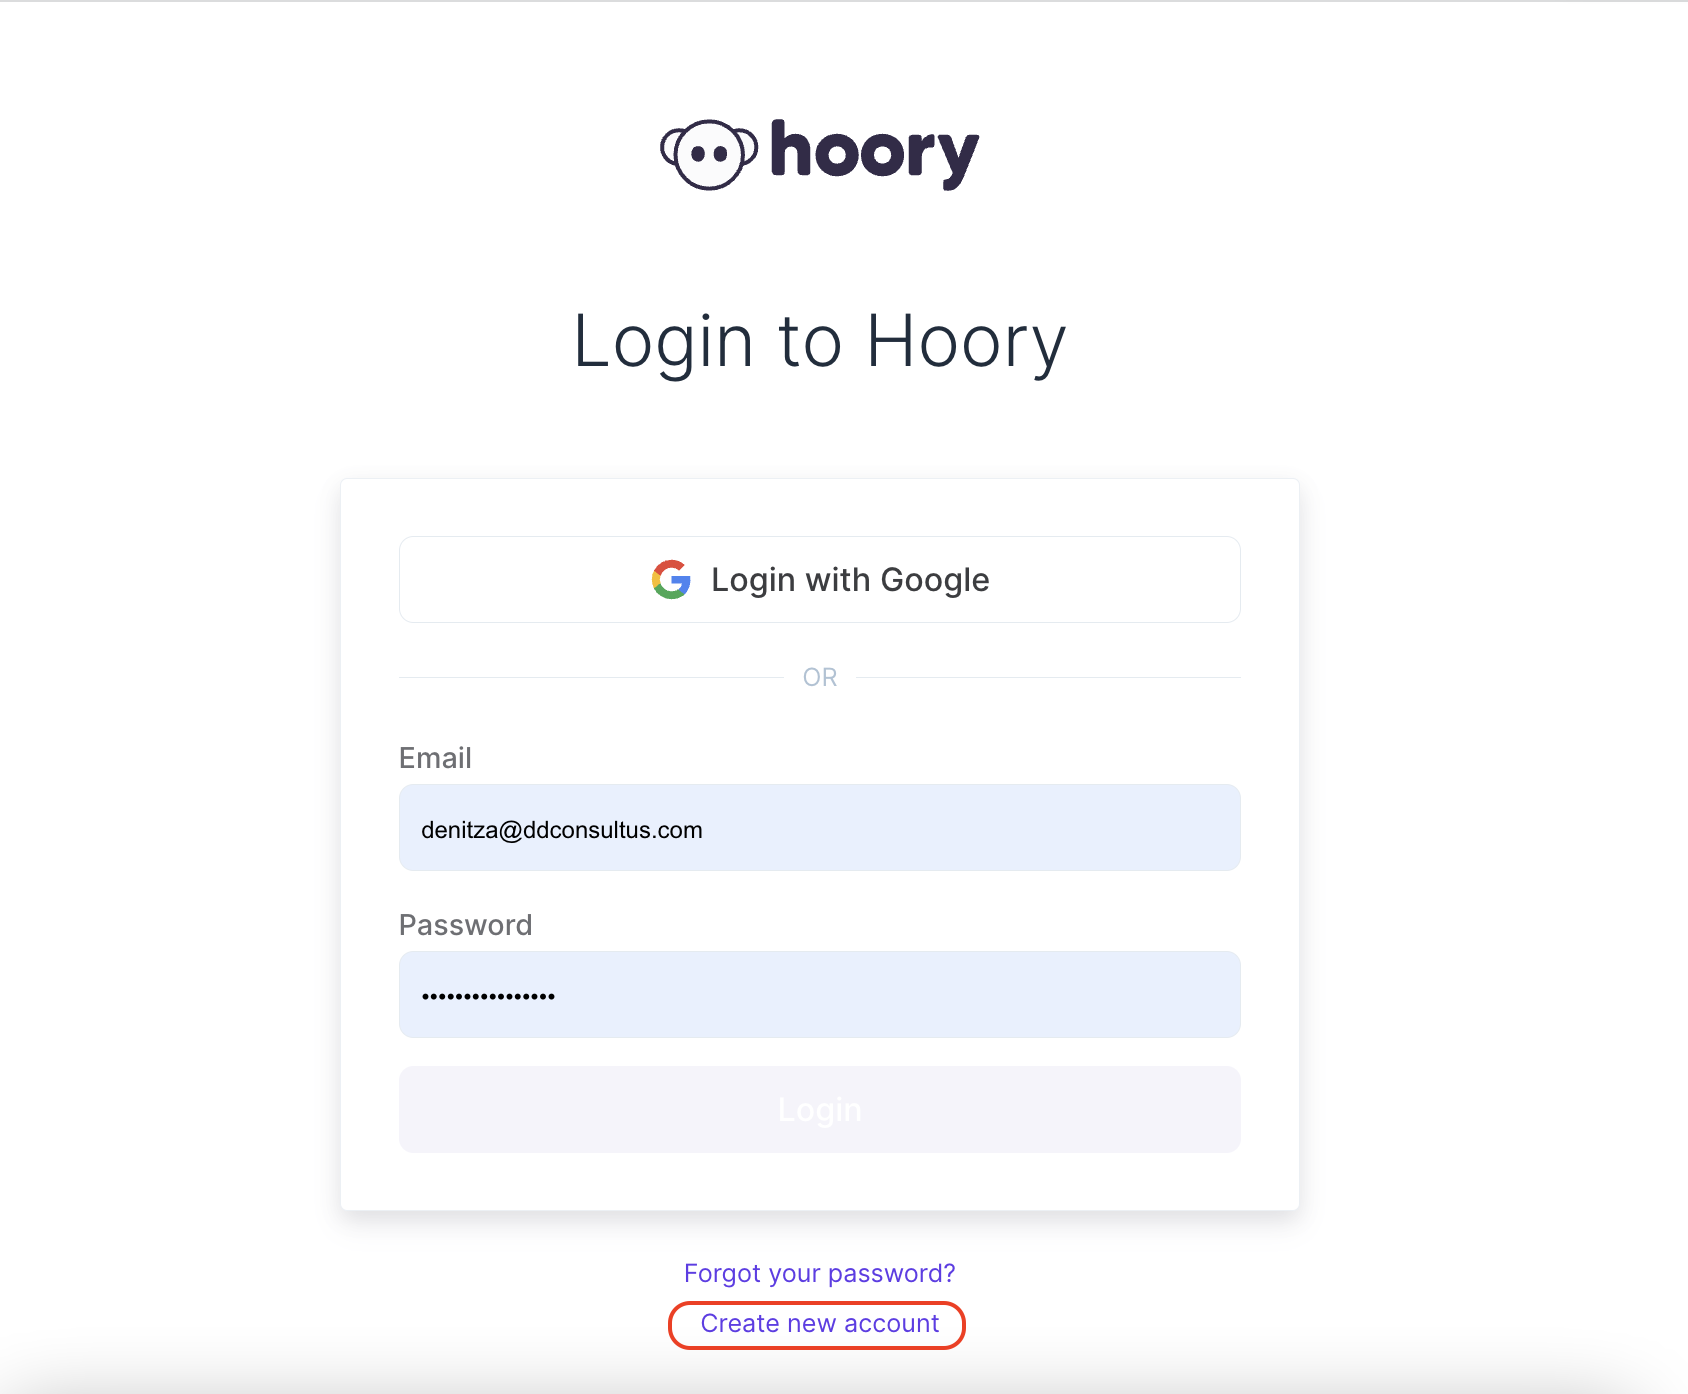
Step 1. If you want to use Hoory AI cloud, you may open hoory.com and click the "Create a free account" button. It will take you to the signup page.
Step 2. You will be able to see a signup page, as shown below.
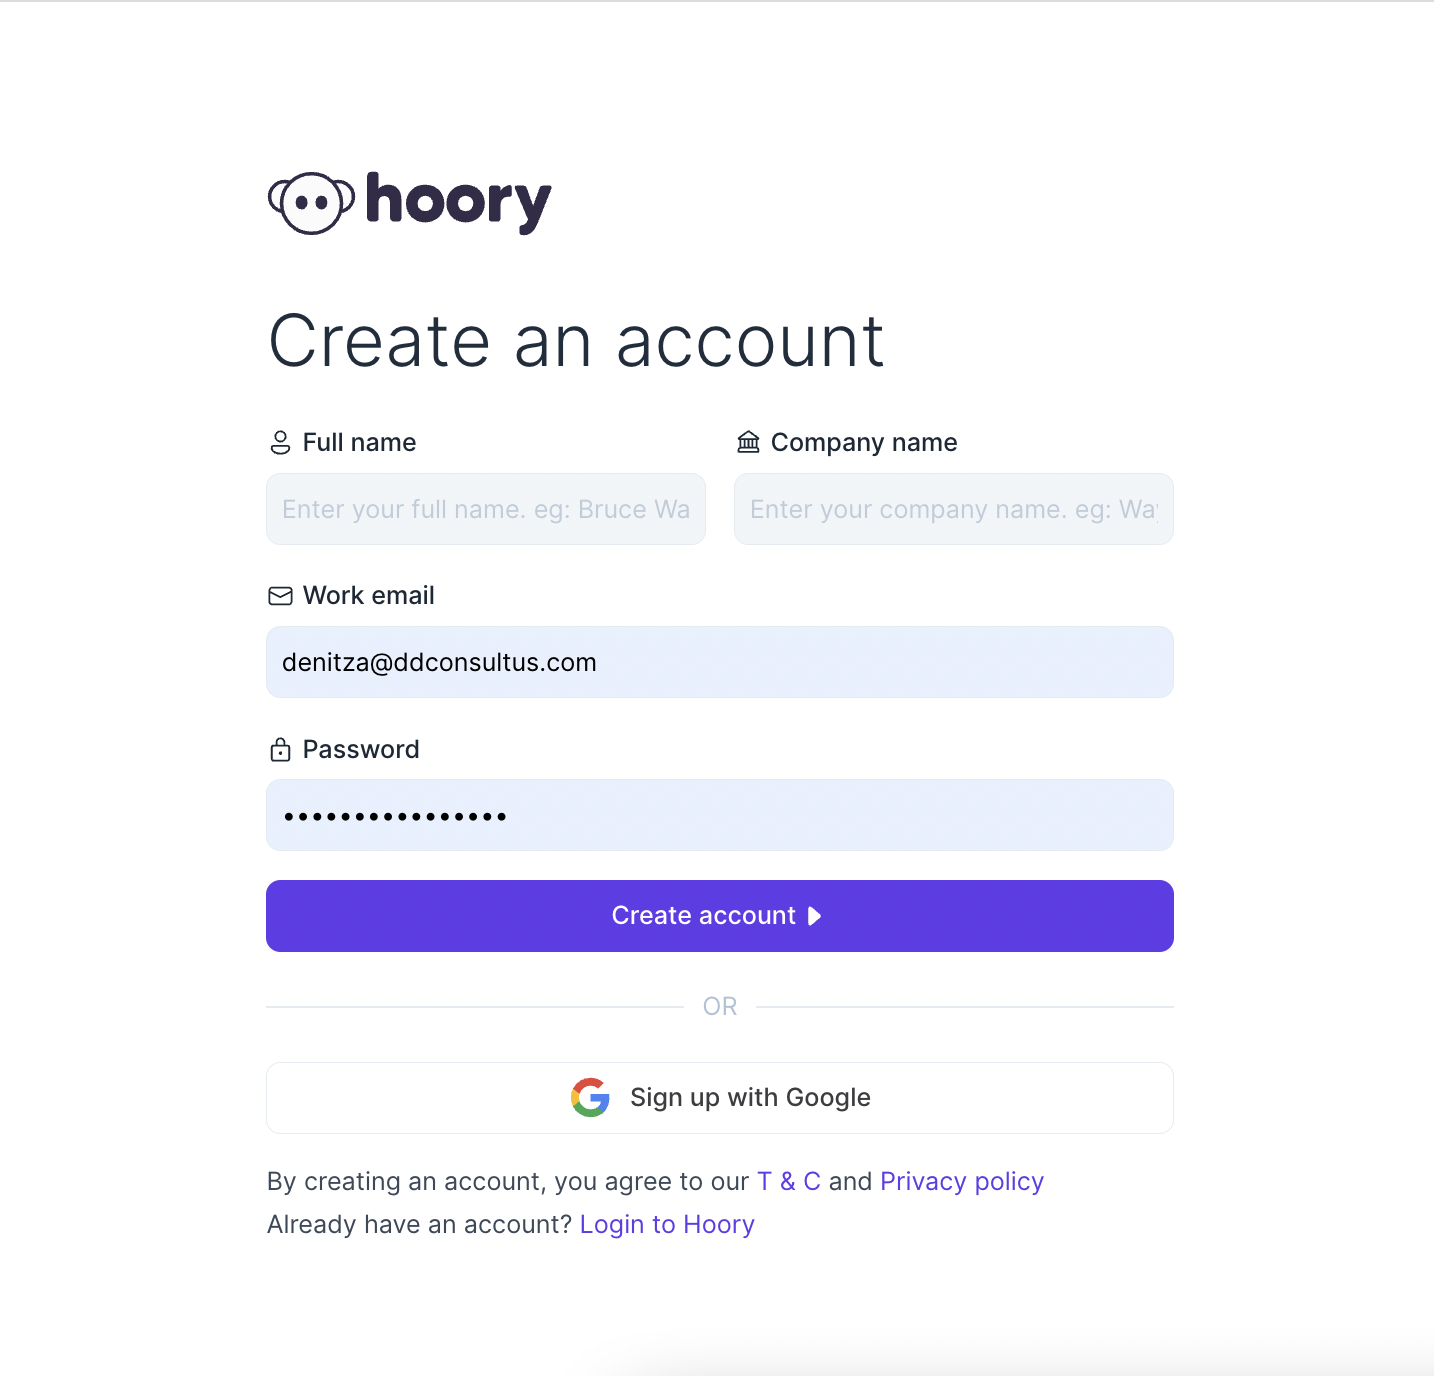
The fields required to sign up are shown below. Fill in the fields.
| Field Name | Description |
|---|---|
| Full Name | Enter your full name e.g. John Hopkins |
| Work email | Enter a valid work email address e.g. [email protected] |
| Account name | Enter the name of your company e.g. Wayne Enterprises |
| Password | Password must contain at least one uppercase character (A-Z), at least one numeric character (0..9), and at least one special character `(!@#$%^&*()_+-=[]\ |
| Confirm Password | Confirm password should match with the password given above |
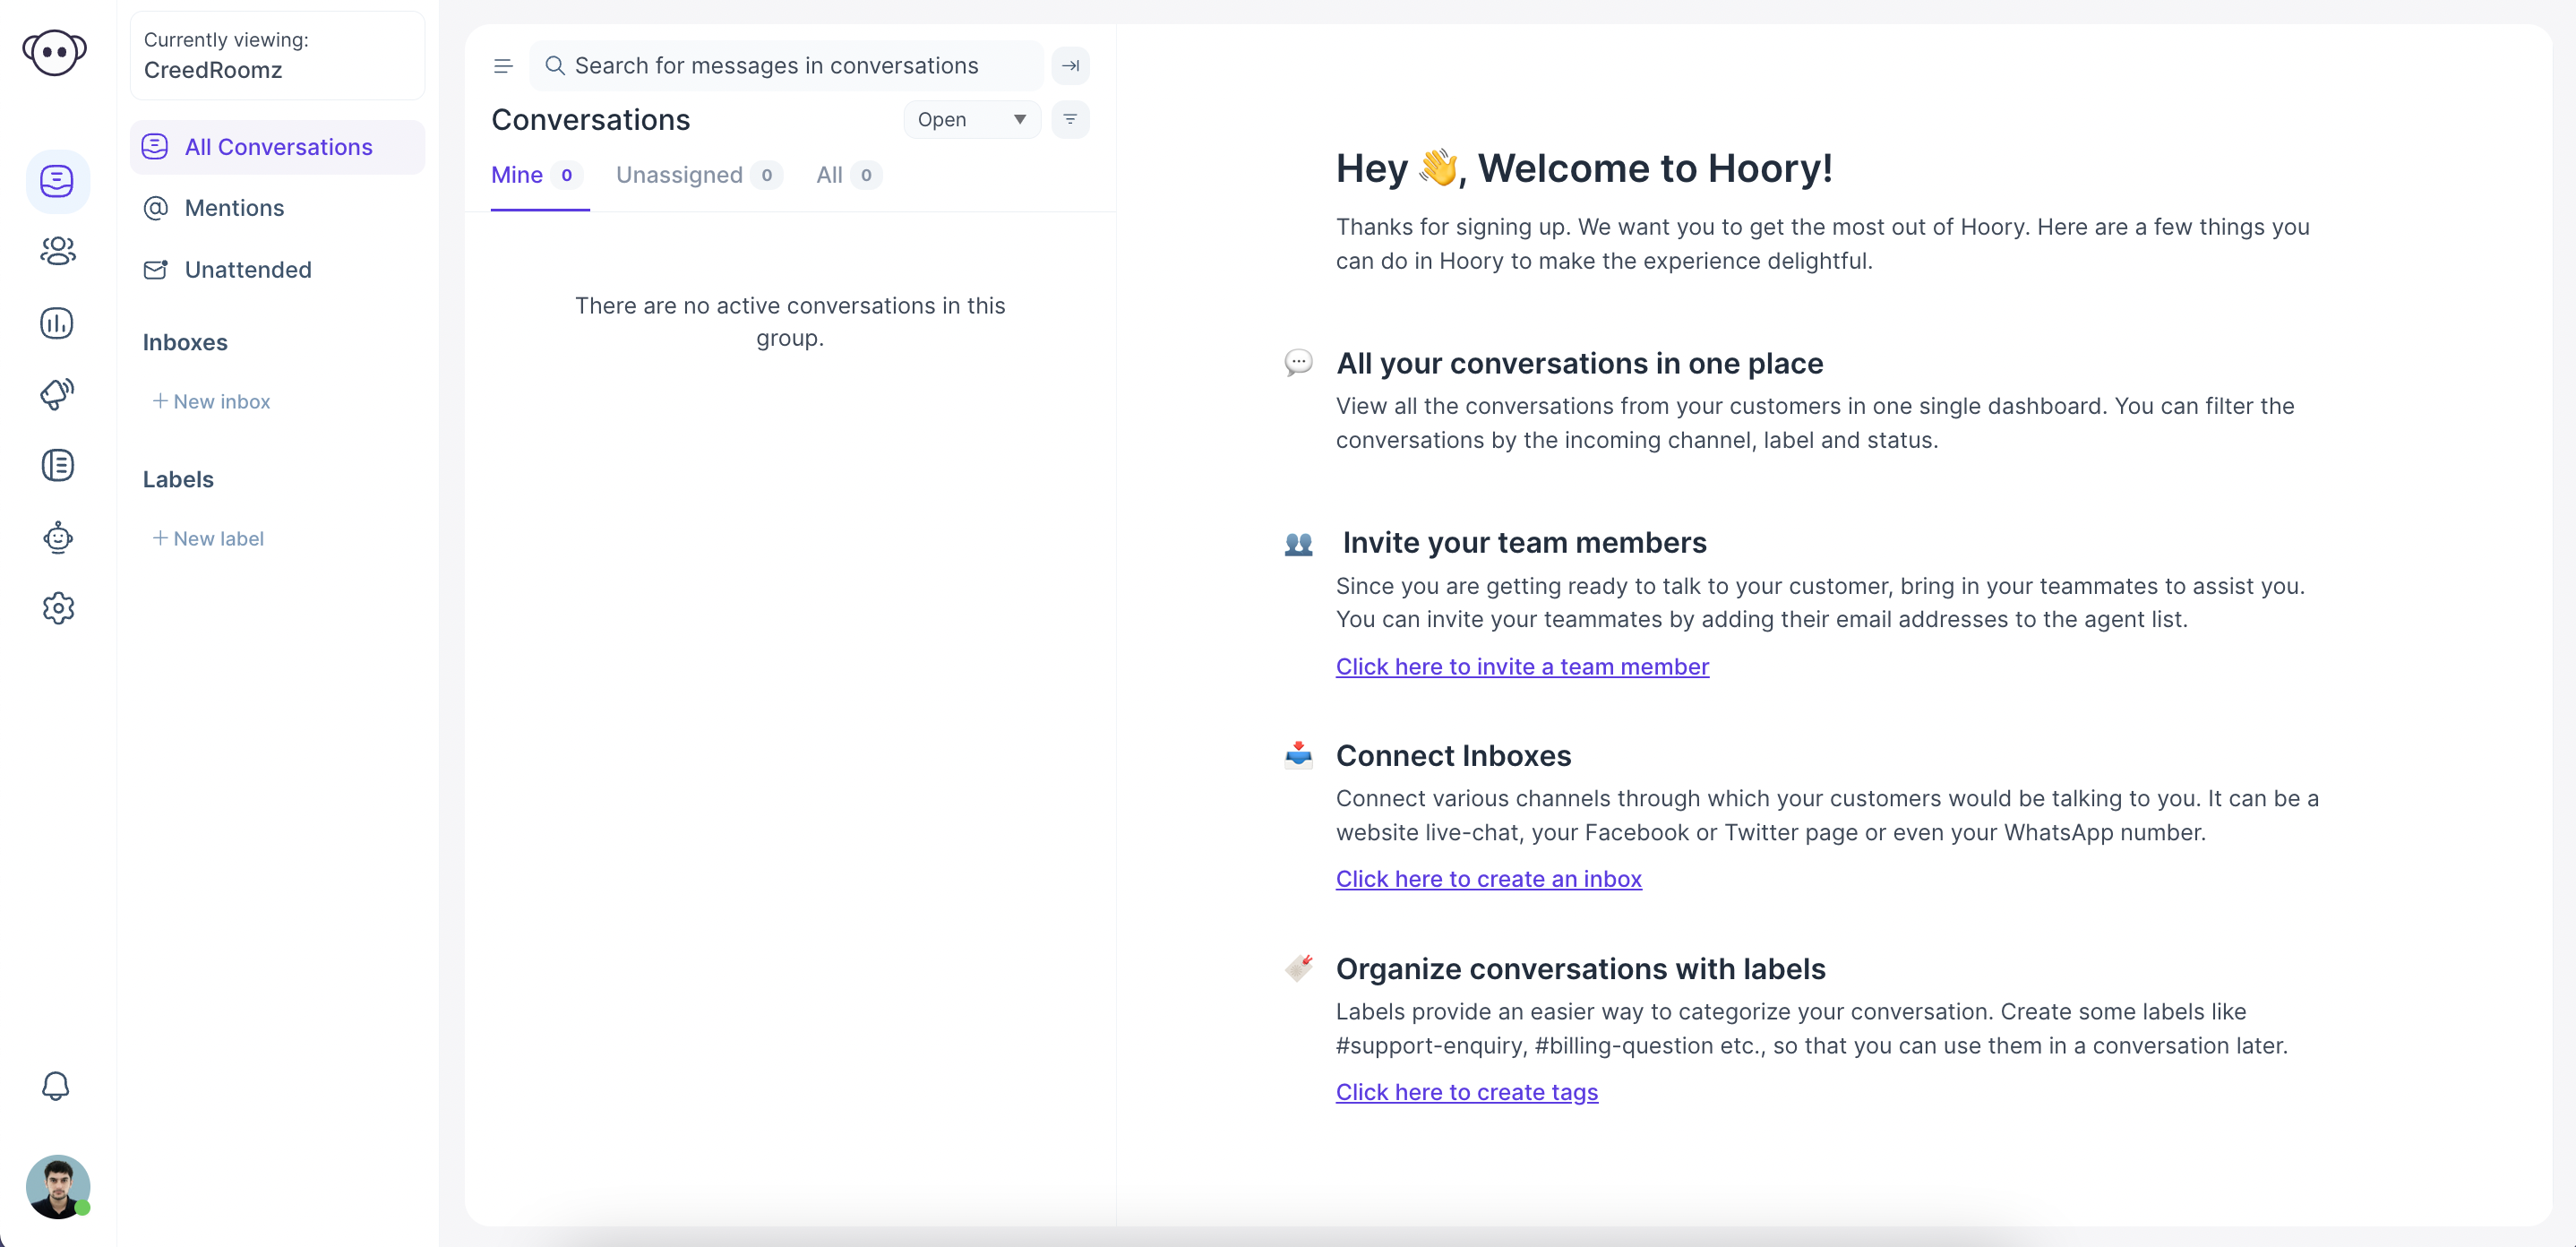
Step 3. After signing up, you would be automatically logged into the dashboard. To complete the signup, you need to verify your email address. You will receive an email from Hoory AI with the subject Confirmation Instructions.
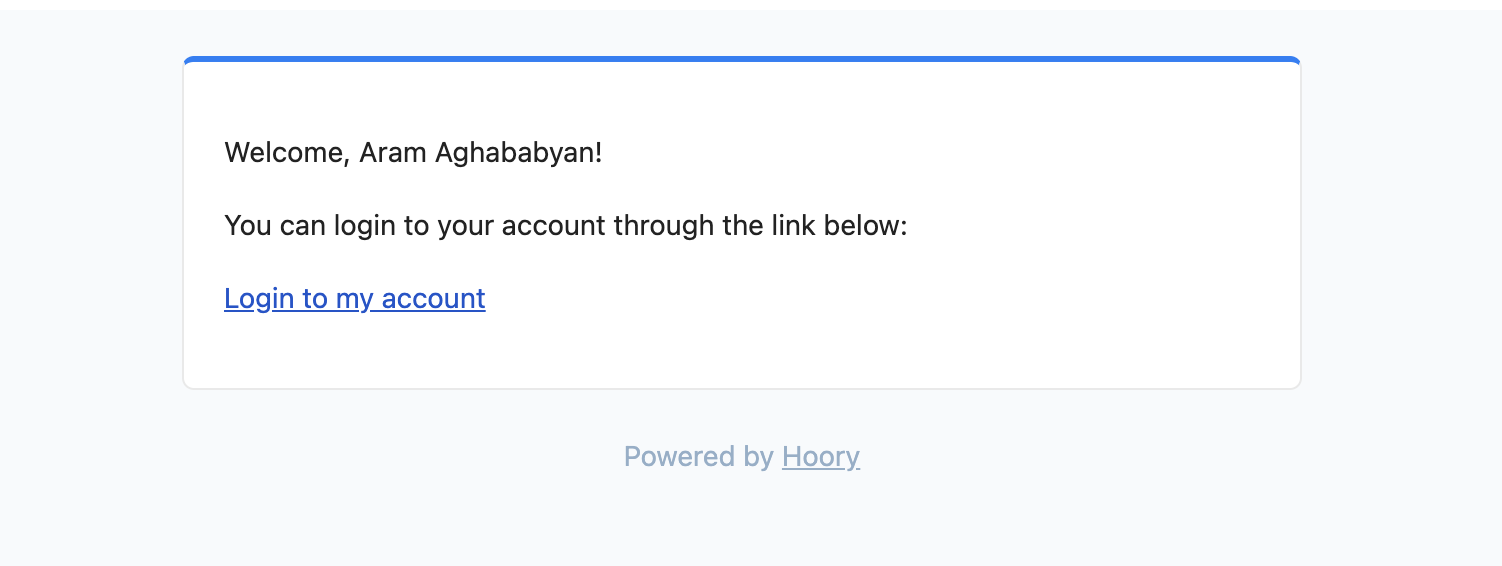
Step 4. Click the Confirm my account button.
Voila! You have verified your account at Hoory AI.
Next steps
Follow the steps below to set up your account and get the full power of Hoory AI.
- Configure your profile: Set your name, picture, password, and more.
- Configure account details: Setup your account name, language, etc.
- Add Agents: Add your team members to your account to help with managing conversations.
- Add Channels: Add your conversation inboxes/channels like website widget, Facebook, WhatsApp, etc.
- Add Teams: Set up your teams like Sales, Services, Product, etc.
- Add Labels: Set up labels for categorizing your contacts/conversations.
- Add Canned Responses: Create your saved reply templates for frequently asked questions.
- Integrations: Integrate Hoory AI with your favourite apps, or use Webhooks.