Set Up Your Facebook Channel
For the cloud version of Hoory AI, please follow the steps below.
Step 1. Go to Settings → Channels → “Add Channel”.
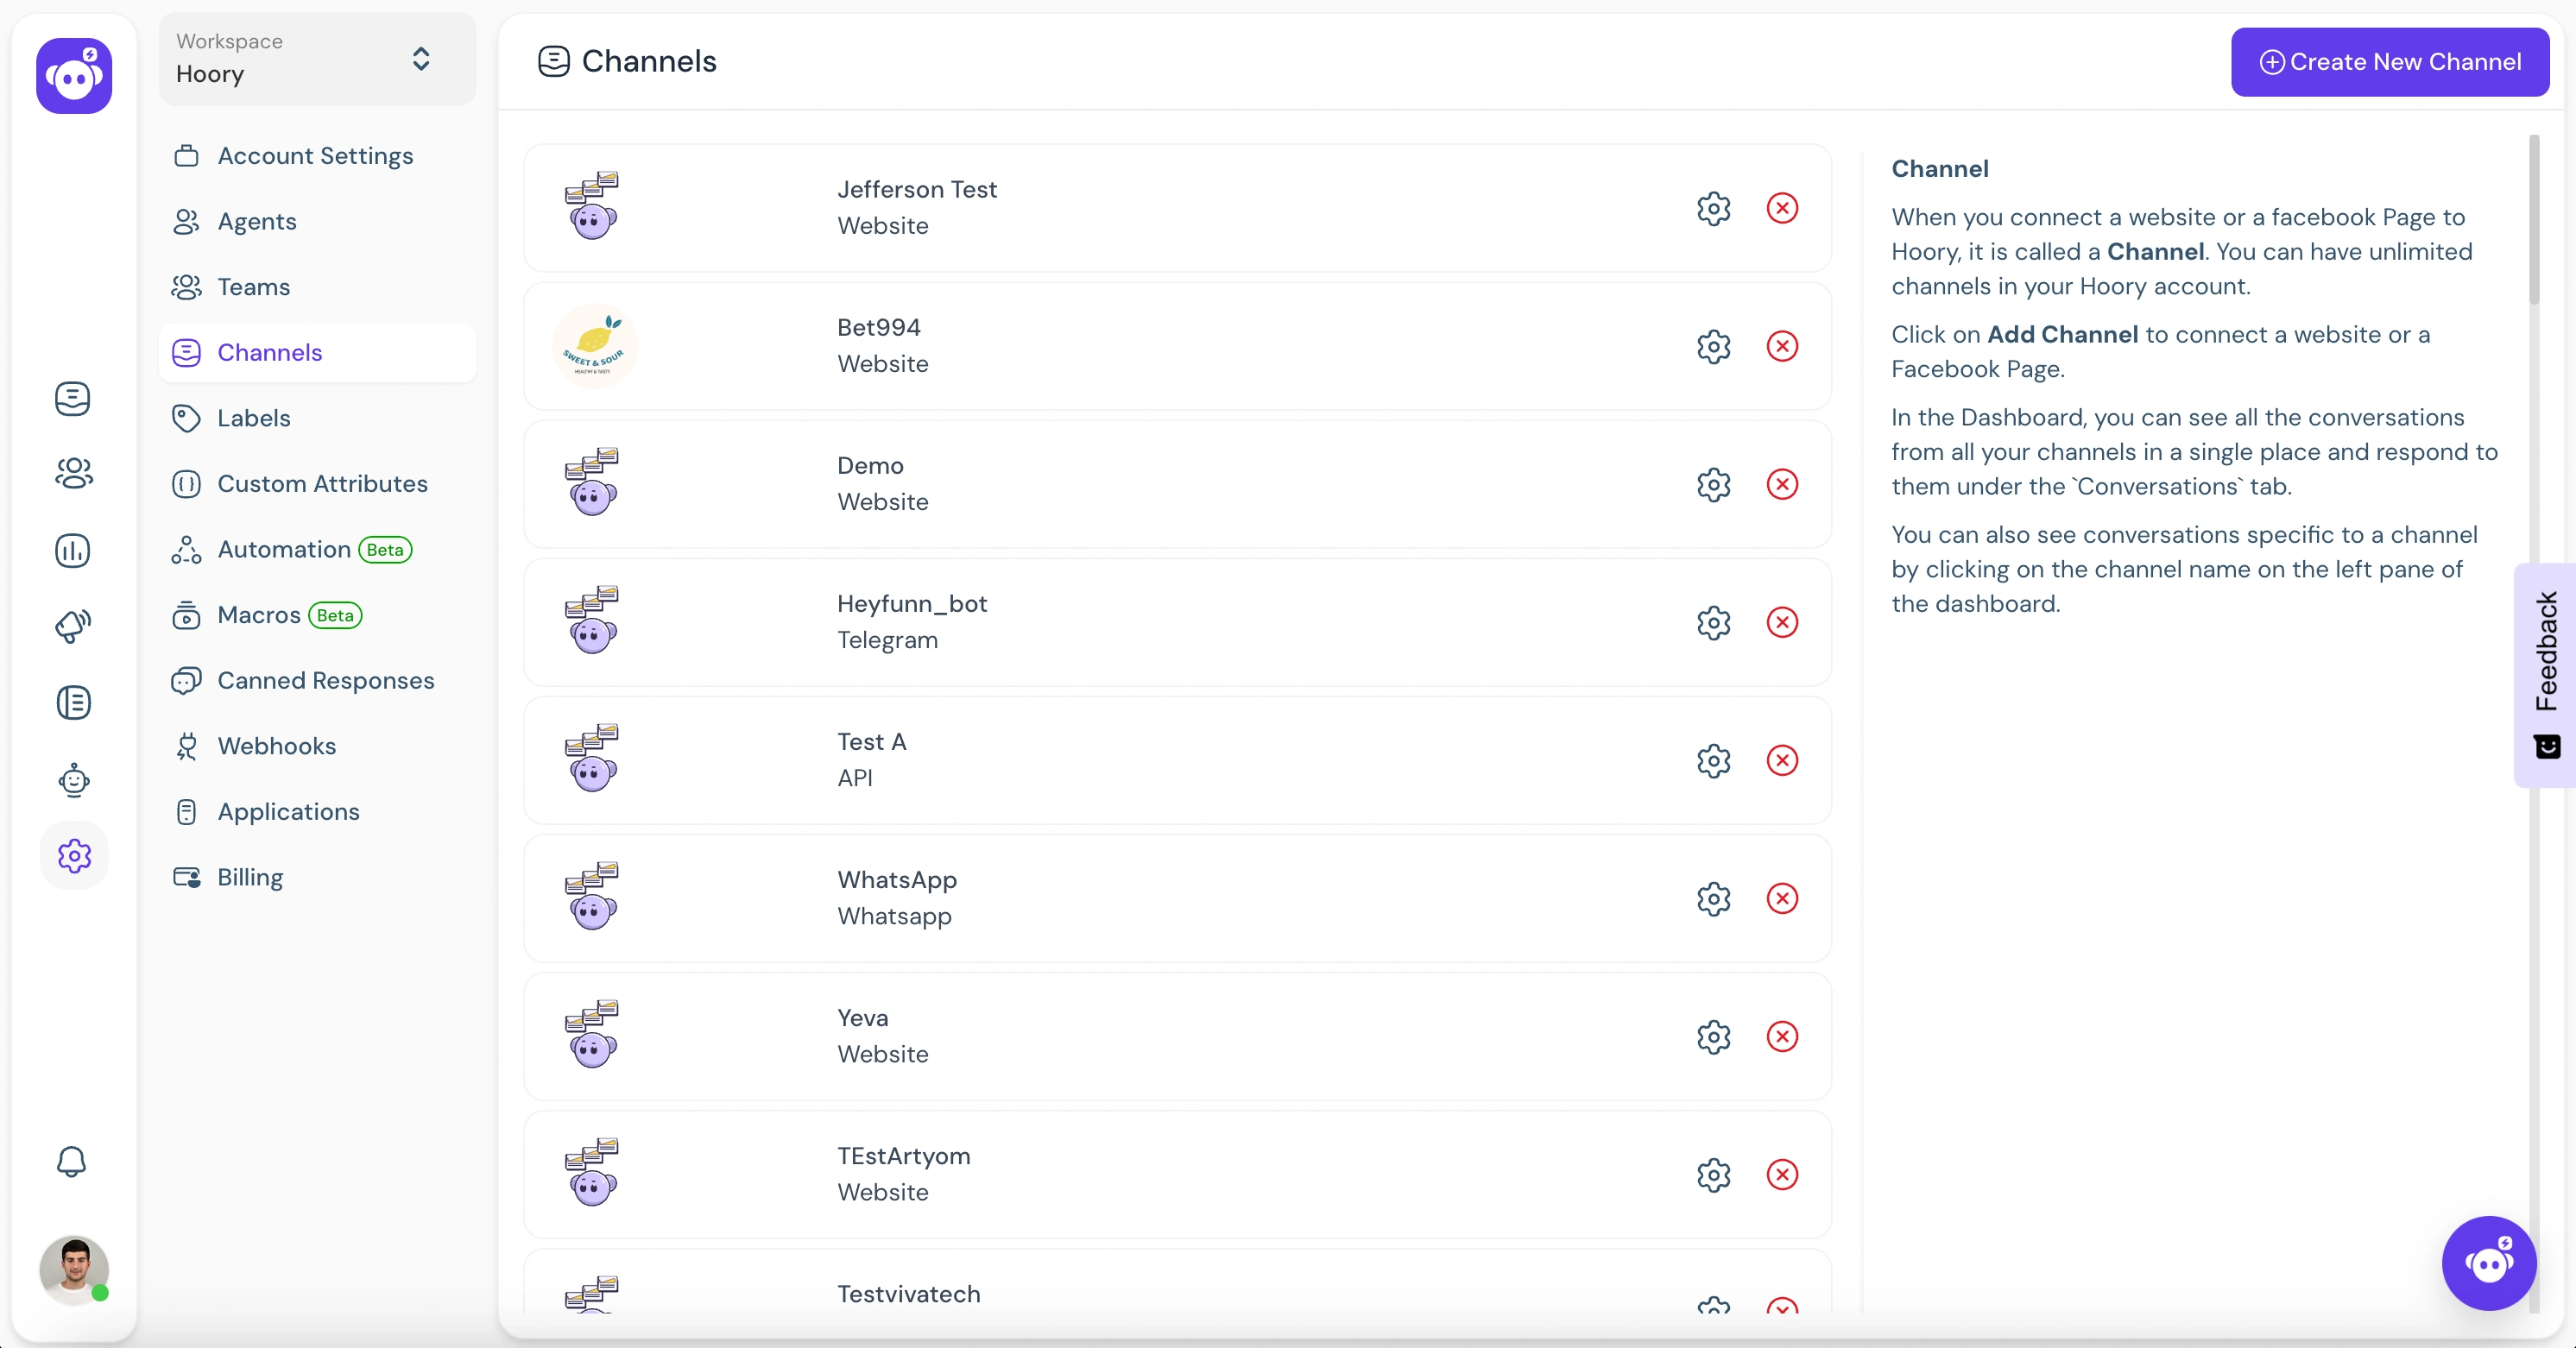
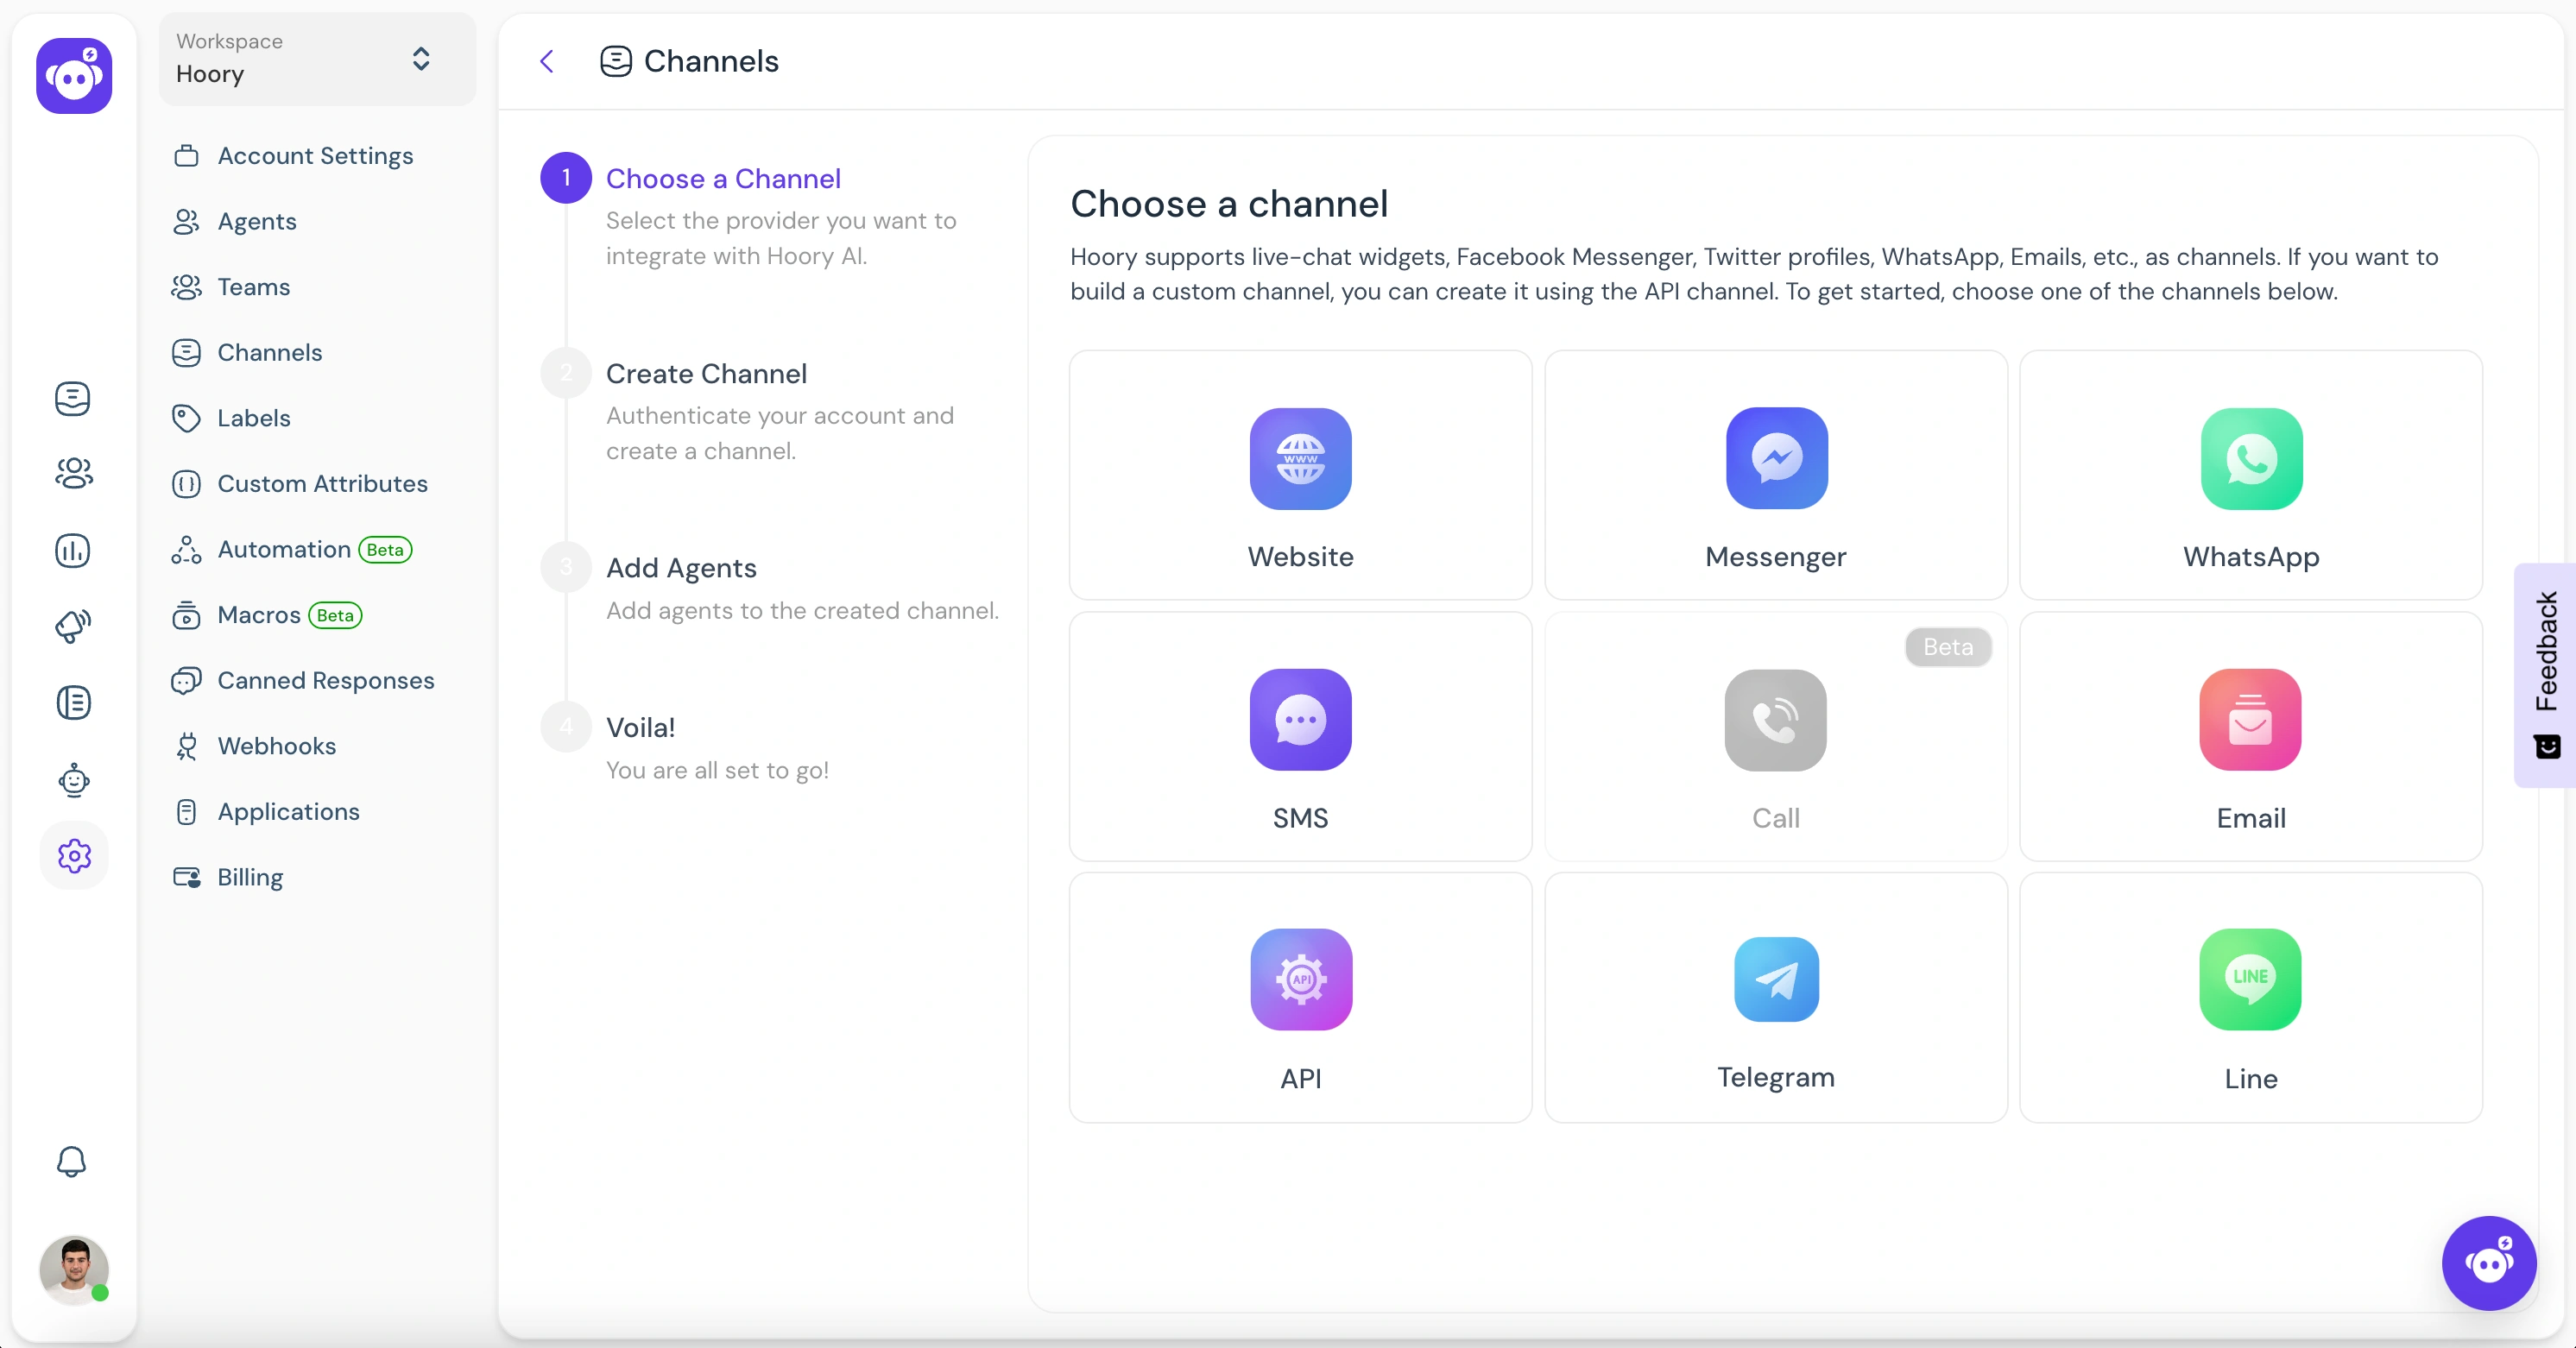
Step 2. Click the "Messenger" icon.
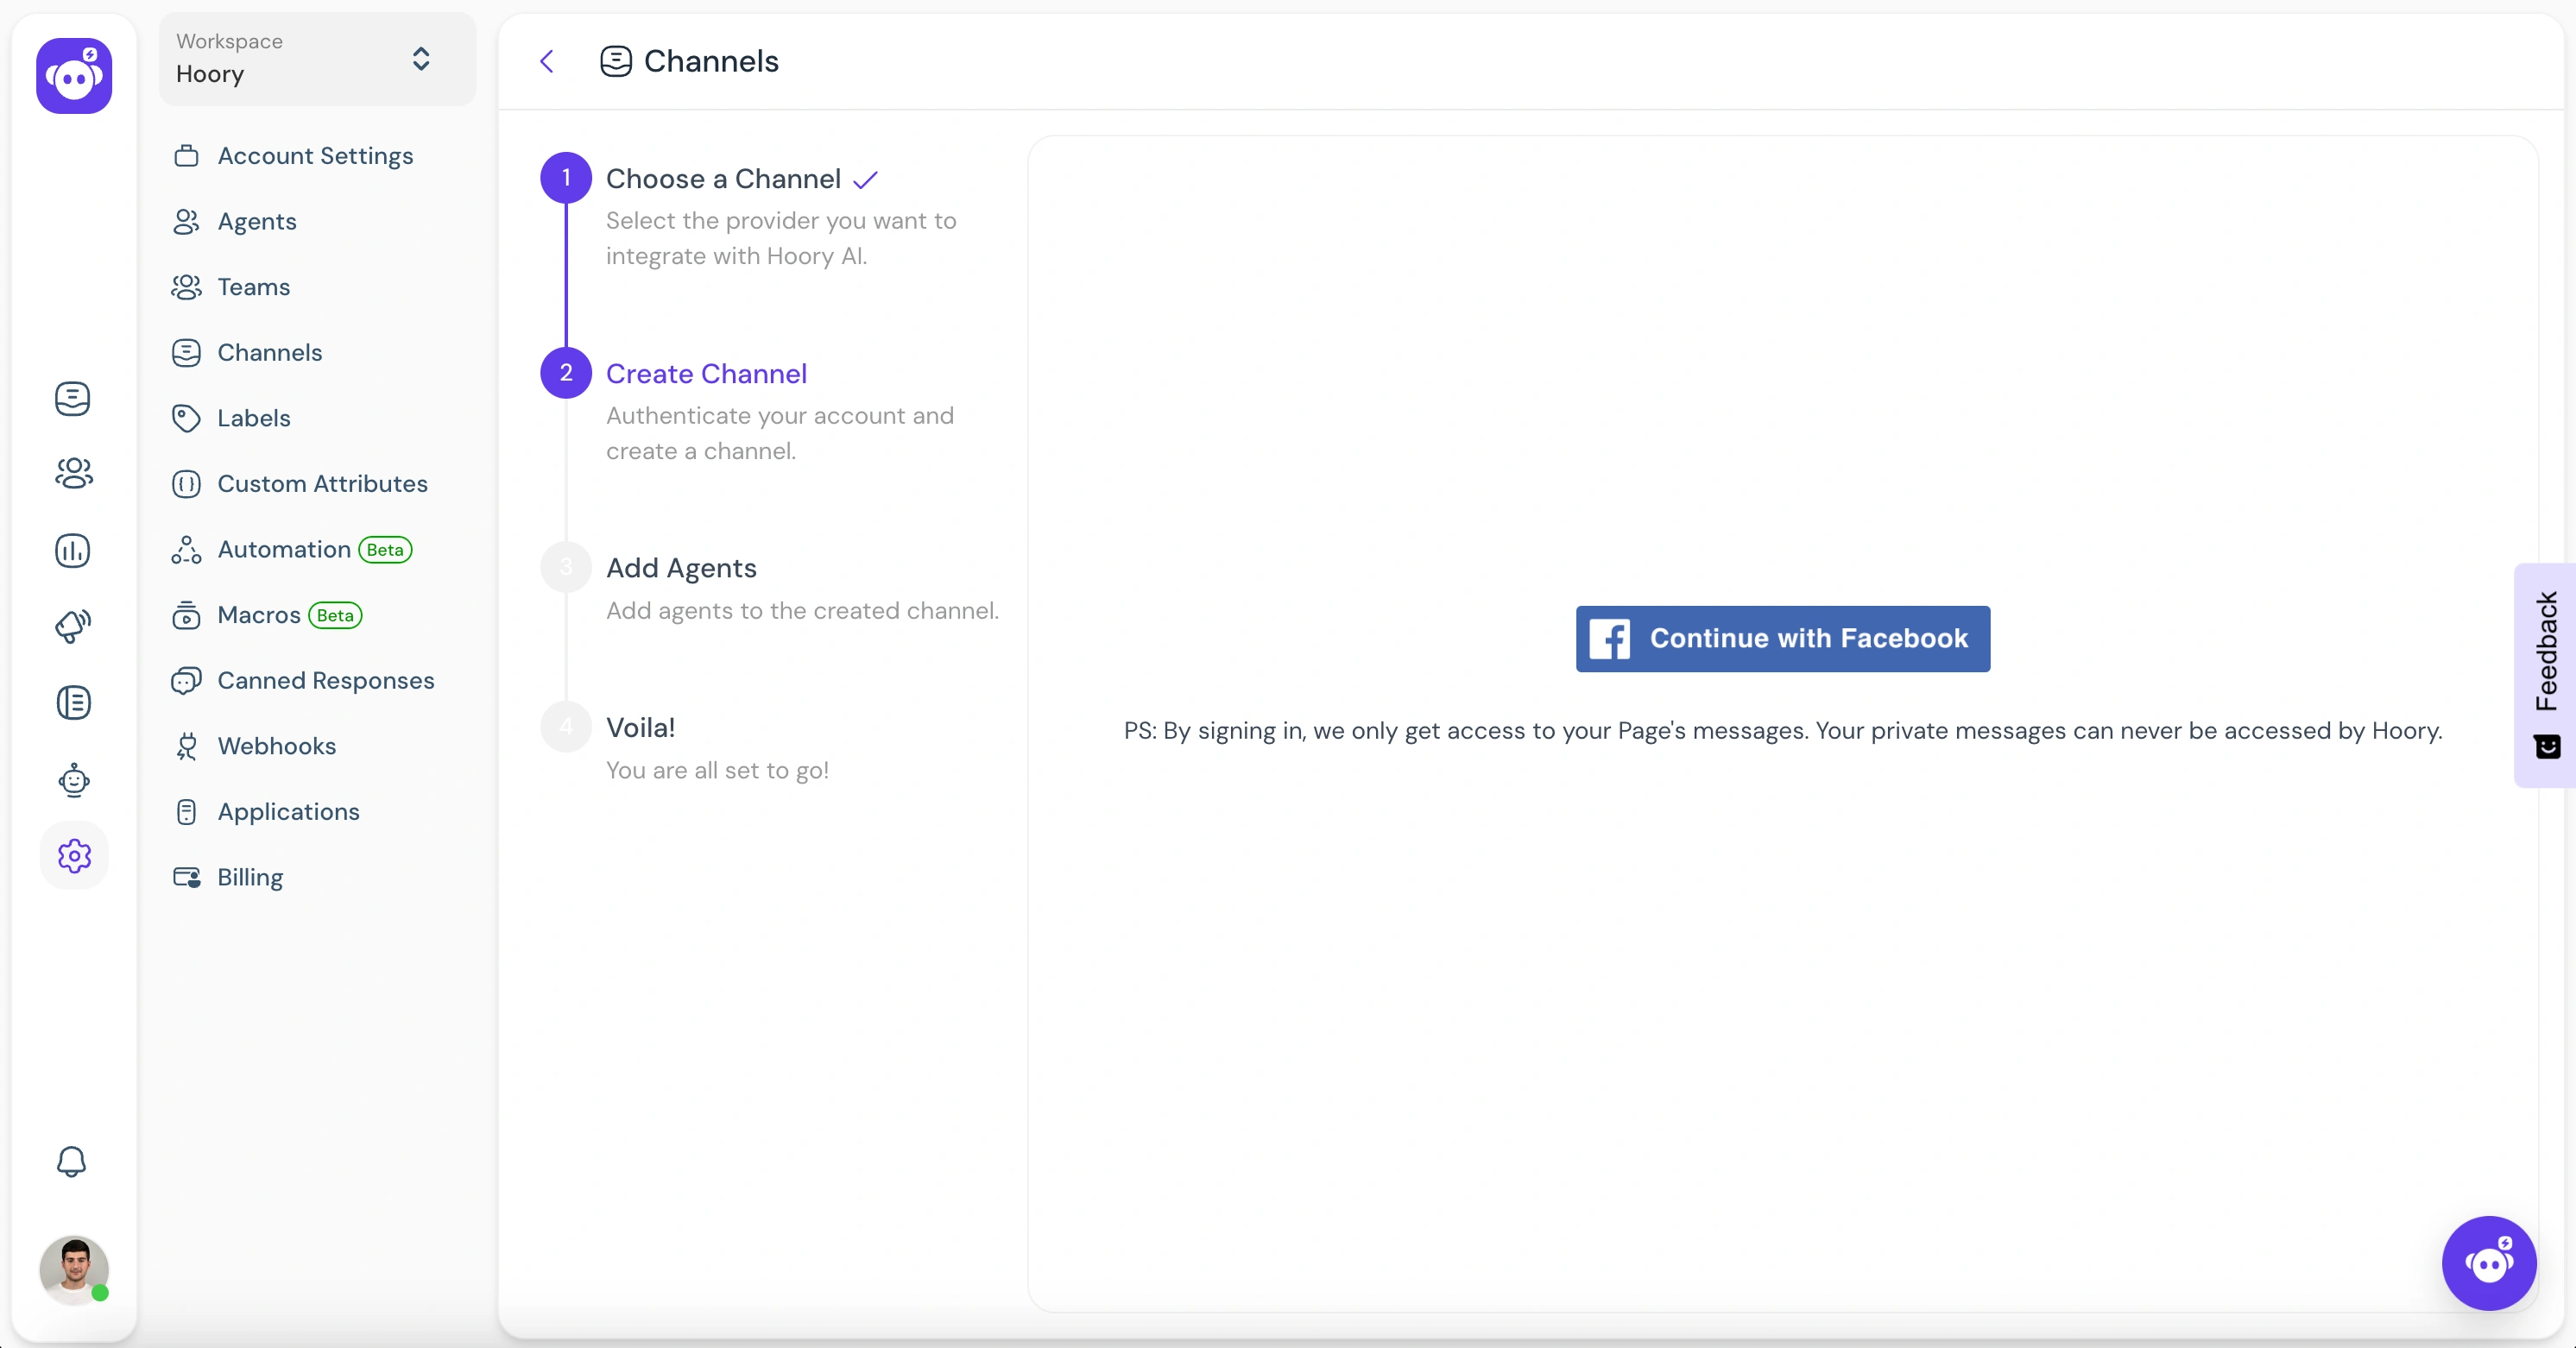
Step 3. Click the Facebook login button. It will open a new window for you to login.
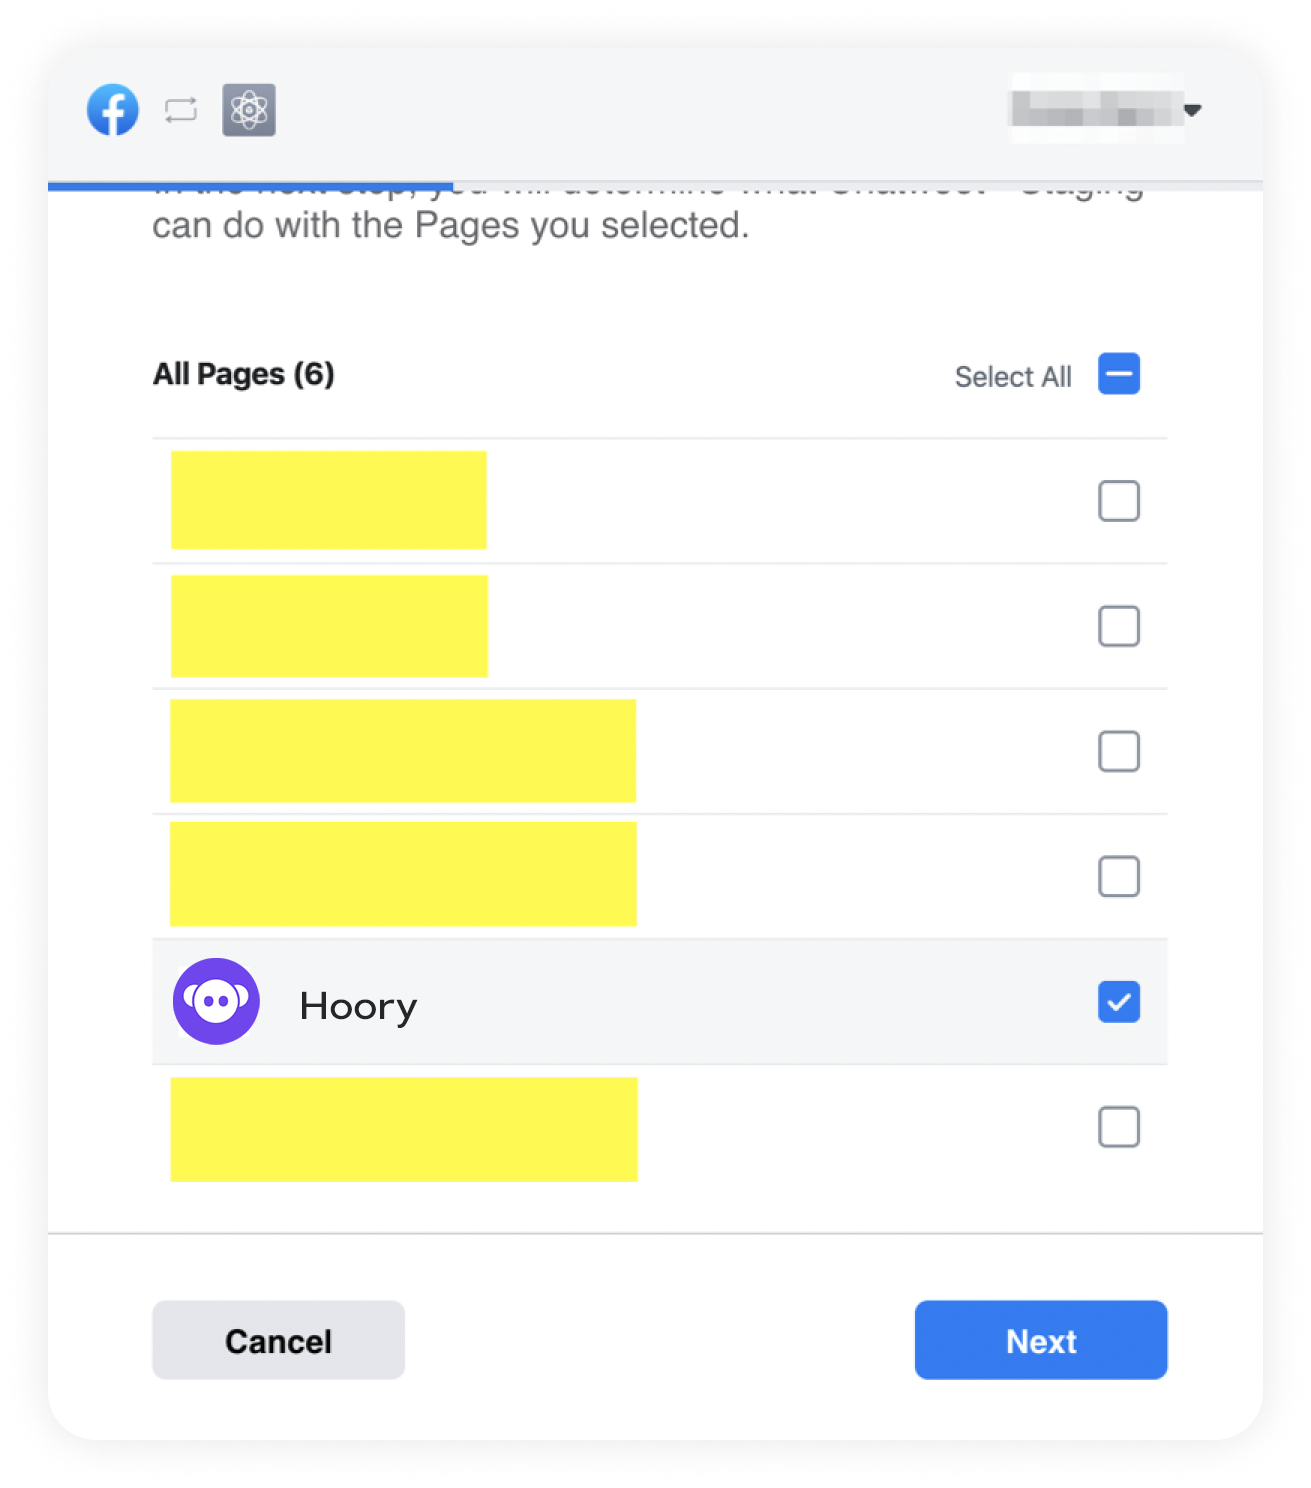
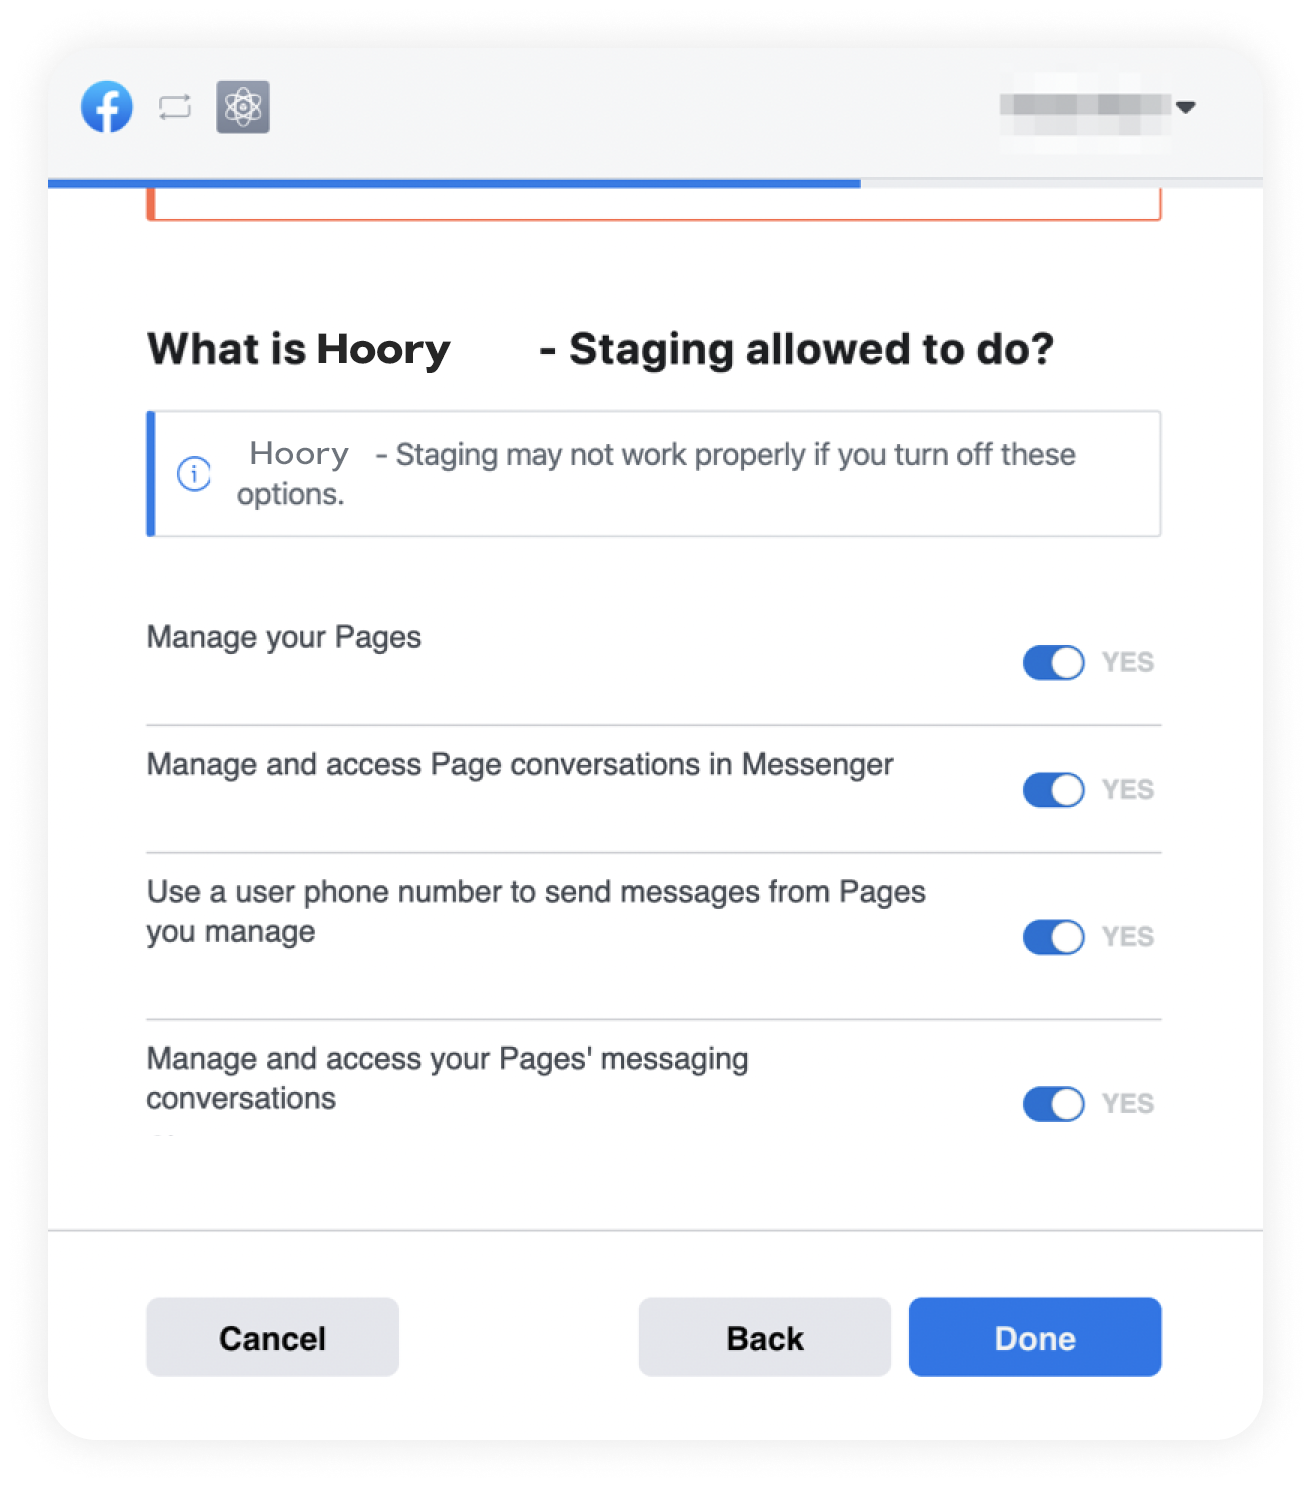
Step 4. Authenticate with Facebook and select the page you want to connect. Enable all permissions shown in the list. This will help Hoory AI to perform all the desired actions smoothly.
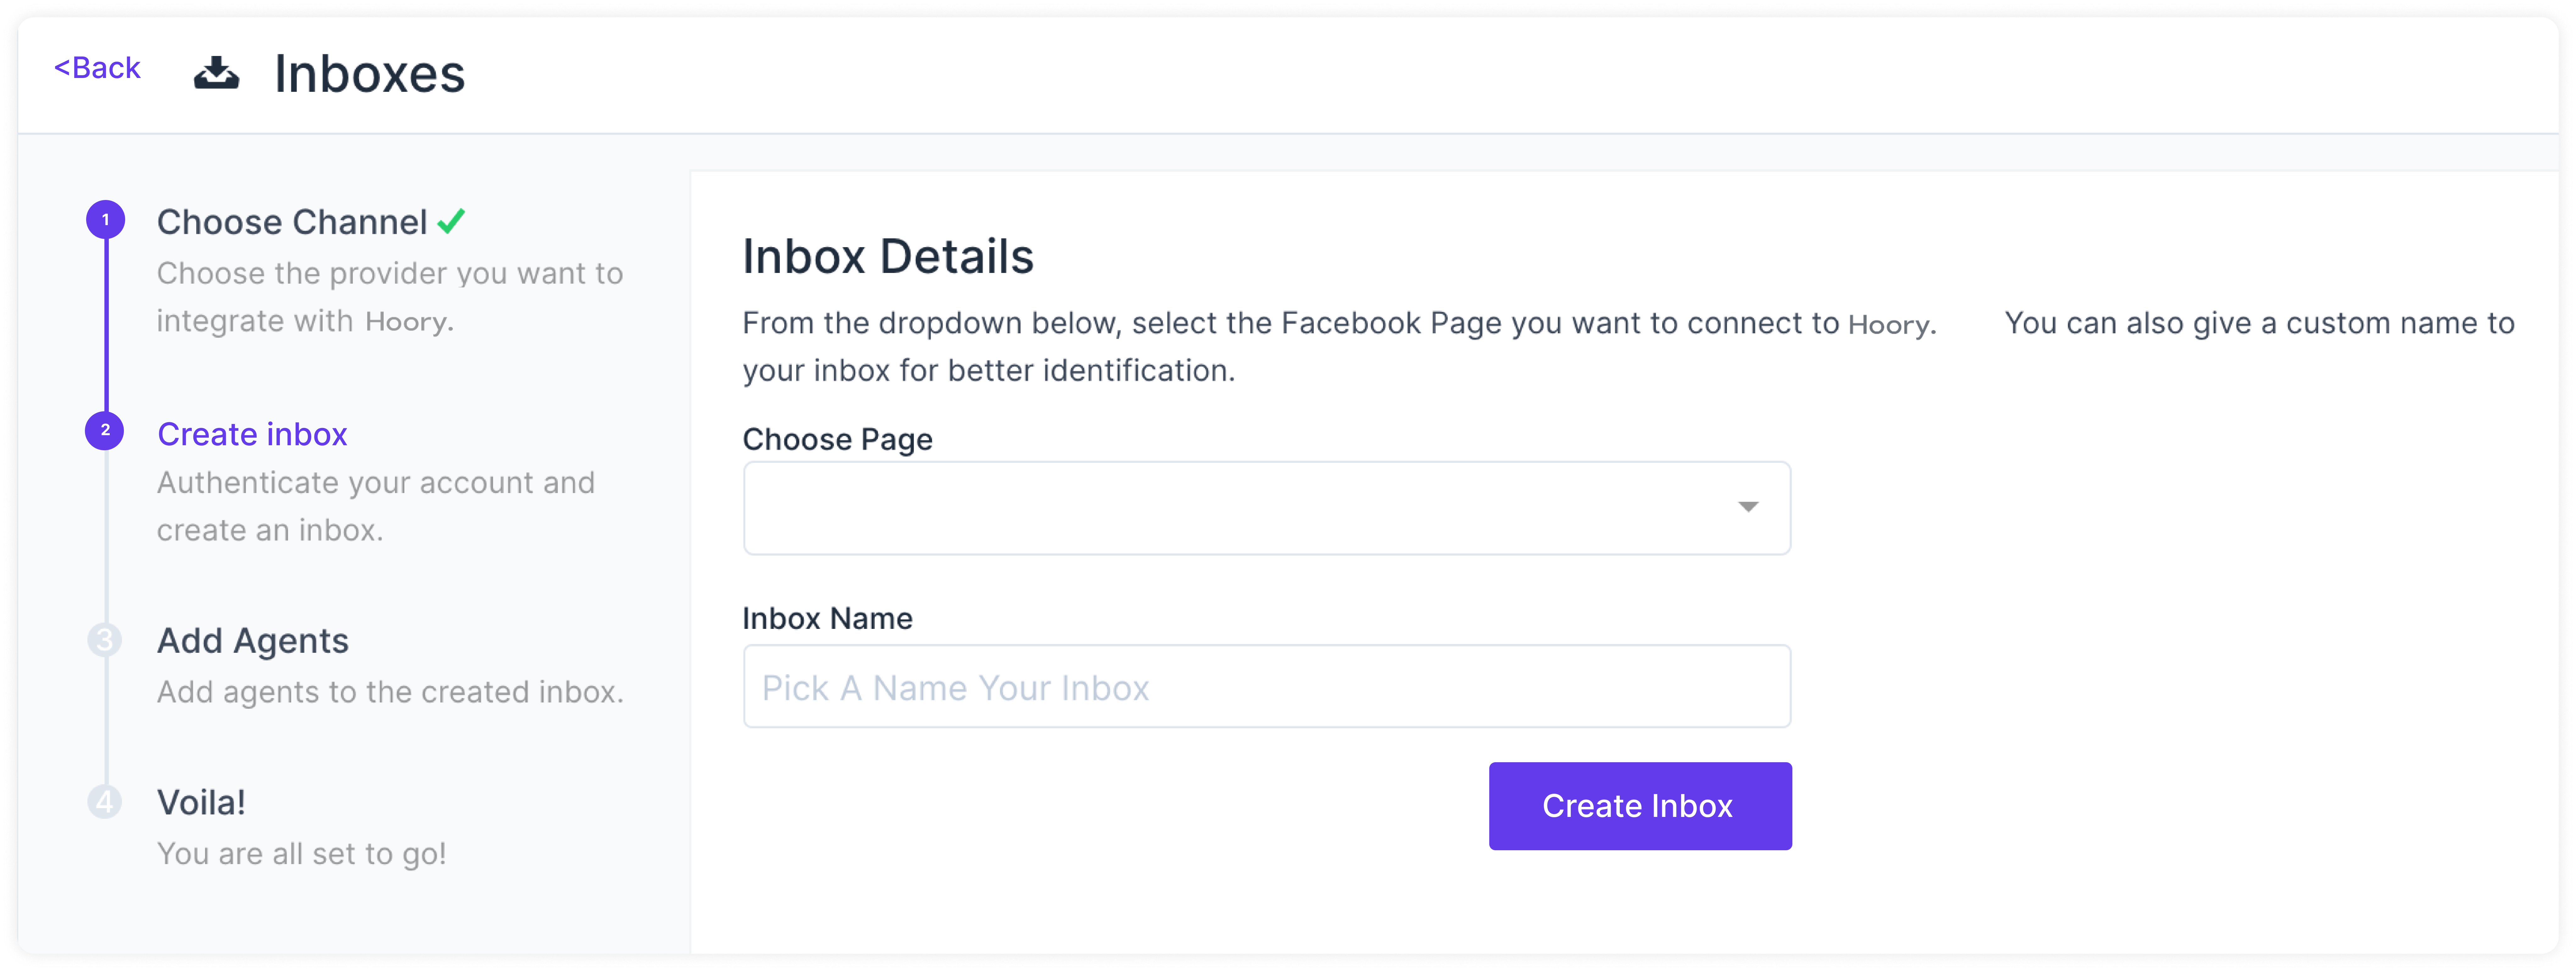
Step 5. You can now select your Facebook page from the dropdown menu that appears on Hoory AI.
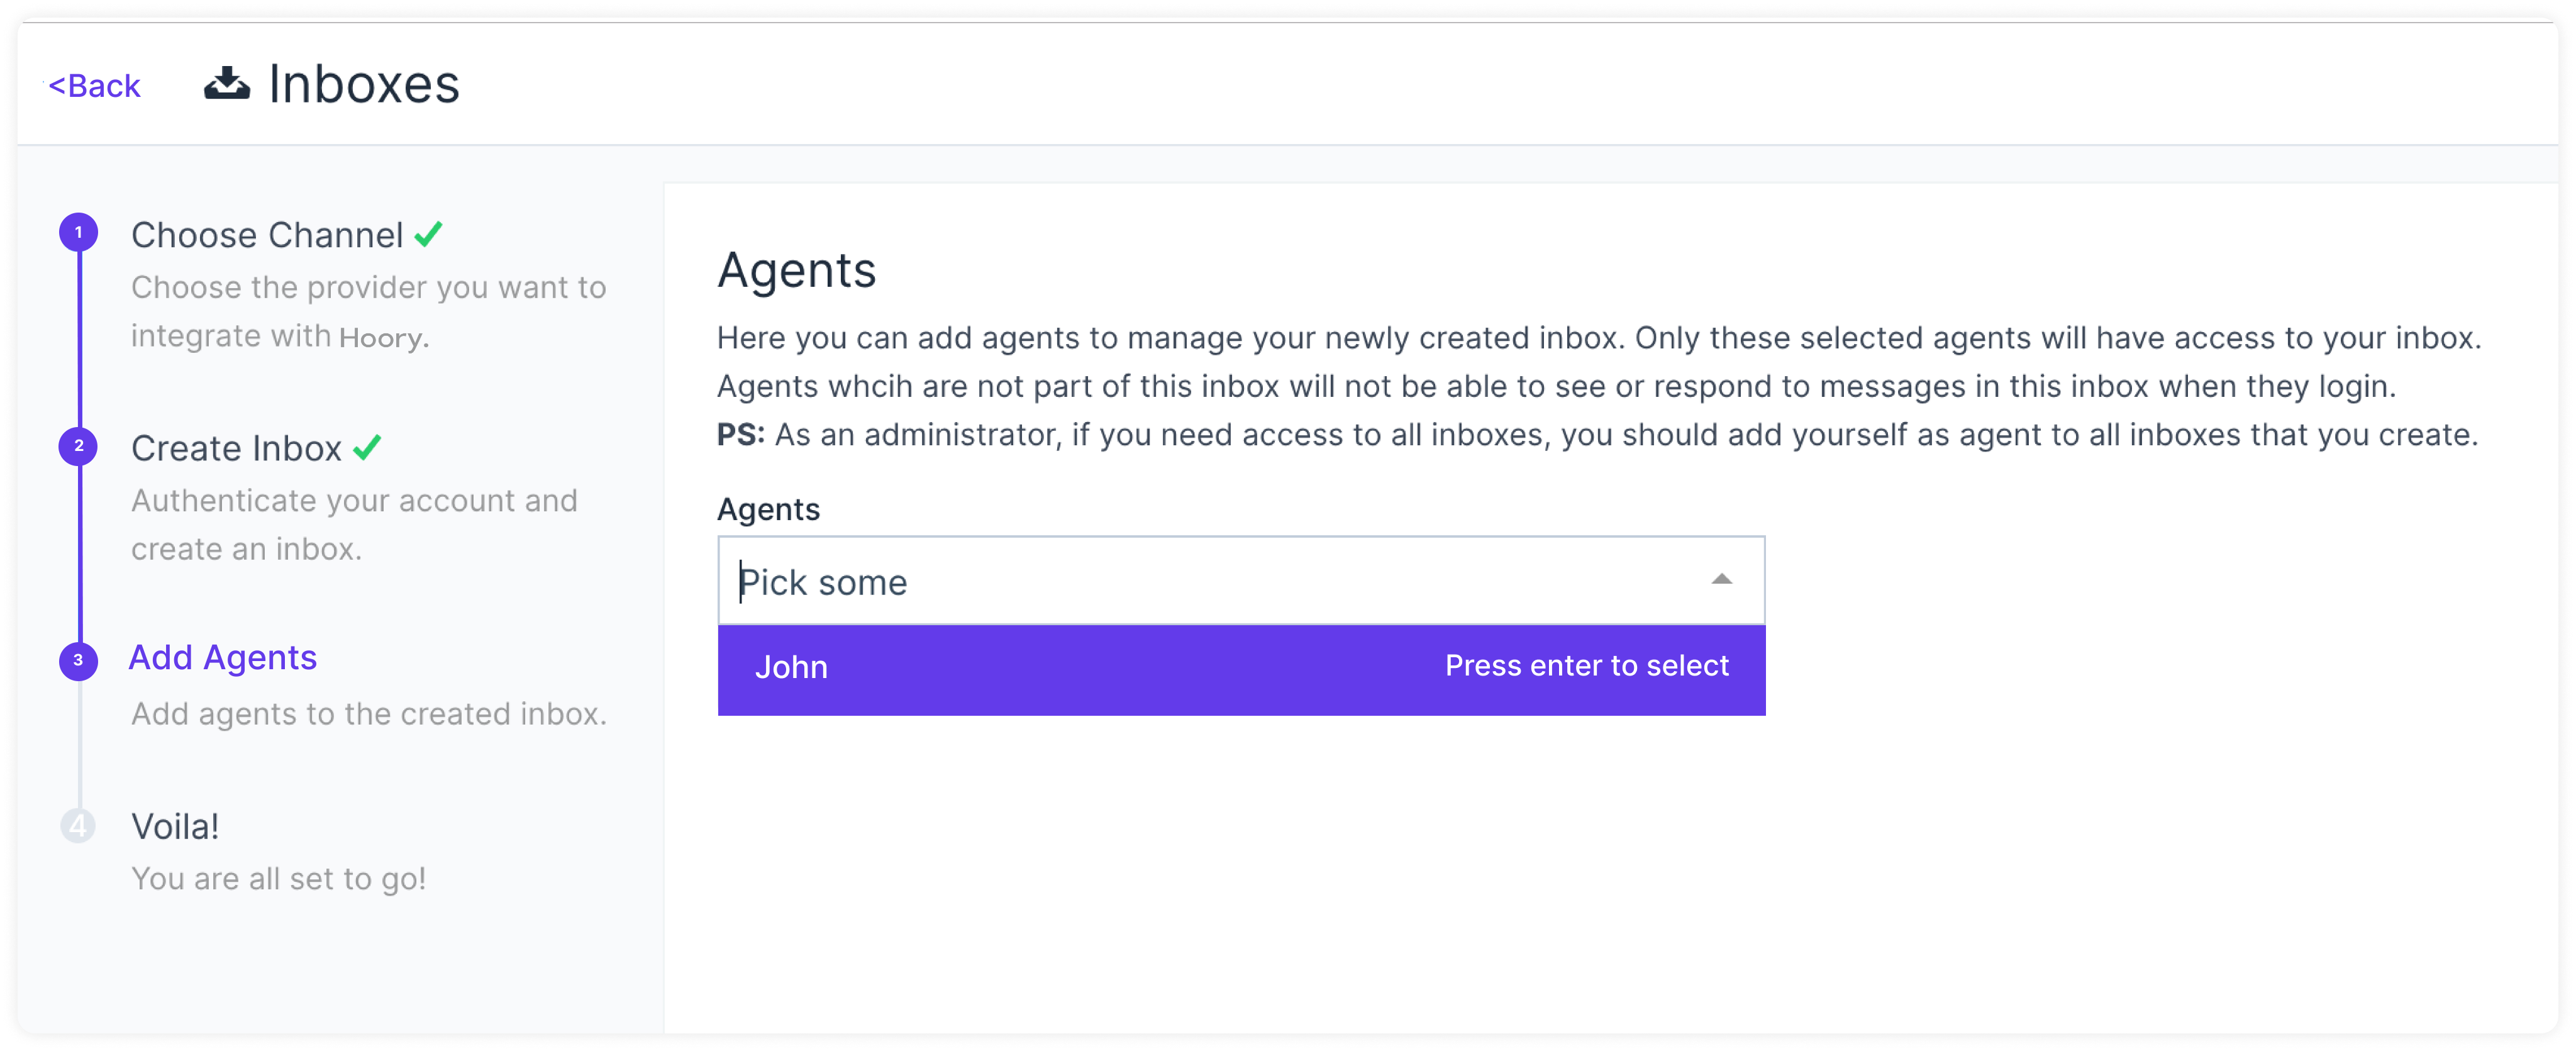
Step 6. "Add agents" to your Facebook channel.
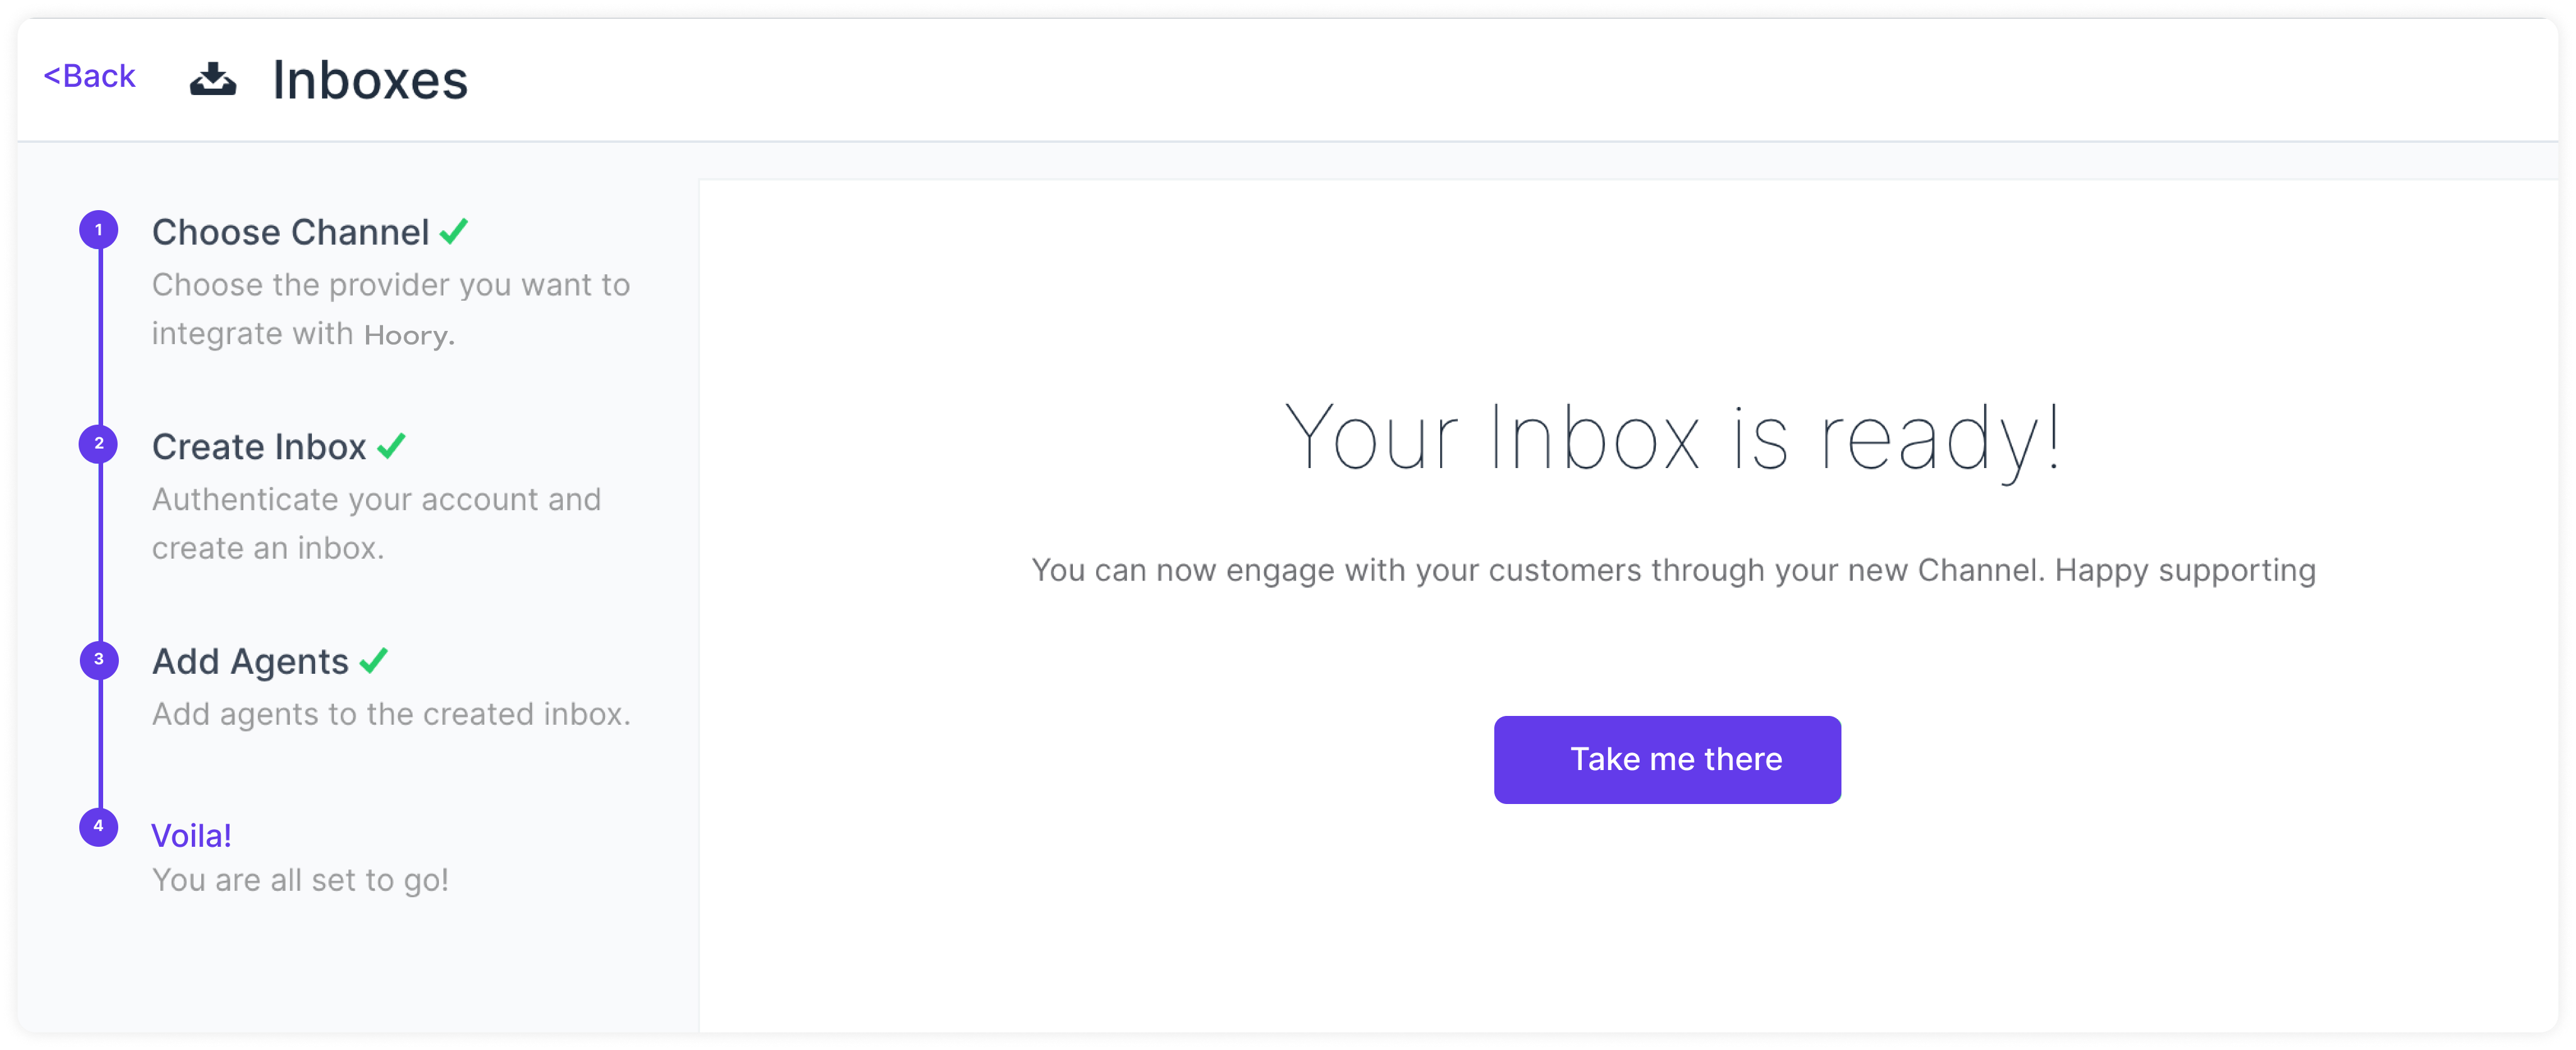
Hooray! You have successfully created a Facebook channel. Whenever a customer sends a message to your Facebook page, you will be able to see and reply to it in Hoory AI.
Additional Channel Settings
Your freshly configured Facebook channel should now appear in your list of channels. To see this and to make additional settings in your Facebook channel, go to Settings → Channels → click the gear icon on the associated Facebook channel. You will see the following screen:
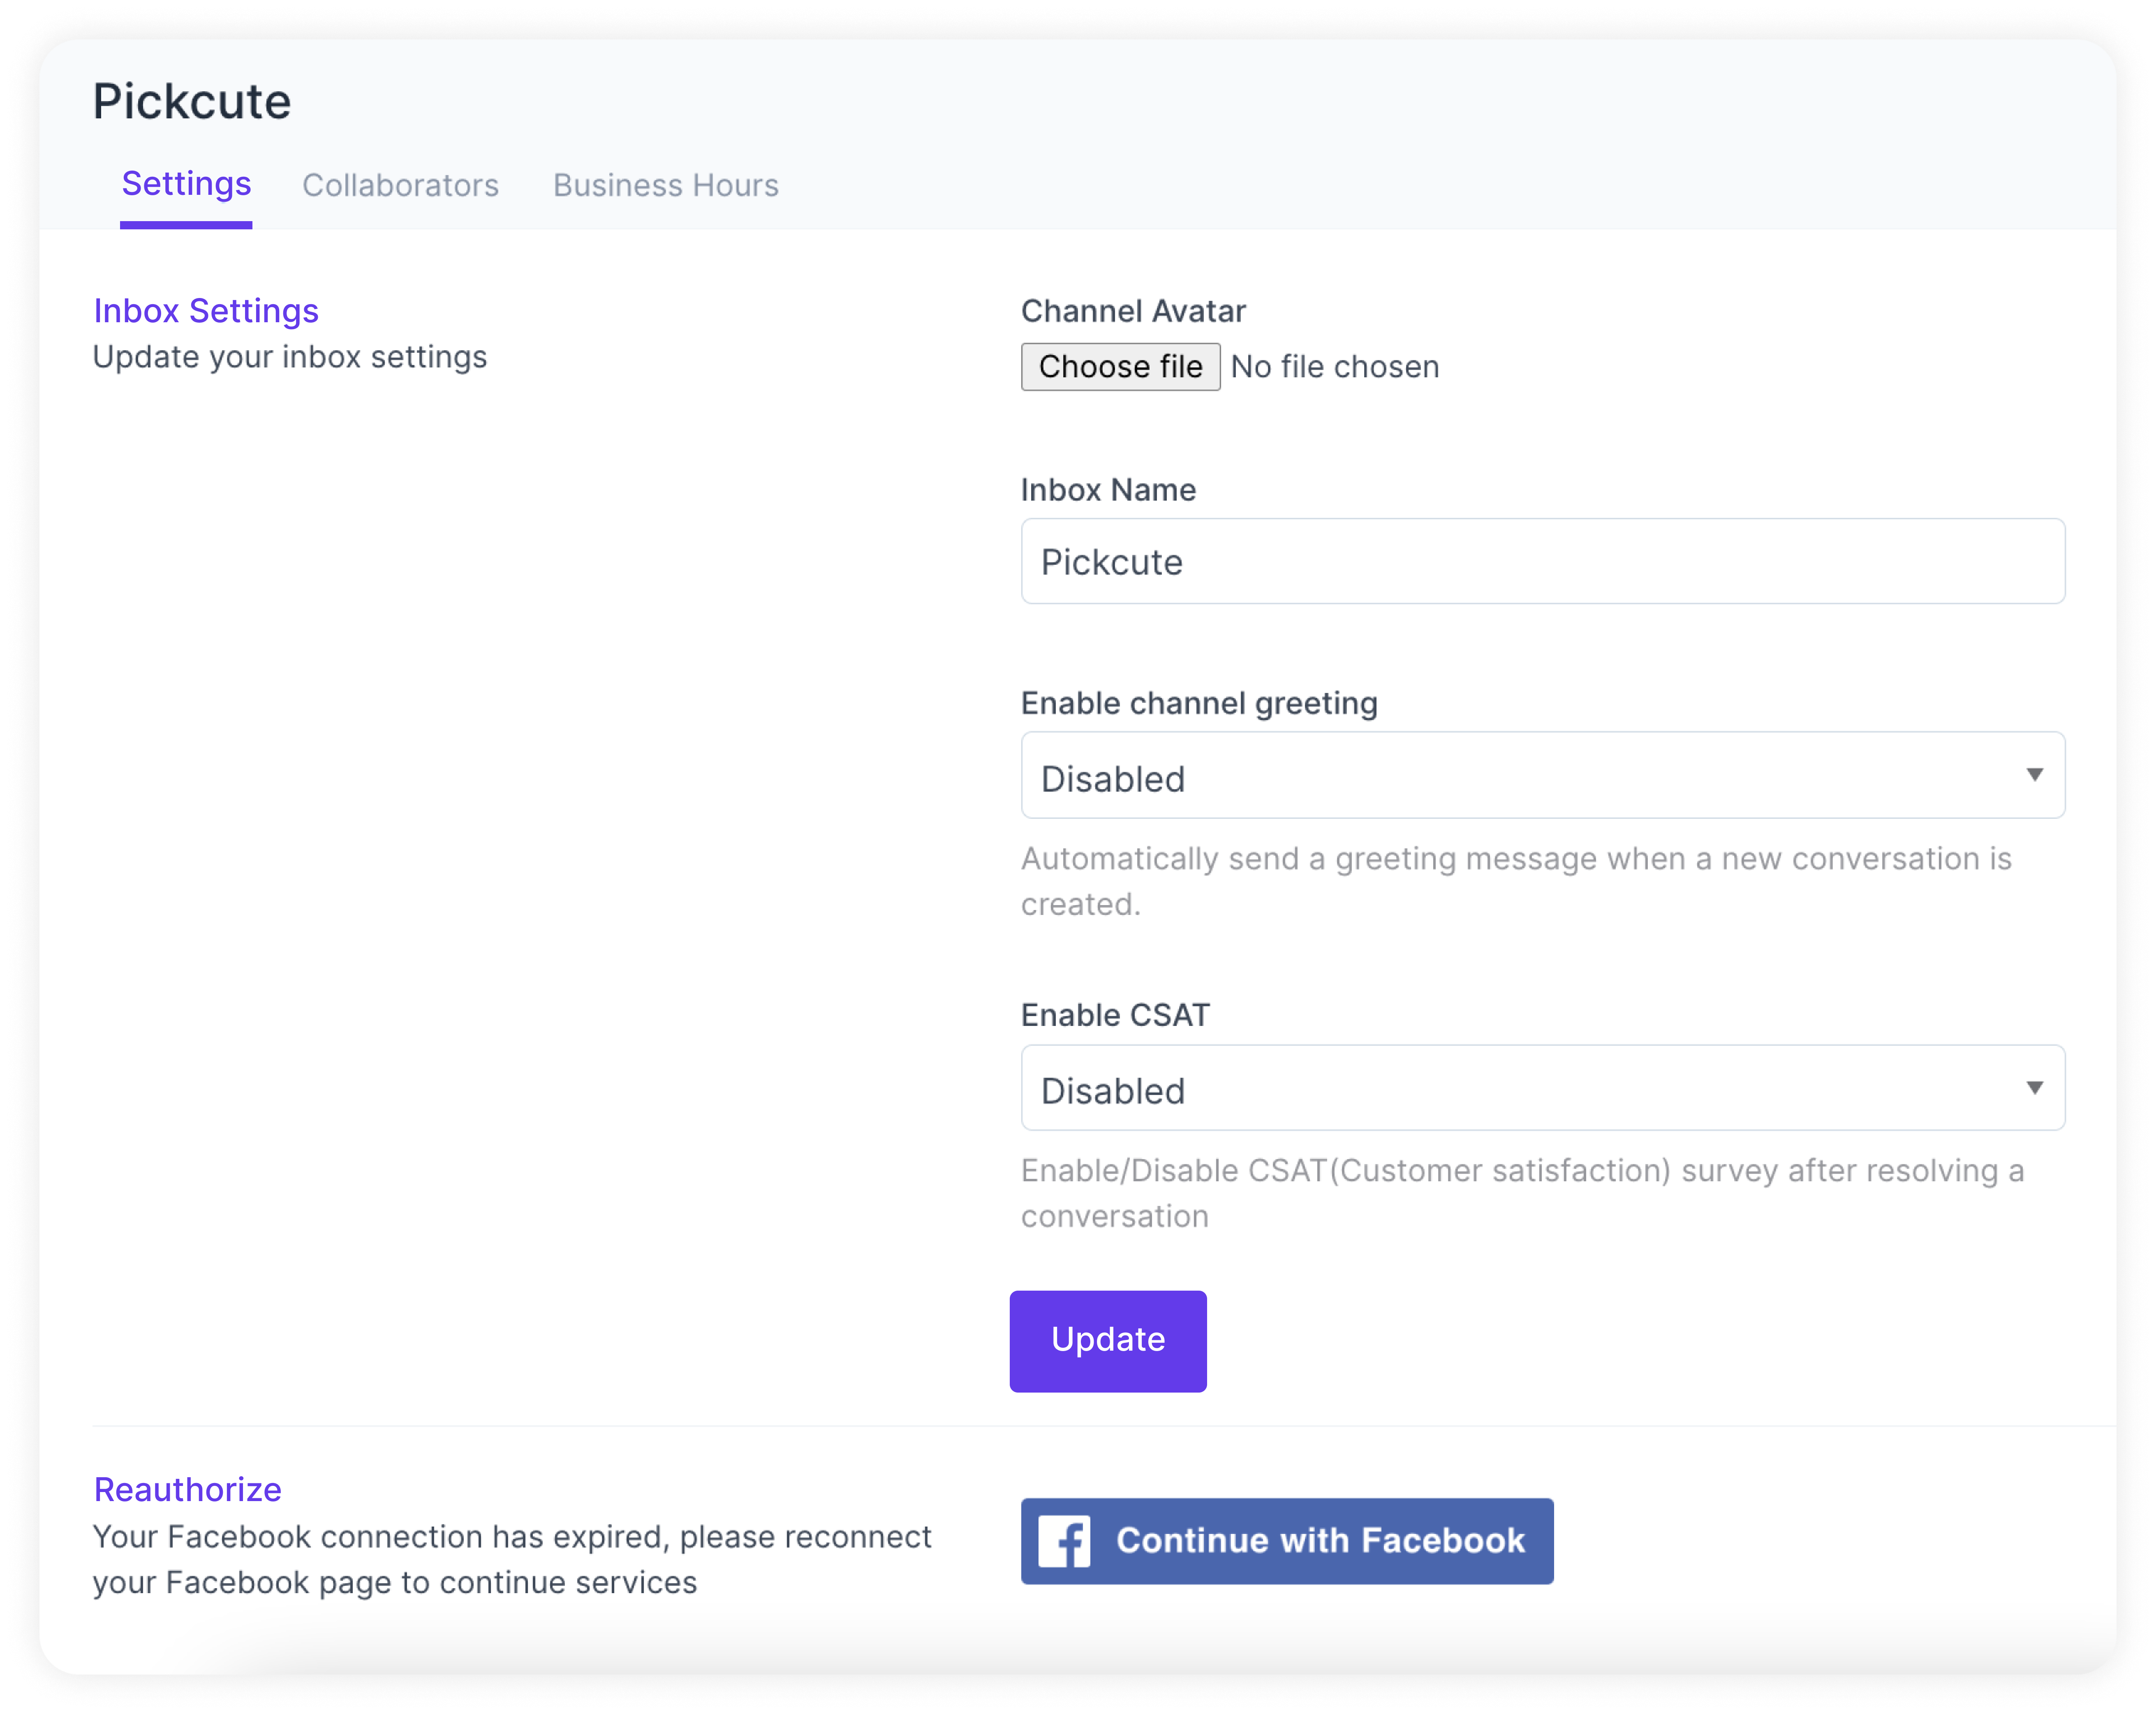
Settings Tab
Enable channel greeting. Once you enable this, Hoory AI will send a greeting message to new conversations created through your Facebook channel.
Enable CSAT. Once you enable this, your Customer Satisfaction survey will be launched every time a ticket is resolved. The CSAT results can be viewed later in the Reports section.
Reauthorize. Whenever you need to reconnect and reauthorize your Facebook page, do it from this button.
Collaborators Tab
Click the Collaborators tab.
Here, you can add Agents to the channel or delete Agents who have already been added into the channel.
You can also enable or disable the automatic assignment of new conversations to the agents of this channel.
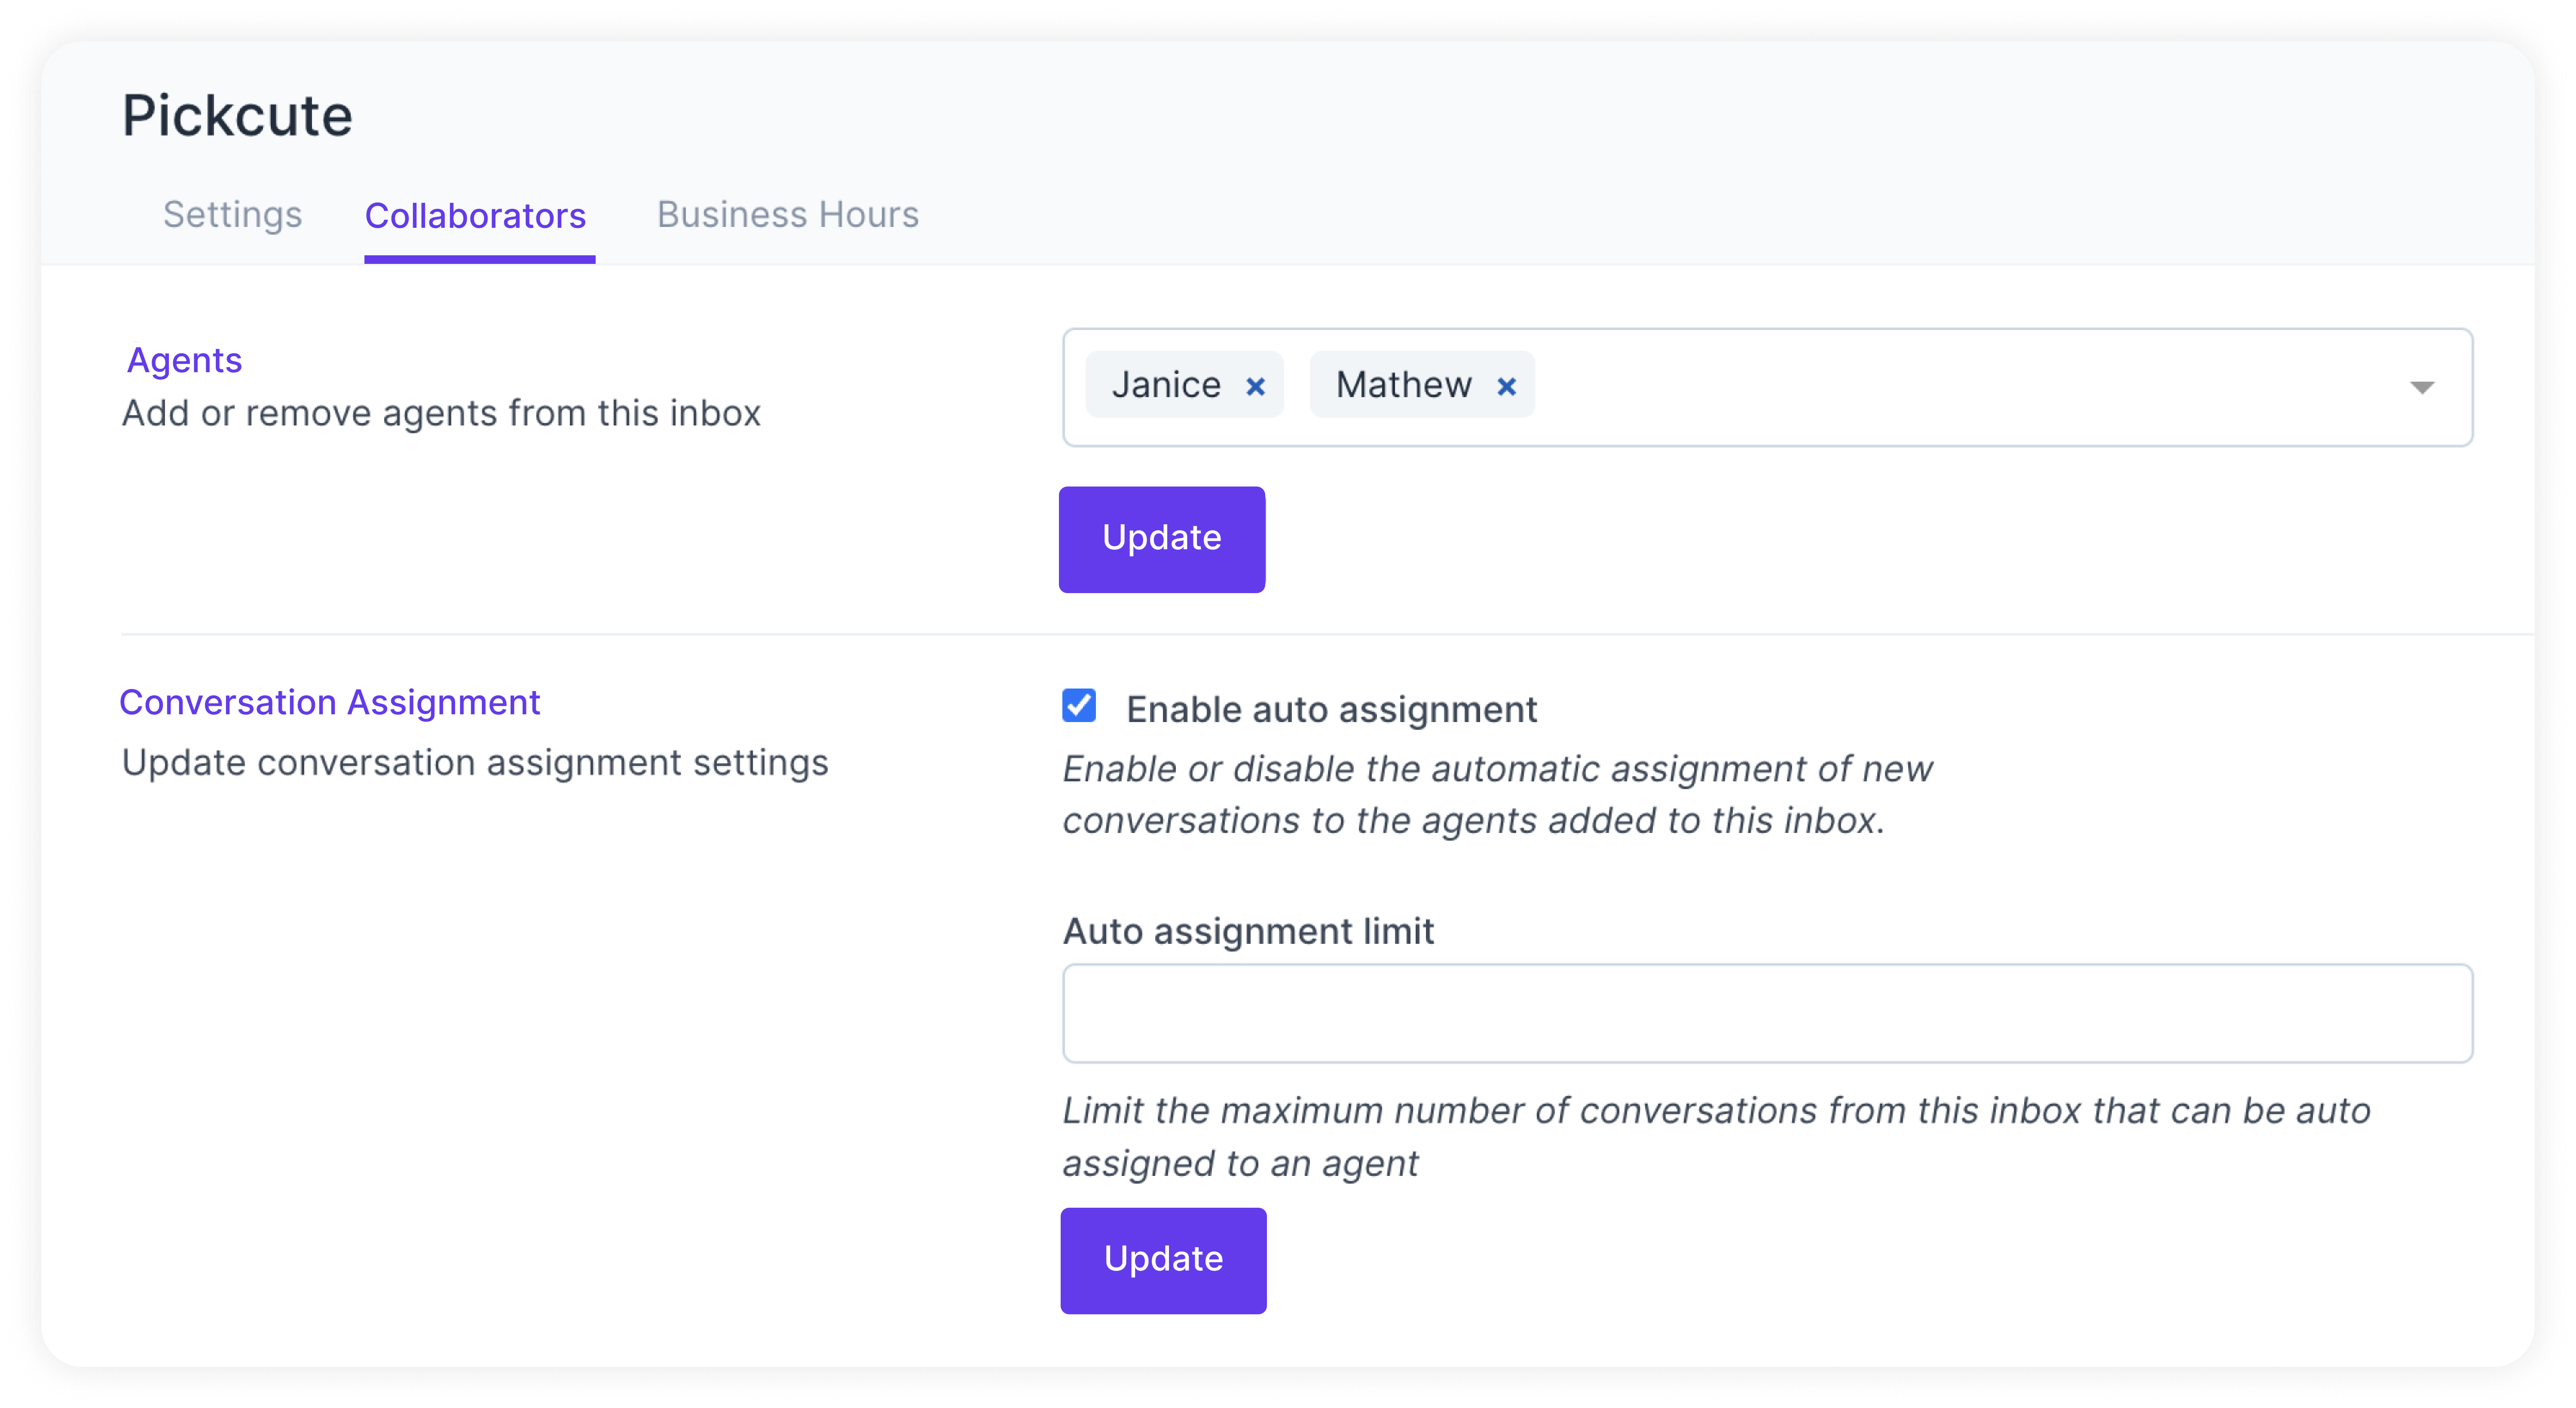
Click Update to save the changes.
Business Hours Tab
Click the Business Hours tab. In this section, you can set the working hours of your team associated with the Facebook channel.

If you have well-defined business hours, click the checkbox for Enable business availability for this inbox.
Once the checkbox is ticked, the below section opens up. You can write your message to be displayed to the customer outside business hours.
You can also select the available business hours for each day of the week, along with the proper time zone.
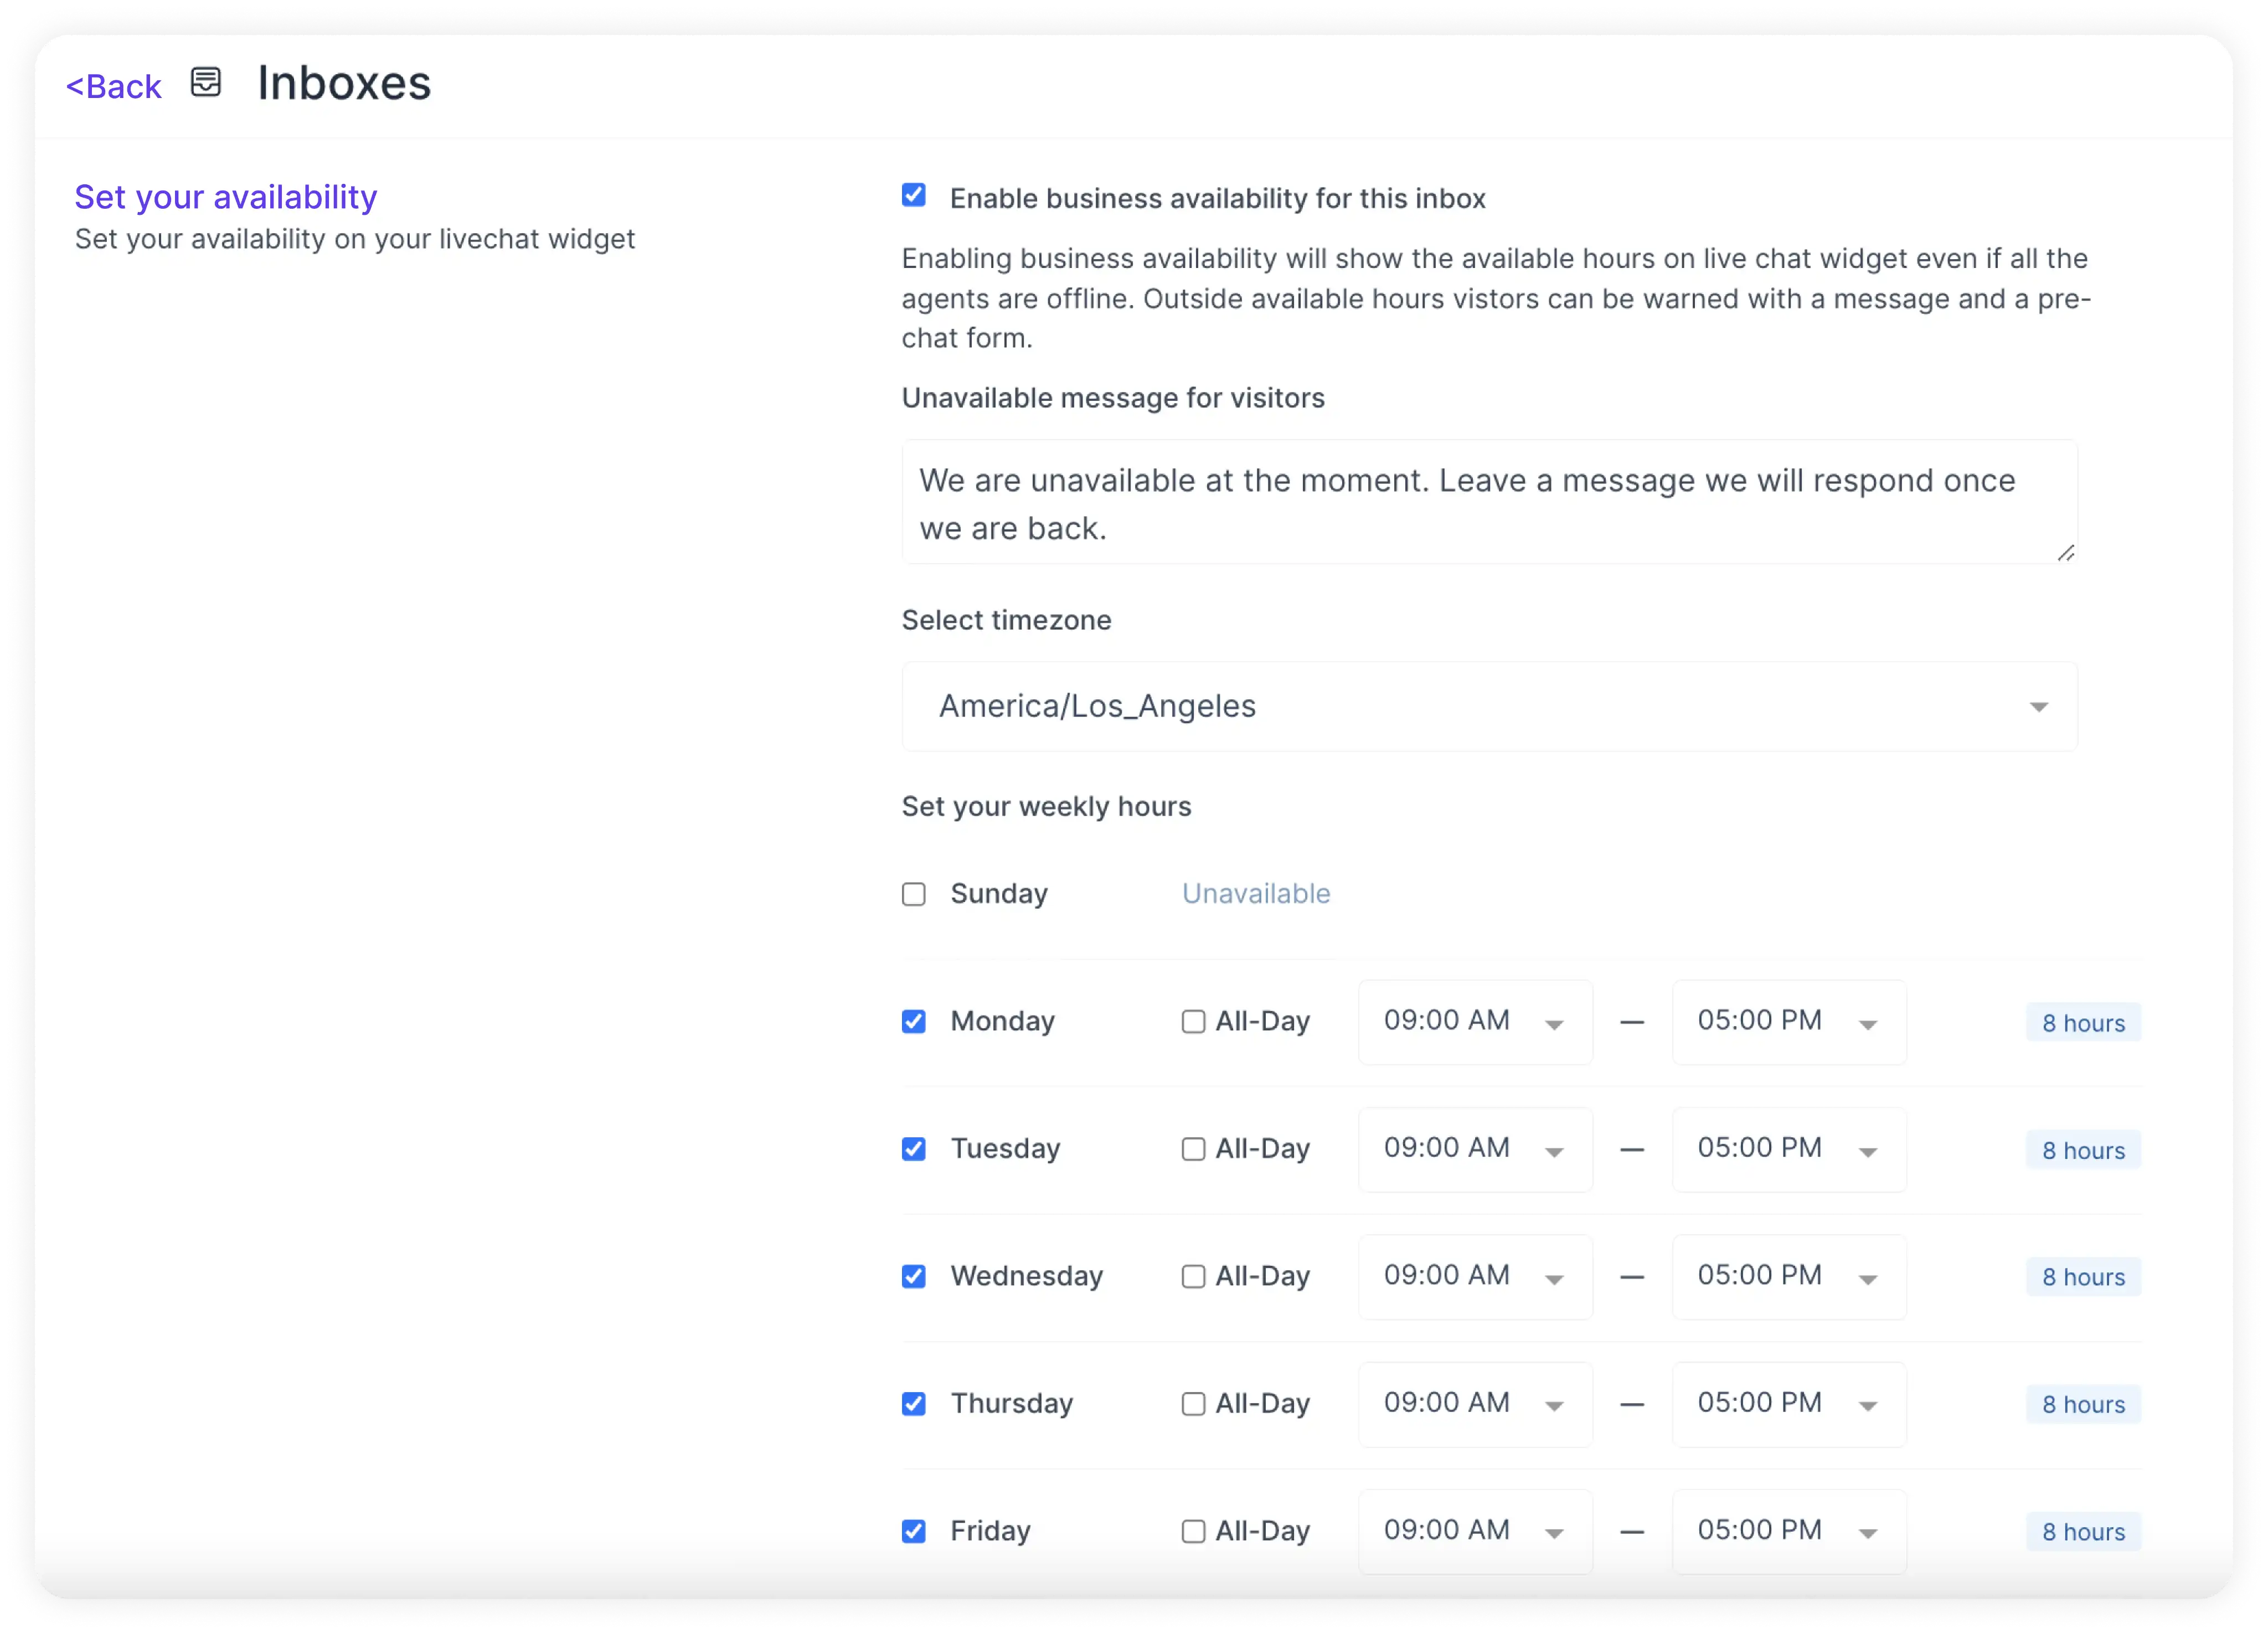
Click the Update Business Hour Setting Button.